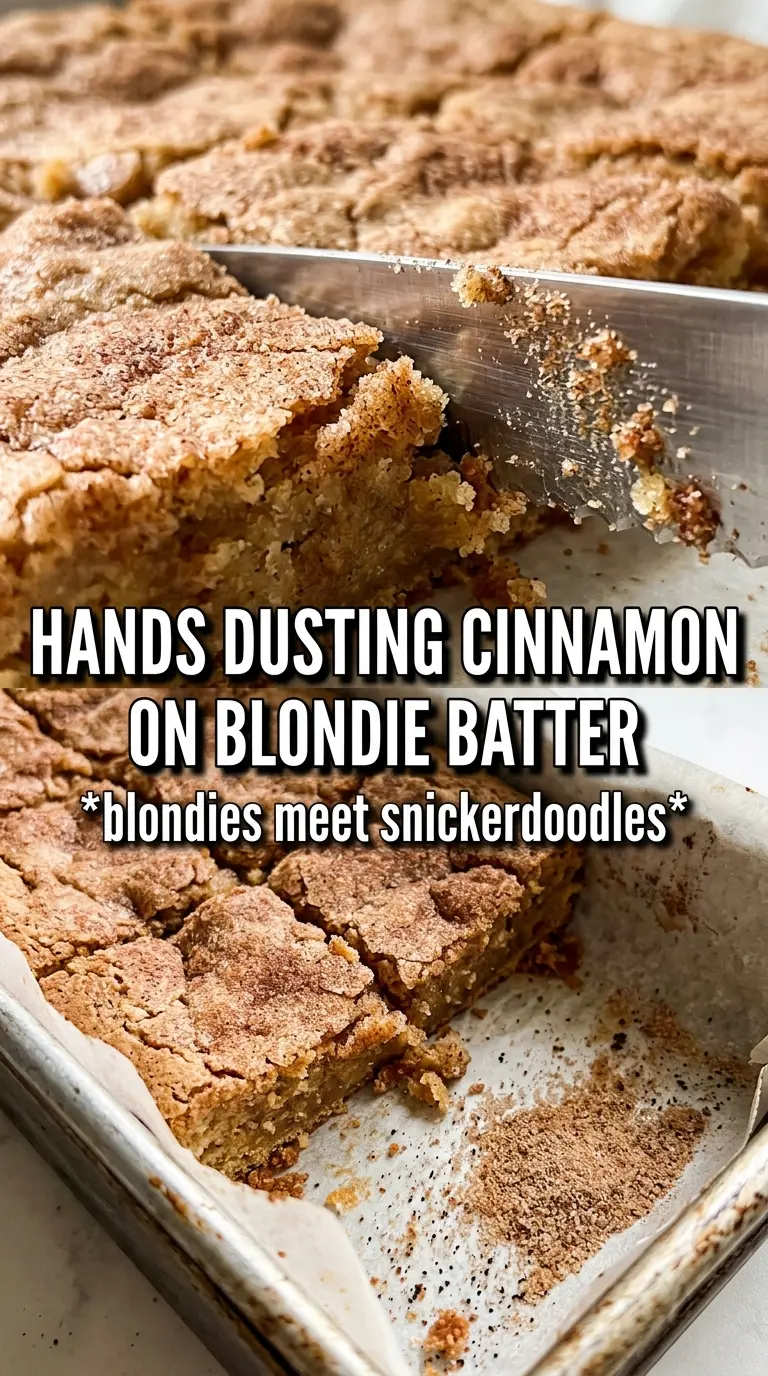
These pumpkin snickerdoodle blondies bake up thick, chewy, and just sturdy enough to cut into neat squares without losing that soft, fudgy middle. The browned butter gives them a toasted, almost caramel edge that keeps the pumpkin from tasting flat, and the cinnamon sugar lid cracks into a delicate crust the second you bite in. They land somewhere between a cookie bar and a brownie, which is exactly why they disappear fast.
The part that makes this version work is restraint. A little pumpkin puree goes a long way here, but it has to be blotted dry so the bars stay dense instead of cakey. Browning the butter adds depth that plain melted butter can’t give you, and the cream of tartar brings in that classic snickerdoodle tang without turning the bars into a cookie. The result is all the warm spice and chewy texture you want, with none of the soggy middle that can happen in pumpkin bars.
Below you’ll find the small details that matter most: how to tell when the butter is browned enough, why the batter should look thick before it goes into the pan, and how to cut clean bars after baking.
The browned butter made these taste a lot richer than the usual pumpkin bars, and the cinnamon sugar top came out with that crackly snickerdoodle finish. I chilled them overnight and they cut into perfect squares the next day.
Like these pumpkin snickerdoodle blondies? Save them to Pinterest for the chewy cinnamon-sugar bars with that browned butter finish.
The Secret to Keeping Pumpkin Blondies Chewy Instead of Cake-Like
Most pumpkin bars drift toward soft and cakey because pumpkin adds a lot of moisture for not much structure. The fix here is twofold: use only a small amount of puree, and blot it dry before it goes into the bowl. That little step matters more than people expect. If the pumpkin goes in wet, the bars puff more in the oven and lose the dense, chewy bite that makes a blondie taste like a blondie.
Browning the butter also changes the texture in your favor. It cooks off a bit of water and adds depth, so the batter stays rich without needing extra liquid. The other thing worth watching is the bake time: pull the pan when the center still has a few moist crumbs on the toothpick. If you wait for it to come out clean, the bars will set up dry once they cool.
What Each Ingredient Is Actually Doing in These Bars
- Browned butter — This gives the bars their toasted, nutty base and keeps the pumpkin from tasting one-note. Let it cool before mixing so it doesn’t scramble the eggs. The milk solids at the bottom of the pan are part of the flavor, so scrape them in.
- Pumpkin puree — Use pure pumpkin, not pie filling, and blot it dry on paper towels until it feels thick. That’s what keeps the texture chewy. Canned puree is fine here as long as you remove some of the excess moisture.
- Brown sugar — This is the main reason the bars stay soft and bendy. It adds moisture and that molasses note that plays so well with cinnamon and nutmeg. Light or dark brown sugar both work; dark brown sugar gives a deeper finish.
- Cream of tartar — This is the snickerdoodle signature. It adds a gentle tang that makes the cinnamon sugar topping taste sharper and more classic. Don’t skip it unless you’re okay losing that specific snickerdoodle edge.
- Cinnamon sugar topping — The top layer does more than decorate. It bakes into a thin crust that gives the first bite a little crunch before the soft center takes over. Scatter it generously so every square gets that finish.
How to Build the Batter So the Bars Stay Dense
Browning the butter first
Set the butter over medium heat and keep the pan moving until the milk solids turn golden and smell nutty, not burnt. You’ll hear the sizzling quiet down, then see amber specks at the bottom of the pan. Pull it off the heat as soon as it reaches that point and let it cool for about 10 minutes. If you add the eggs too soon, you’ll get a greasy batter instead of a smooth one.
Mixing the wet ingredients
Whisk the browned butter with the brown sugar until it looks glossy and thick, then add the blotted pumpkin, eggs, and vanilla. The mixture should turn smooth and a little lighter in color. Don’t worry if it still looks loose at this stage; the flour will tighten it up. The goal is to avoid overbeating once the flour goes in, because that can push the bars toward a tougher edge without giving them more lift.
Finishing and baking
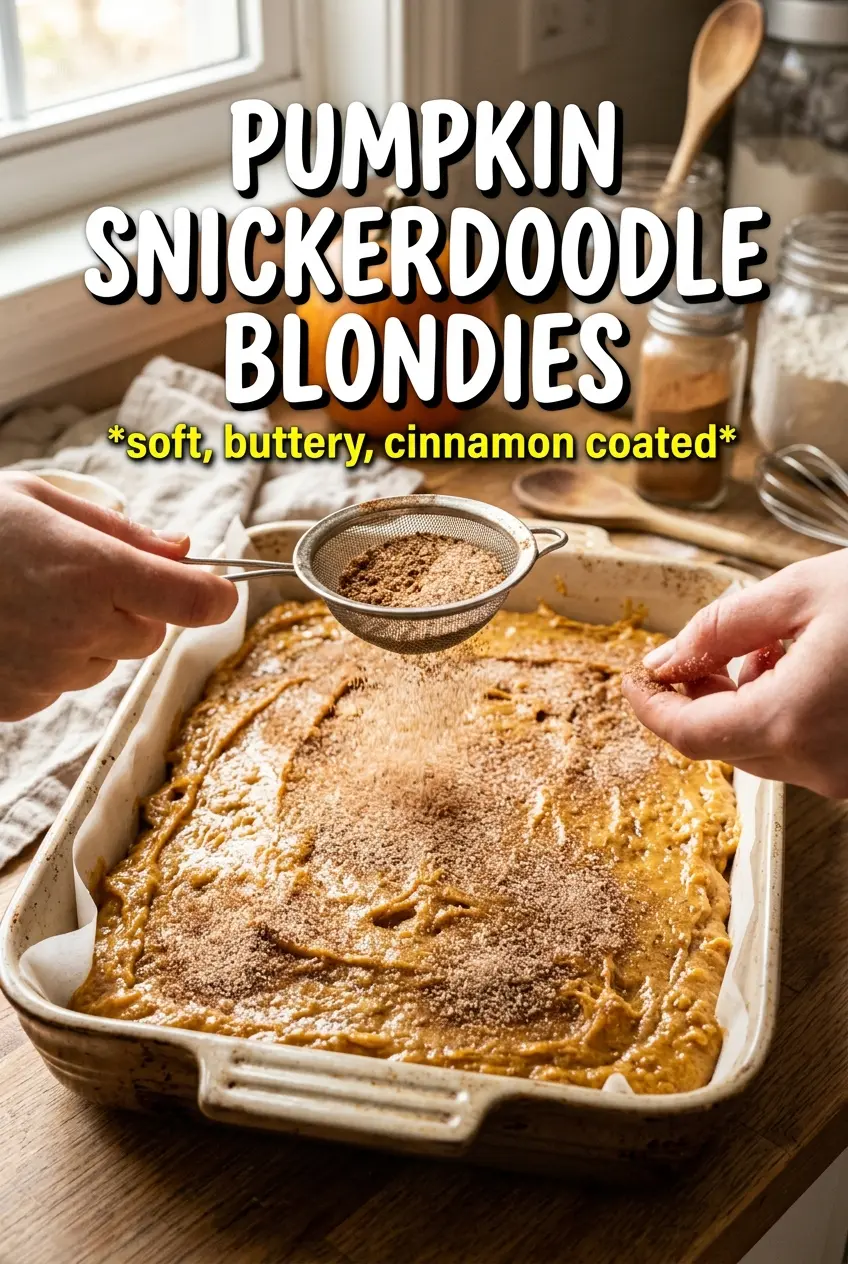
Fold in the dry ingredients just until no streaks of flour remain, then spread the batter into the pan in an even layer. It will be thick, almost like a soft cookie dough, and that is what you want. Sprinkle the cinnamon sugar over the top before baking so it melts and crisps in the oven. Bake until the edges are set and the center gives just a little when you tap the pan; the bars finish as they cool, and that rest time is what keeps them chewy.
How to Adapt These Blondies Without Losing the Chewy Center
Gluten-Free Version
Use a 1:1 gluten-free baking flour blend that contains xanthan gum. The texture stays close to the original, though the bars may be a touch more delicate when warm. Let them cool completely before cutting so they hold together cleanly.
Dairy-Free Swaps
Swap the butter for a high-quality plant-based butter that browns well, or use melted vegan butter if browning isn’t possible. You’ll lose a little of the nutty depth from real browned butter, so add an extra pinch of cinnamon to keep the flavor rounded out.
Extra-Spiced Variation
Add a small pinch of cloves or ginger if you want a stronger pumpkin pie direction. Keep the total spice increase modest or the bars will taste crowded instead of warm. The blondie base is subtle enough to carry more spice, but the cinnamon sugar top should still stay the star.
Storage and Reheating
- Refrigerator: Store in an airtight container for up to 5 days. The bars firm up a little in the fridge, which actually helps the texture stay chewy.
- Freezer: These freeze well. Wrap individual bars tightly and freeze for up to 2 months, then thaw at room temperature while still wrapped so the top doesn’t get sticky.
- Reheating: Warm a bar for 10 to 15 seconds in the microwave if you want the center soft again. Don’t overheat it or the edges will turn dry before the middle gets warm.