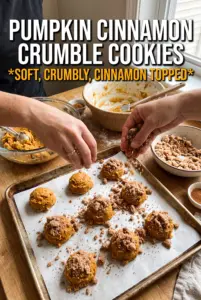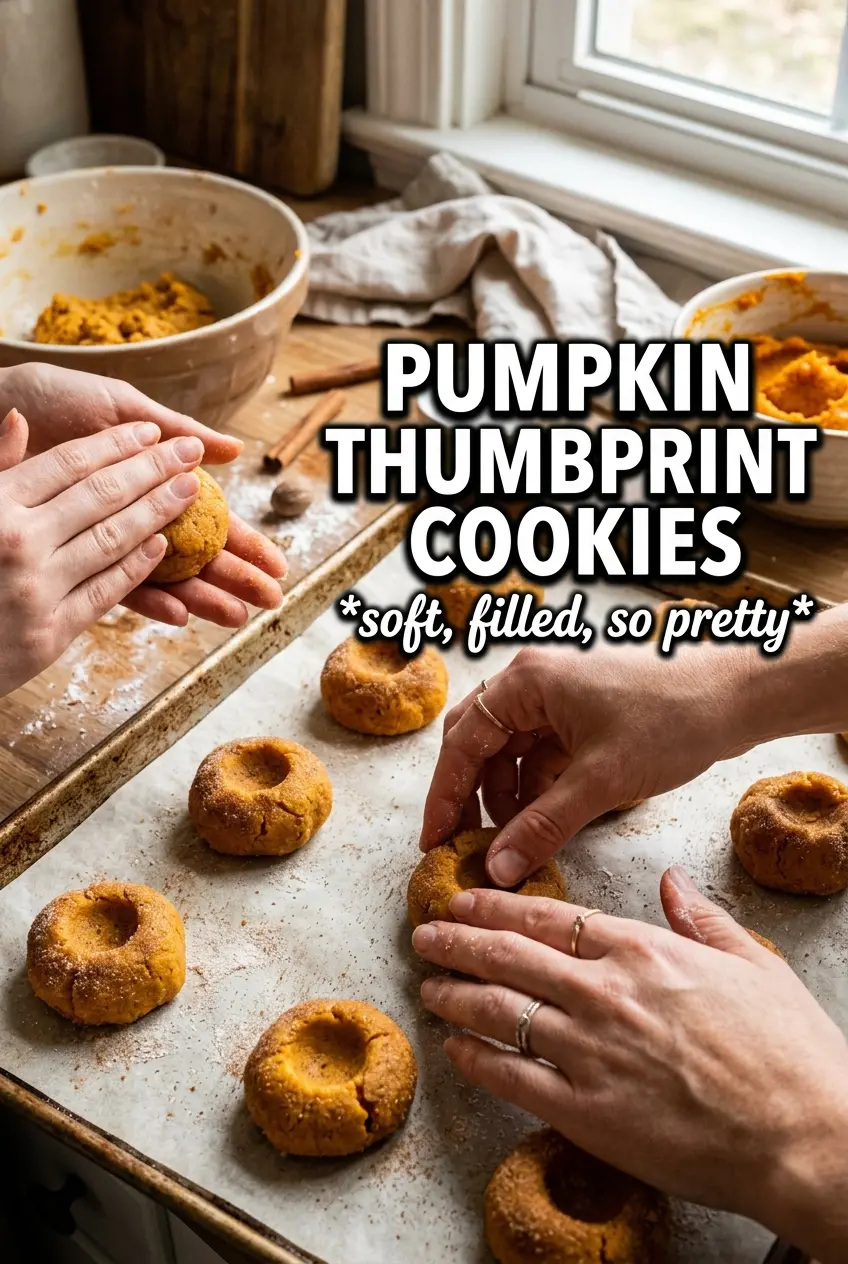
Pumpkin thumbprint cookies bring the best parts of a soft pumpkin spice cookie and a filled holiday-style treat into one bite: tender edges, a buttery center, and a creamy or caramel-filled middle that makes each cookie feel finished. The dough bakes up more like a shortbread than a cakey pumpkin cookie, which is exactly why it works so well. You get structure, clean edges, and enough richness to hold a deep thumbprint without cracking apart.
The trick is keeping the pumpkin from turning the dough heavy. Blotting it dry matters here more than it does in a loaf or muffin, because too much moisture makes the cookies spread and lose that neat little well in the center. Chilling the dough helps them keep their shape, and rolling the dough balls in cinnamon sugar gives you a crisp, fragrant exterior that plays nicely with the soft filling.
Below, I’ve added the exact cues I use when the dough is ready, plus the filling swap I reach for when I want these to lean more caramel than cheesecake. Once you’ve made them once, the process feels easy enough to repeat without looking at the recipe again.
The cookies held their thumbprint beautifully, and the cream cheese filling set up just enough to stay creamy instead of sliding out. I also loved that the pumpkin flavor came through without making them cakey.
Love the buttery pumpkin spice shortbread and creamy center? Save these pumpkin thumbprint cookies for your next cookie tray or holiday dessert plate.
The Dough Has to Stay Short, Not Puffy
Most pumpkin cookies fail because they turn soft in the wrong way. They spread too much, puff up like cake, and lose the neat thumbprint center before the filling even has a chance to go in. This version stays more like a buttery shortbread cookie, which gives you a firmer bite and a clean little well after baking.
The biggest reason is the pumpkin itself. Even a little extra moisture can make the dough sticky and cause the cookies to bake up unevenly, so blotting the pumpkin dry is not optional. Chilling the dough tightens the butter back up and helps the cookies hold their shape in the oven instead of slumping into flat rounds.
- Blotted pumpkin — This keeps the dough from getting wet and loose. Press the pumpkin between paper towels until it looks almost pasty instead of glossy.
- Butter and sugar — Creaming them gives the cookies their tender, sandy crumb. Don’t overbeat once the pumpkin goes in or the dough can become airy and fragile.
- Chill time — The 30-minute rest helps the flour hydrate and the butter firm up. If your kitchen is warm, go a little longer.
What Each Ingredient Is Actually Doing in These Cookies
- Flour — This gives the cookie its structure and keeps the centers from collapsing after you press the thumbprint. Spoon and level it so you don’t pack in too much and end up with dry cookies.
- Pumpkin pie spice and cinnamon — These bring warmth and make the pumpkin taste fuller. The spice blend matters more here than in a frosted cookie because there isn’t a big sweet topping to carry the flavor.
- Butter — Use softened butter, not melted. Softened butter creams with the sugar and creates a dough that bakes tender instead of greasy.
- Cream cheese filling — This is the classic filling if you want a tangy, creamy center. It should be soft enough to pipe or spoon, but not runny.
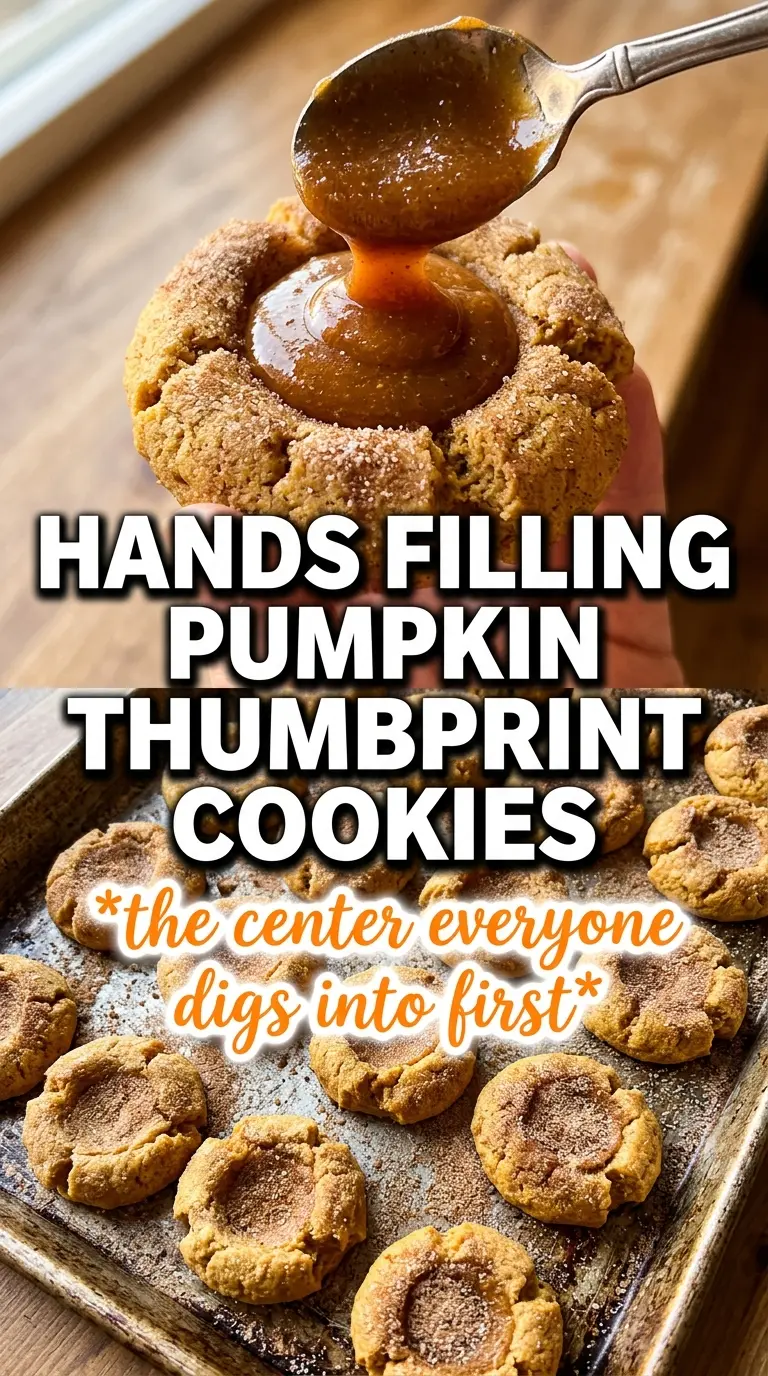
- Caramel sauce — Thick caramel makes an easier no-mix filling and gives the cookies a deeper, almost candy-like finish. Thin sauce can seep into the cookie, so use one that holds its shape.
- Cinnamon sugar — The coating adds texture and a faint crunch. It also makes the cookies look finished without needing glaze or frosting.
The Part Where the Thumbprint Stays Put
Mixing the Dough Without Warming It Too Much
Beat the butter and sugar until the mixture looks lighter and a little fluffy, then mix in the blotted pumpkin and vanilla just until combined. Once the dry ingredients go in, stop as soon as the flour disappears. If you keep mixing, the dough can turn tough and the cookies lose that tender, shortbread-like bite.
Shaping and Pressing the Wells
Roll the dough into 1 1/2 tablespoon balls and coat each one in cinnamon sugar. Set them on the baking sheet with a little room between each cookie, then press a deep thumbprint into the center using your thumb or the back of a rounded teaspoon. If the edges crack a little, pinch them back together before baking; that keeps the wells from splitting open in the oven.
Baking Until Set at the Edges
Bake at 350°F for 12 to 14 minutes, just until the edges look set and the bottoms are lightly golden. The tops should still look soft in the center when they come out. If you wait until they look fully firm in the oven, they’ll overbake by the time they cool.
Filling After Cooling
Let the cookies cool completely before adding the cream cheese mixture or caramel. Warm cookies melt the filling and make the centers slide around. If you want neat, bakery-style thumbprints, patience here matters more than anywhere else in the recipe.
Cream Cheese Filled Pumpkin Thumbprints
Beat the cream cheese, powdered sugar, cinnamon, and vanilla until smooth, then spoon or pipe it into the cooled cookies. This version gives you the classic tangy center that cuts through the sweet dough and keeps each bite balanced.
Caramel-Filled Pumpkin Thumbprints
Use thick caramel sauce if you want the easiest filling and a deeper, buttery finish. A thinner sauce can soak into the cookie, so choose one that’s pourable but still substantial enough to stay in the thumbprint.
Gluten-Free Pumpkin Thumbprints
Swap in a 1:1 gluten-free baking flour that contains xanthan gum. The texture will be a touch more delicate, so chill the dough well and handle the cookies gently when transferring them to the rack.
Dairy-Free Version
Use a solid dairy-free butter stick in place of the butter and a dairy-free cream cheese or caramel for the filling. You’ll lose a little of the classic buttery flavor, but the cookies still hold their shape and bake with the same soft center.
Storage and Reheating
- Refrigerator: Store filled cookies in an airtight container for up to 4 days. The filling stays best when the cookies are kept chilled.
- Freezer: Freeze the baked, unfilled cookies for up to 2 months. Thaw at room temperature, then fill them after they’ve fully warmed and softened slightly.
- Reheating: These cookies aren’t meant to be reheated once filled. If you want a just-baked feel, warm the unfilled cookies for a few minutes in a low oven, then add the filling after they cool.