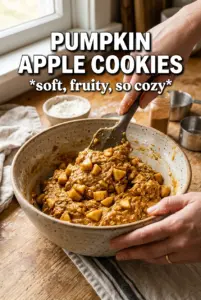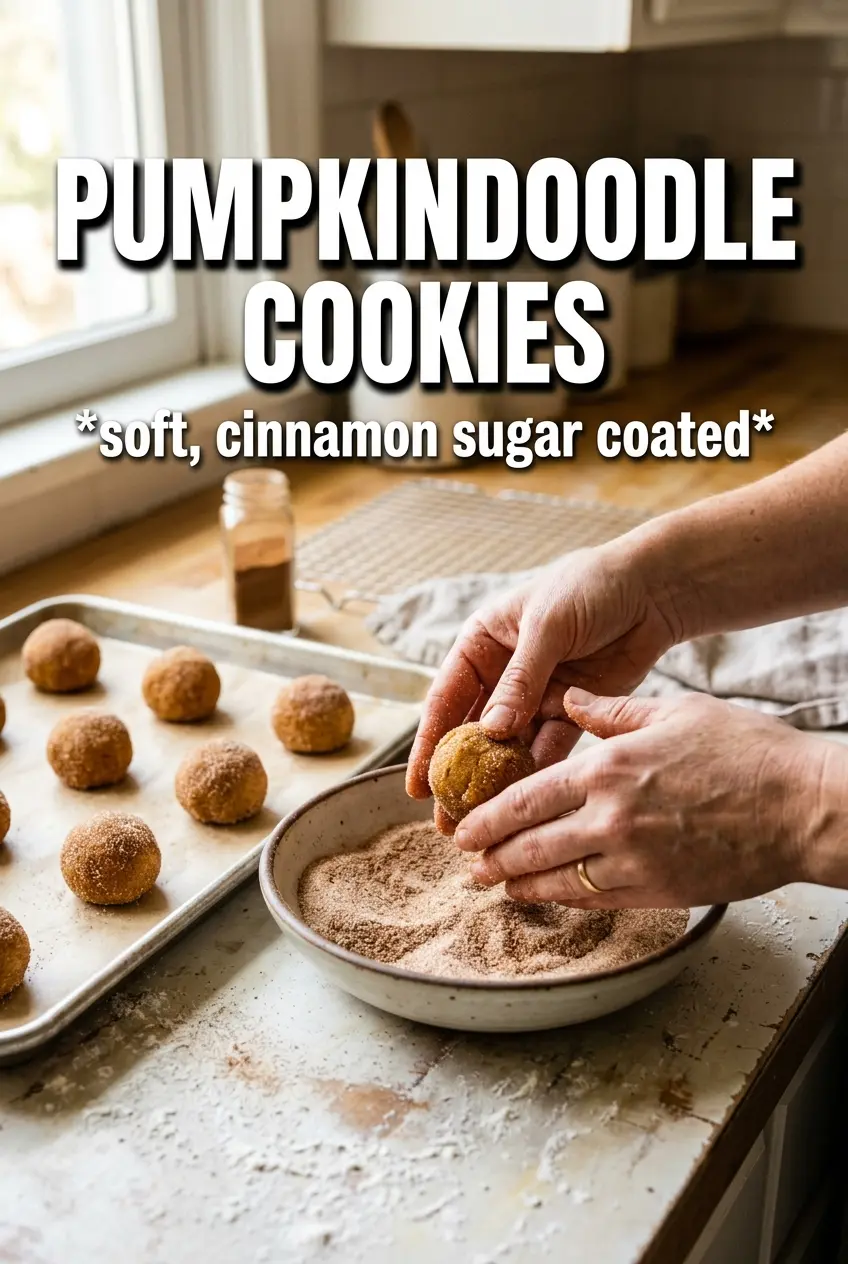
Pumpkindoodle cookies bake up with crinkly tops, warm spice, and the kind of soft center that stays tender for days. They taste like a snickerdoodle that wandered through a pumpkin patch and came back with more character, not more moisture. The cinnamon sugar coating sets into a delicate shell while the middle stays plush, giving you that first bite with a little crackle and a lot of chew.
The trick is keeping the pumpkin puree dry enough to behave like an accent instead of a load-bearing ingredient. Blotting it well keeps the dough from turning sticky and helps the cookies spread just enough to crinkle instead of puff into little cake rounds. Cream of tartar brings that classic snickerdoodle tang and texture, while the pumpkin pie spice, cinnamon, and nutmeg carry the flavor without muddying it.
Below you’ll find the small details that matter most: how dry the pumpkin really needs to be, how to judge the bake by look instead of the clock alone, and a few smart swaps if you need them.
The pumpkin stayed in the background just enough, and the cookies came out with those perfect little cracks on top instead of spreading flat. I chilled the dough for 10 minutes while the oven preheated and they baked up thick and chewy.
Save these crinkly Pumpkindoodle Cookies for the day you want a soft pumpkin spice cookie with classic snickerdoodle tang.
The Pumpkin That Makes or Breaks the Crinkle
The biggest mistake with pumpkin snickerdoodle-style cookies is treating pumpkin puree like a normal wet ingredient. It isn’t. Too much moisture pushes these cookies toward cakey and soft in the wrong way, which means you lose the crackly top and the chewy edge that make them worth baking. Blotting the pumpkin until it feels almost past the point of common sense keeps the dough sturdy enough to hold its shape.
That same dryness helps the sugar coating do its job. When the dough is too wet, the cinnamon sugar melts too fast and disappears into the surface instead of baking into that sandy, sparkly crust. A drier dough also gives you a better read on the bake: the cookies should look set at the edges, crinkled across the top, and still a little soft in the center when they come out of the oven.
What Each Ingredient Is Actually Doing in These Cookies

- Pumpkin puree — Use canned puree, not pumpkin pie filling. The only non-negotiable is blotting it very dry, since extra moisture is what turns these from crinkly cookies into cakey ones.
- Cream of tartar — This gives the cookies their classic snickerdoodle tang and helps create that soft, slightly chewy bite. There isn’t a true one-to-one substitute if you want the same texture, but a little extra baking powder can help in a pinch, though the flavor won’t be the same.
- Butter and sugar — Cream them until pale and fluffy. That step traps air and gives the cookies lift before the flour goes in, which matters because the dough isn’t meant to be overmixed later.
- Spices — Cinnamon carries the coating and the dough, while pumpkin pie spice and nutmeg build the warmer pumpkin side of the cookie. If your pumpkin pie spice is old, replace it; stale spice makes these taste flat fast.
- Flour — All-purpose flour keeps the structure balanced. Too much flour makes the cookies dry and dull, so spoon and level it instead of packing it into the cup.
How to Keep the Dough Chewy and the Tops Crinkled
Dry the Pumpkin Before Anything Else
Start by blotting the pumpkin puree between layers of paper towel until it gives up most of its moisture. You want it thick and pasty, not loose and glossy. If it still looks wet, keep blotting. That single step decides whether the dough rolls cleanly or turns sticky and soft. The drier pumpkin also helps the cookies spread in a controlled way instead of puffing up like little cake rounds.
Cream the Butter Until It Looks Lightened
Beat the butter and sugar until the mixture turns visibly paler and fluffier. This takes a couple of minutes and it matters more than people think, because it builds the structure that the cookies need before the flour is added. Once the pumpkin, eggs, and vanilla go in, the batter will look a little looser, and that’s fine. If it looks broken, keep going; the dry ingredients will pull it back together.
Fold the Dry Ingredients Just Until Combined
Stir in the flour, cream of tartar, baking soda, cinnamon, pumpkin pie spice, nutmeg, and salt until no dry streaks remain. Stop as soon as the dough comes together. Overmixing here makes the cookies tougher and can flatten the crinkles. The dough should be soft but scoopable, with enough body to roll into balls without sticking badly to your hands.
Roll, Bake, and Watch the Surface Crack
Coat each ball generously in the cinnamon pumpkin sugar so the outside is fully covered. Bake at 375°F until the tops have cracked and the edges look set, usually 10 to 12 minutes. Pull them when the centers still look slightly underdone; they finish setting on the pan. If you wait for them to look fully baked in the oven, they’ll end up dry after cooling.
Make Them a Little More Spiced
Add another 1/4 teaspoon of nutmeg or an extra 1/2 teaspoon of pumpkin pie spice if you want the cookies to lean warmer and more fragrant. Don’t push the cinnamon much higher than the recipe calls for, or it starts to crowd out the pumpkin flavor and the coating gets harsh.
Dairy-Free Version
Swap the butter for a solid plant-based butter stick, not a tub spread. The texture stays close, though the cookies may brown a little faster and spread just slightly more, so watch the last minute of baking closely.
Gluten-Free Adjustment
Use a good 1:1 gluten-free flour blend that includes xanthan gum. The cookies will still crinkle and stay soft, but they may spread a touch less and taste best after cooling completely so the texture has time to settle.
Storage and Reheating
- Refrigerator: Store in an airtight container for up to 5 days. The cinnamon sugar coating softens a little, but the cookies stay chewy.
- Freezer: These freeze well as baked cookies or as portioned dough balls. Freeze in a single layer first, then move to a sealed bag for up to 2 months.
- Reheating: Warm baked cookies at 300°F for 3 to 4 minutes or let them sit at room temperature. Don’t microwave them for long or they’ll turn dense instead of soft.