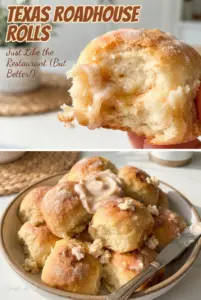
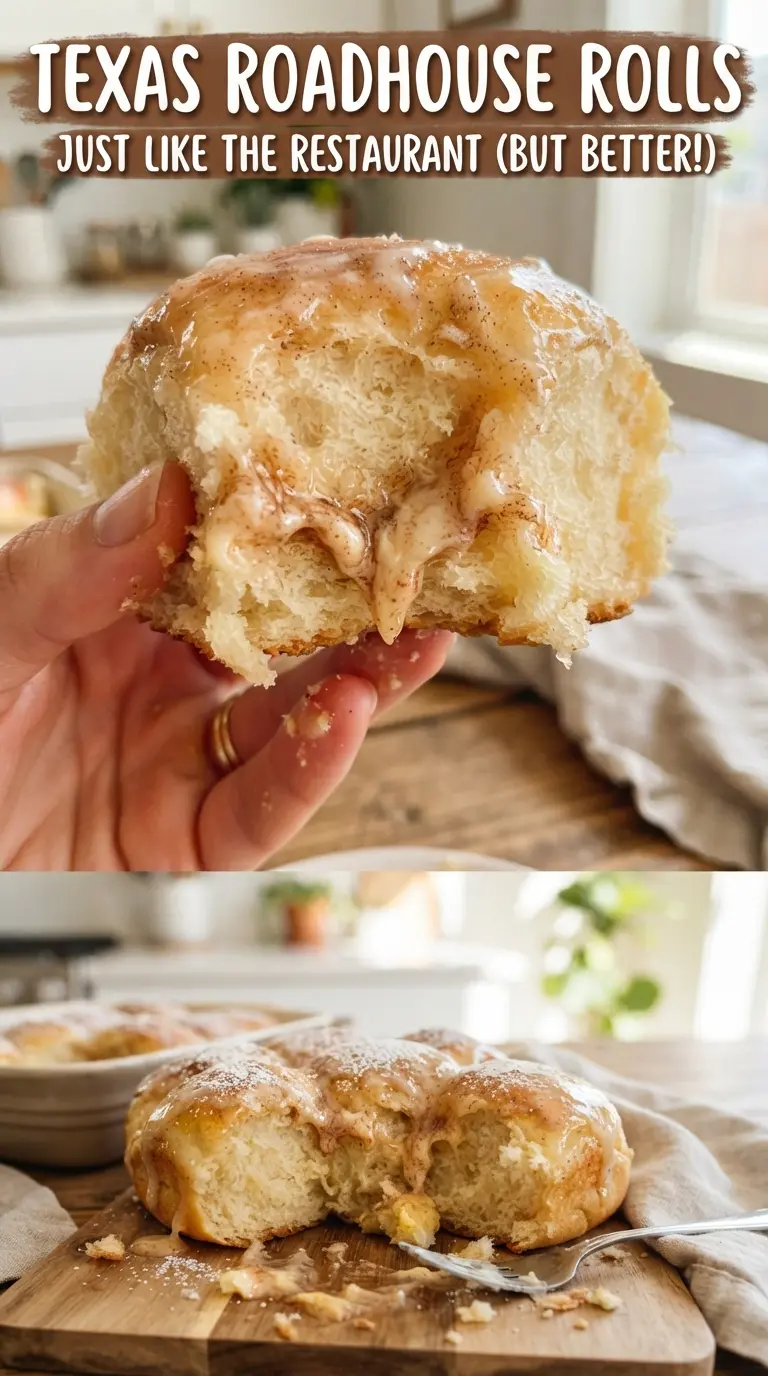
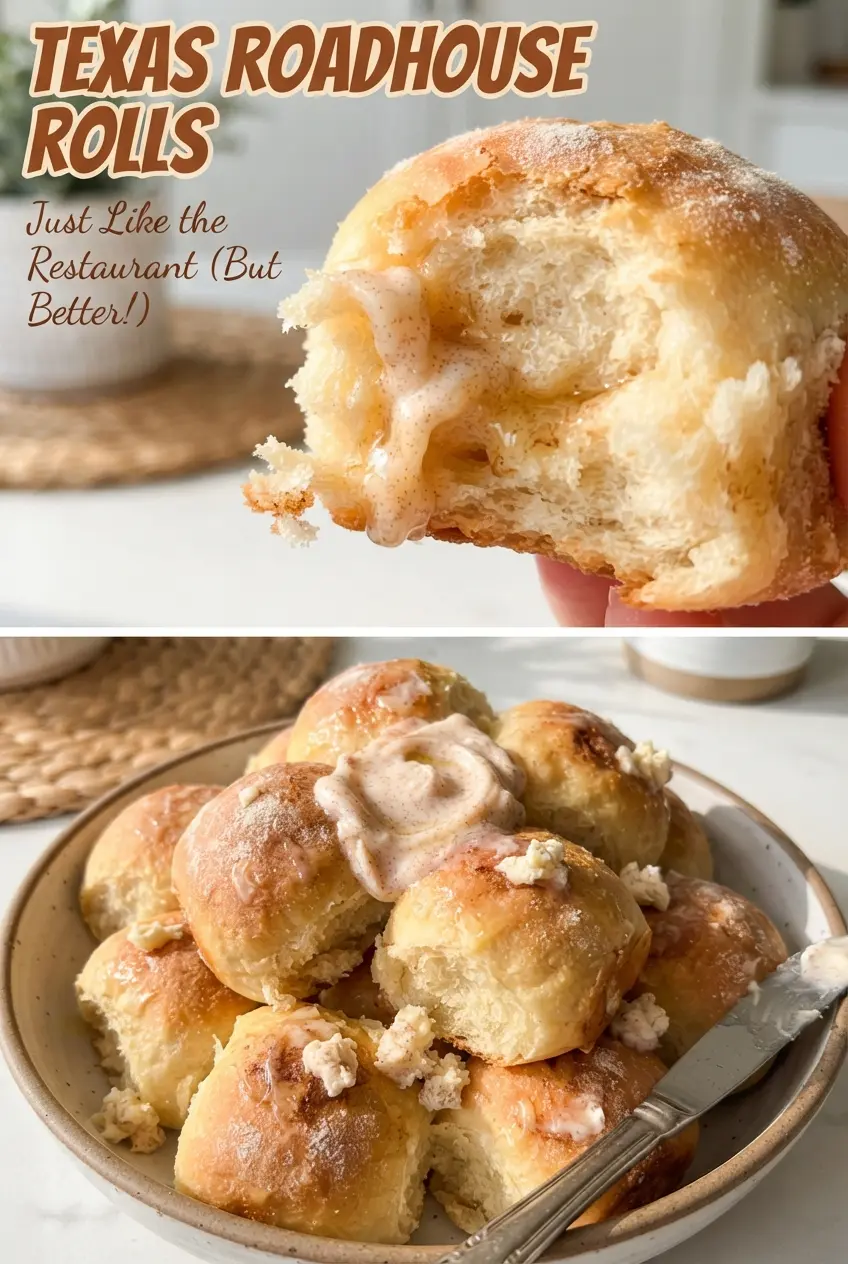
Texas Roadhouse Rolls bake up soft, airy, and just sweet enough to pull apart in warm, fluffy layers. The outside turns lightly golden, but the real win is the center: tender, pillowy, and ready to soak up a thick swipe of whipped cinnamon honey butter. They disappear fast, and that’s exactly why they earn repeat status.
What sets this version apart is the dough structure. Warm milk helps build a softer crumb than water alone, and the mix of sugar and butter gives the rolls that slightly rich, restaurant-style flavor without making them heavy. Rolling the dough into a rectangle, folding it, and cutting squares keeps the shape rustic and helps the rolls rise upward instead of spreading out flat.
Below, I’ve included the details that matter most: how to handle the yeast so the dough rises cleanly, why the butter goes on after baking, and a few practical swaps if you need to adapt the recipe.
The rolls came out unbelievably soft, and brushing them with butter right out of the oven gave them that bakery-style shine. The cinnamon honey butter was gone before dinner was even served.
Love these soft Texas Roadhouse Rolls? Save them for the next time you want warm bread with that fluffy crumb and cinnamon honey butter.
The One Rise You Can’t Rush If You Want Fluffy Rolls
These rolls look simple, but the texture depends on giving the dough time to relax and inflate at each stage. If you cut corners on the rise, the centers stay tight and the tops bake up dense instead of cloud-soft. The dough should look noticeably puffy before shaping, and the second rise should leave the squares airy enough that they jiggle a little when you move the pan.
The other place people lose the texture is in the oven. Overbaking dries out the crumb fast, especially in a roll this small. Pull them when the tops are just golden and the centers are set; they’ll finish setting from residual heat, and the butter brush at the end keeps the crust tender instead of hard.
- Yeast — Active dry yeast needs that first warm soak to wake up. If the mixture doesn’t look foamy after 5 minutes, stop there and start over with fresh yeast; everything else depends on a healthy rise.
- Whole milk — Milk gives these rolls a softer, richer crumb than water alone. Warm it to about 110°F, not hot enough to scald, or you’ll slow the yeast instead of helping it.
- Butter — Melted butter goes in the dough for tenderness, and the brushed butter goes on after baking for that glossy, bakery finish. Don’t swap in oil if you want the same flavor and soft bite.
- Powdered sugar and honey — These belong in the cinnamon butter, not the dough. Powdered sugar keeps the spread smooth, while honey gives it that maple-like sweetness that melts into the warm rolls.
What Each Ingredient Is Actually Doing in This Recipe
- Primary ingredient (the star) — Quality matters most. Choose the best you can find.
- Cooking medium (oil, butter, or broth) — This carries flavors and prevents dryness.
- Seasonings (salt, pepper, spices, herbs) — Layer flavors so nothing overpowers. Build depth gradually.
- Aromatics (garlic, onion, herbs) — Cook with fat to bloom flavors. Become the foundation.
- Supporting ingredients — Complement the main ingredient without overpowering it.
- Sauce or liquid (if applicable) — Brings flavors together. Balance richness with acid.
- Acid (lemon, vinegar, wine, or other) — Brightens and prevents flat-tasting results.
- Final finish (garnish, glaze, or sauce) — Prevents one-dimensional taste and adds visual appeal.
Building the Dough So It Stays Soft, Not Heavy
Waking Up the Yeast
Stir the warm milk, water, yeast, and a spoonful of sugar together and leave it alone until it turns foamy. That foam tells you the yeast is active and ready to lift the dough. If the surface stays flat or only a few bubbles appear, the yeast likely wasn’t alive or the liquid was too hot. Don’t move ahead and hope for the best; the rolls will bake up flat and tight.
Kneading to the Right Feel
After the flour goes in, knead until the dough turns smooth, elastic, and slightly tacky without sticking hard to your hands. Eight minutes is about right by hand or mixer, but texture matters more than the clock. If you add too much flour early, the dough gets stiff and the rolls lose that soft pull-apart crumb. A little tackiness is good here.
Shaping the Squares
Roll the dough into a half-inch rectangle, fold it over, then cut it into squares for that classic rustic look. The folding gives the rolls extra loft and helps create a layered interior. Keep the cuts clean and don’t twist the dough as you move it to the pan, or you’ll compress the edges and slow the rise.
Baking and Buttering at the End
Bake until the tops are pale gold, not deep brown. The biggest mistake is waiting for a darker crust, which dries out the interior before the center finishes baking. Brush the rolls with melted butter while they’re still hot so it soaks into the surface instead of sitting on top. That’s what gives them the soft sheen and tender bite people remember.
How to Adapt These Rolls Without Losing the Soft Crumb
Make Them Ahead for Dinner Service
Shape the rolls and set them on the baking sheet, then cover and refrigerate overnight instead of doing the second rise at room temperature. The next day, let them sit out until puffy before baking. This keeps the dough from overproofing and actually deepens the flavor a little.
Dairy-Free Version
Use unsweetened non-dairy milk and a plant-based butter that melts cleanly. The rolls will still rise and stay soft, but the flavor won’t have quite the same rich finish, so brush the tops generously after baking and don’t skip the cinnamon honey spread.
Lower-Sugar Cinnamon Butter
Cut the powdered sugar in the butter by a tablespoon or two if you want a less sweet spread. The butter will still whip up smoothly, but it’ll lean more toward creamy cinnamon butter than dessert topping.
Storage and Reheating
- Refrigerator: Store baked rolls in an airtight container for up to 4 days. They’ll soften slightly as they sit, especially if brushed with butter.
- Freezer: These freeze well. Wrap the baked rolls tightly and freeze for up to 2 months, or freeze shaped unbaked rolls after the second rise if you want fresher results later.
- Reheating: Warm at 300°F for about 8 minutes, or microwave briefly in a covered container with a damp paper towel. The mistake to avoid is blasting them too long, which turns the crumb dry and chewy.
Questions I Get Asked About These Rolls
Texas Roadhouse Rolls
Ingredients
Equipment
Method
- Combine whole milk, warm water, active dry yeast, and 1 tablespoon sugar, then let stand 5 minutes until foamy. You should see bubbles across the surface as a visual cue.
- Add the remaining sugar, large egg, melted butter, salt, and all-purpose flour, then knead 8 minutes until soft and smooth. The dough should look elastic and hold together without dry patches.
- Cover the dough and rise for 1 hour until doubled. It should visibly expand to about twice its original size.
- Roll the dough into a 1/2-inch thick rectangle, then fold in half and cut into 2-inch squares. Keep the squares consistent for even baking.
- Place the squares on a parchment-lined sheet, cover, and rise for 1 hour until puffy. They should look light and inflated, not tight.
- Preheat the oven to 350F, then bake for 12-15 minutes until golden. Brush immediately with melted butter for shine and flavor.
- Whip butter, softened, powdered sugar, honey, and ground cinnamon until fluffy. The mixture should lighten in color and become aerated and spreadable.
- Serve the warm rolls with the cinnamon honey butter. Aim to offer it right away so it melts slightly into the fluffy center.