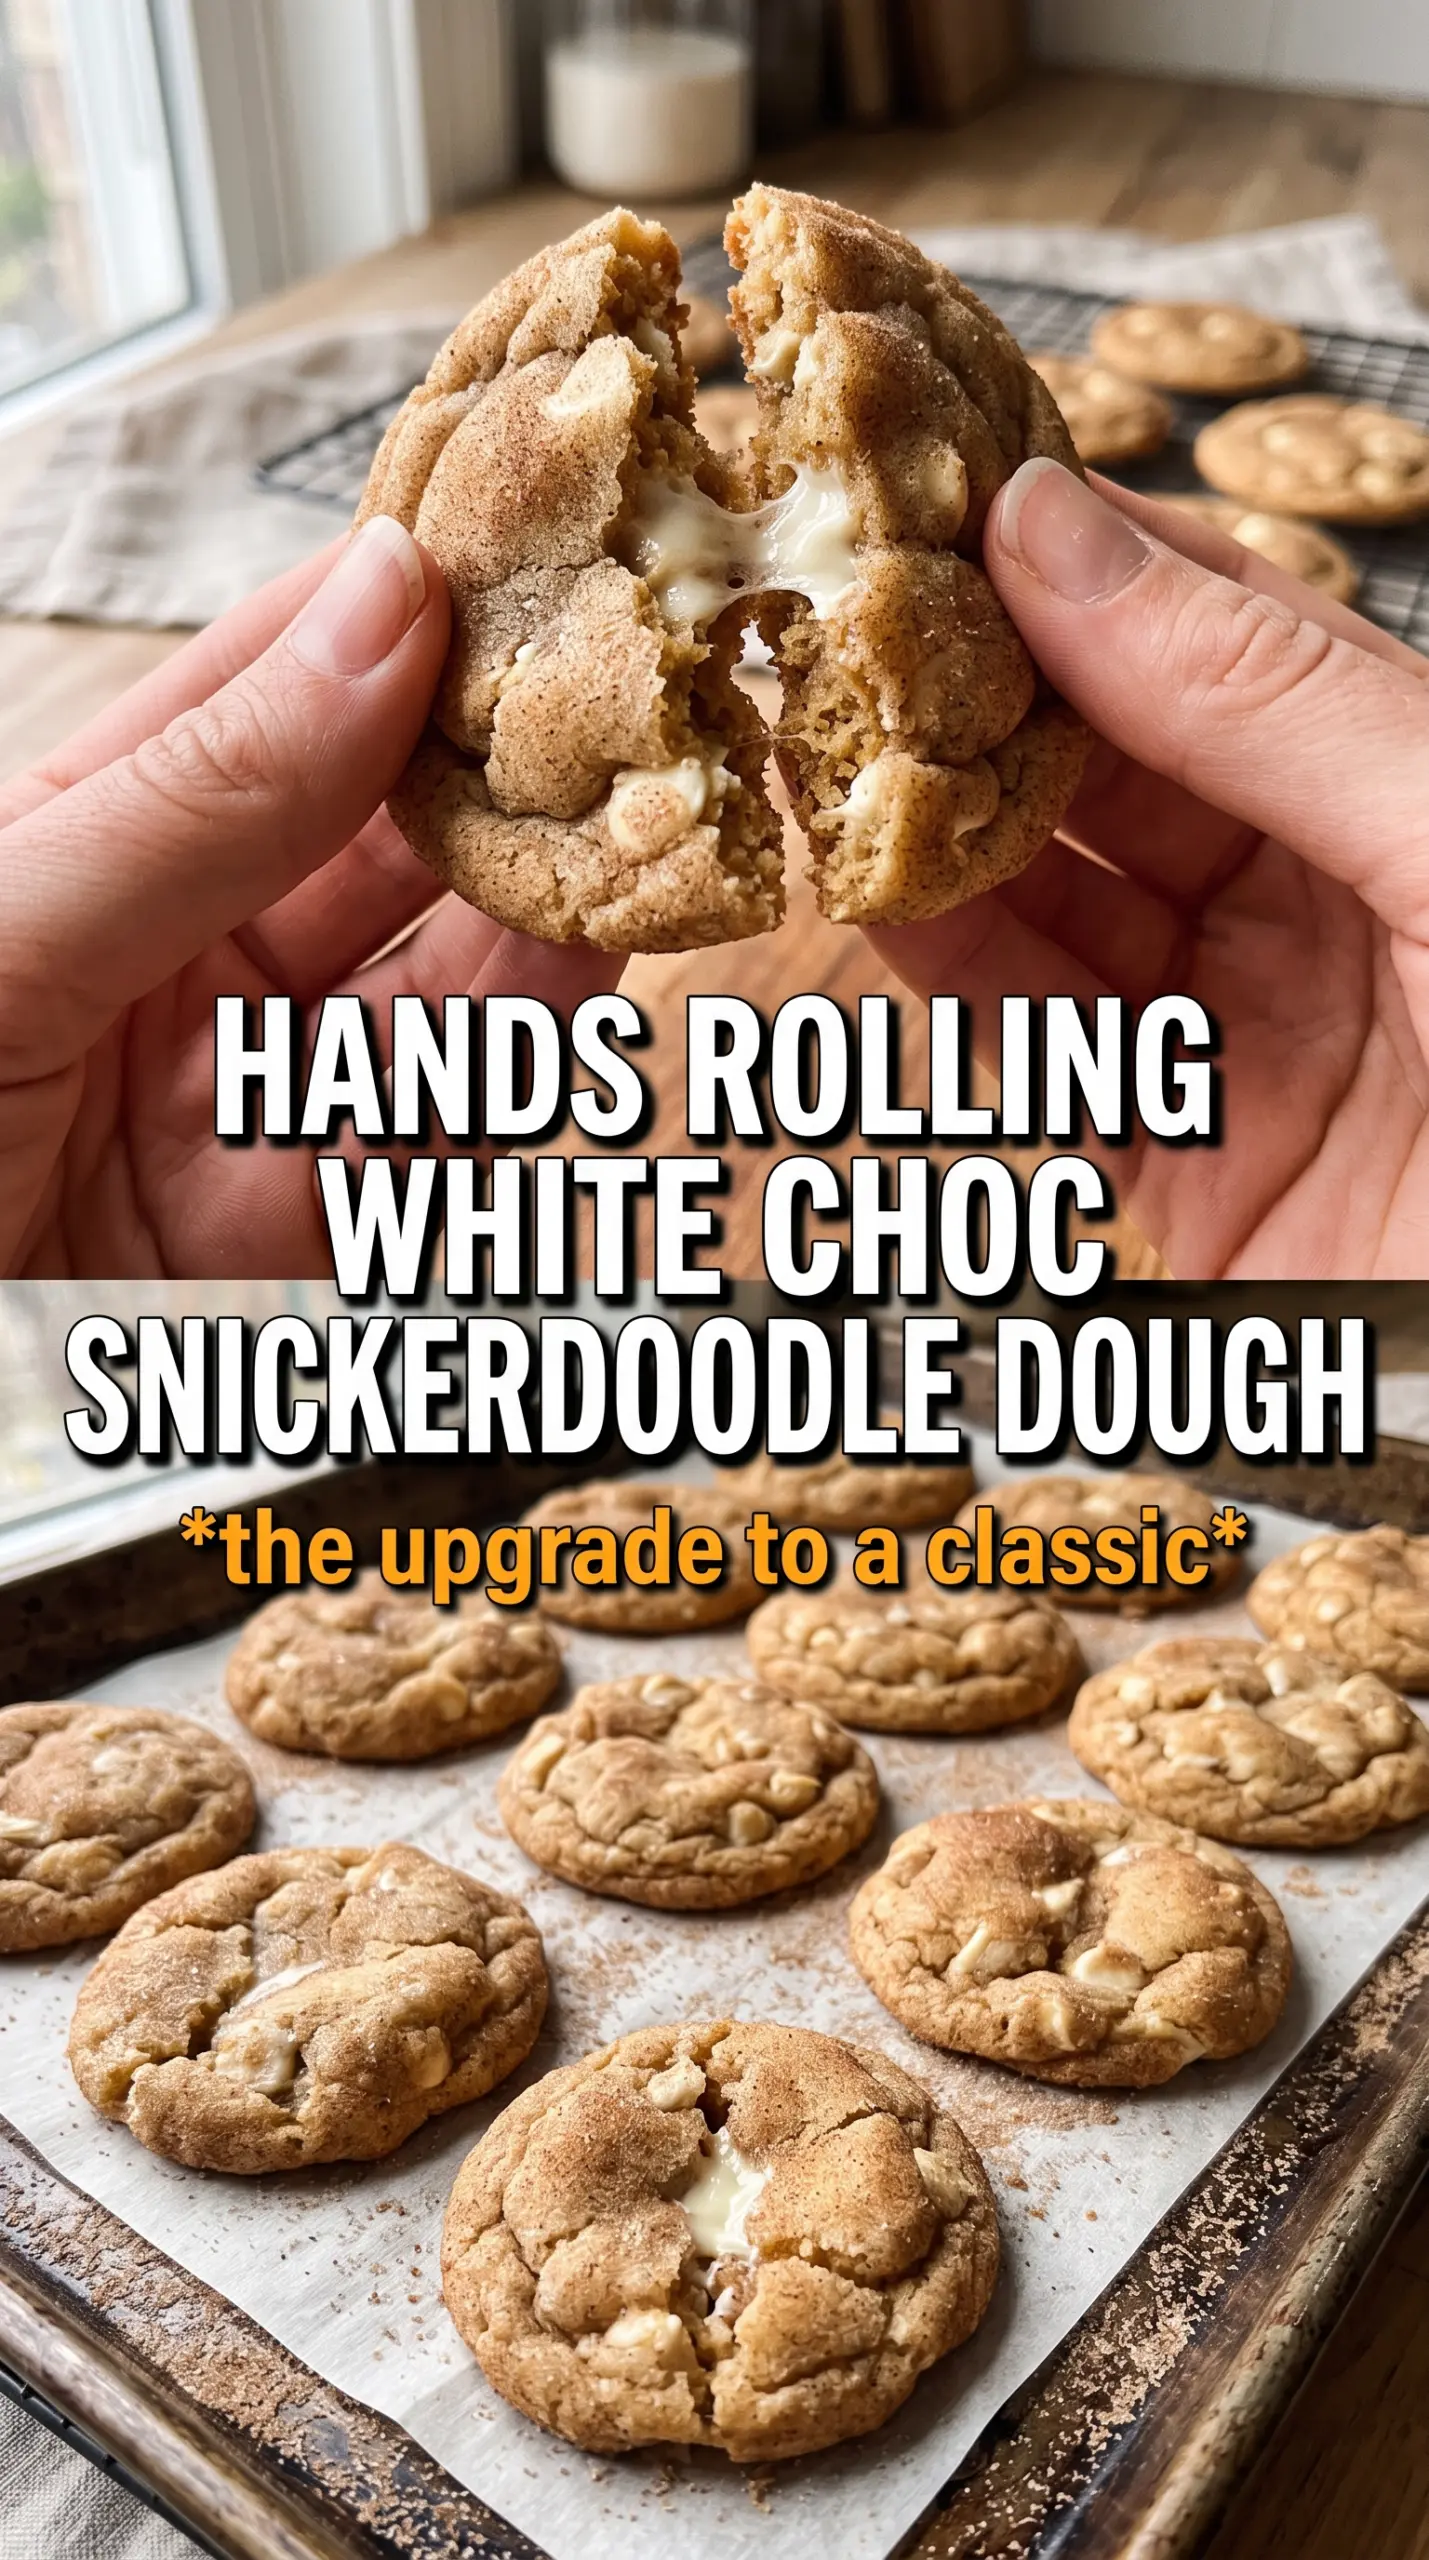
White chocolate pumpkin snickerdoodles bake up soft in the center with those crackly cinnamon-sugar edges that make you reach for a second one before the first has even cooled. The pumpkin brings a gentle warmth and a plush texture, while the white chocolate melts into creamy pockets that keep each bite from tasting flat or one-note.
The difference here is in the pumpkin. It has to be blotted dry before it ever touches the dough, or the cookies spread too much and lose that thick, crinkled snickerdoodle look. Cream of tartar gives the dough the classic tang and helps with the chewy center, and the extra spice in the roll takes the outside from sweet to bakery-worthy.
Below, I’ll walk through the small details that keep these cookies soft but structured, plus the best way to handle the dough if you want neat, round cookies instead of puddles.
I blotted the pumpkin like you said and the cookies held their shape perfectly. The centers stayed soft for days and the white chocolate gave them just enough sweetness without making them heavy.
Like these crinkled white chocolate pumpkin snickerdoodles? Save them to Pinterest for soft, spiced cookies with perfect edges and melted white chocolate in every bite.
The Pumpkin Needs to Be Dry or the Cookies Spread Too Much
Snickerdoodles depend on a fairly sturdy dough. Pumpkin puree brings flavor and softness, but it also brings water, and that extra moisture is the fastest way to end up with cookies that bake up thin and cakey instead of thick and crinkled. Blotting the pumpkin on paper towels until it looks almost paste-like keeps the dough balanced enough to hold those tall edges in the oven.
The other thing that matters here is the dough texture before it goes into the oven. It should be soft but not sticky enough to smear across your hands. If it feels loose, chill it for 20 minutes instead of adding more flour, since too much flour dries out the centers and dulls the pumpkin flavor.
- Cream of tartar — This is what gives snickerdoodles their classic tang and helps them bake with that chewy, slightly lifted texture. Don’t swap it out if you want the real snickerdoodle finish.
- Pumpkin puree — Use plain puree, not pumpkin pie filling. The filling is already sweetened and spiced, which throws off both the flavor and the structure.
- White chocolate chips — The chips should go in at the end so they stay intact. Chopped white chocolate works too, but chips hold their shape a little better and give you those creamy pockets.
- Spice coating — The cinnamon-sugar-pumpkin spice roll is not decoration. It adds the crackly outside and keeps the cookies tasting like snickerdoodles instead of plain pumpkin cookies.
What Each Ingredient Is Actually Doing in This Recipe
- Primary ingredient (the star) — Quality matters most. Choose the best you can find.
- Cooking medium (oil, butter, or broth) — This carries flavors and prevents dryness.
- Seasonings (salt, pepper, spices, herbs) — Layer flavors so nothing overpowers. Build depth gradually.
- Aromatics (garlic, onion, herbs) — Cook with fat to bloom flavors. Become the foundation.
- Supporting ingredients — Complement the main ingredient without overpowering it.
- Sauce or liquid (if applicable) — Brings flavors together. Balance richness with acid.
- Acid (lemon, vinegar, wine, or other) — Brightens and prevents flat-tasting results.
- Final finish (garnish, glaze, or sauce) — Prevents one-dimensional taste and adds visual appeal.
Building the Dough So the Centers Stay Soft
Whisk the Dry Ingredients First
Combine the flour, cream of tartar, baking soda, cinnamon, pumpkin pie spice, nutmeg, and salt before you touch the butter. That distributes the leavening and spices evenly, which matters because pumpkin dough can hide pockets of unmixed flour. If the cinnamon clumps, the spice coating on the outside won’t save the cookies from tasting uneven inside.
Beat the Butter and Sugar Until It Looks Fluffy
Mix the butter and sugar until the color lightens and the texture looks airy, not grainy. This step helps the cookies bake with lift instead of density. Once the egg, blotted pumpkin, and vanilla go in, the mixture may look a little curdled, and that’s normal. It comes back together when the flour is added.
Fold, Then Stop
Add the flour mixture and fold just until the streaks disappear, then fold in the white chocolate chips. Overmixing at this point builds tough cookies and pushes the dough toward a puffy, bready texture. The dough should look soft and thick, not smooth like cake batter. If it feels sticky, chill it briefly before rolling.
Roll for a Thick Crinkle
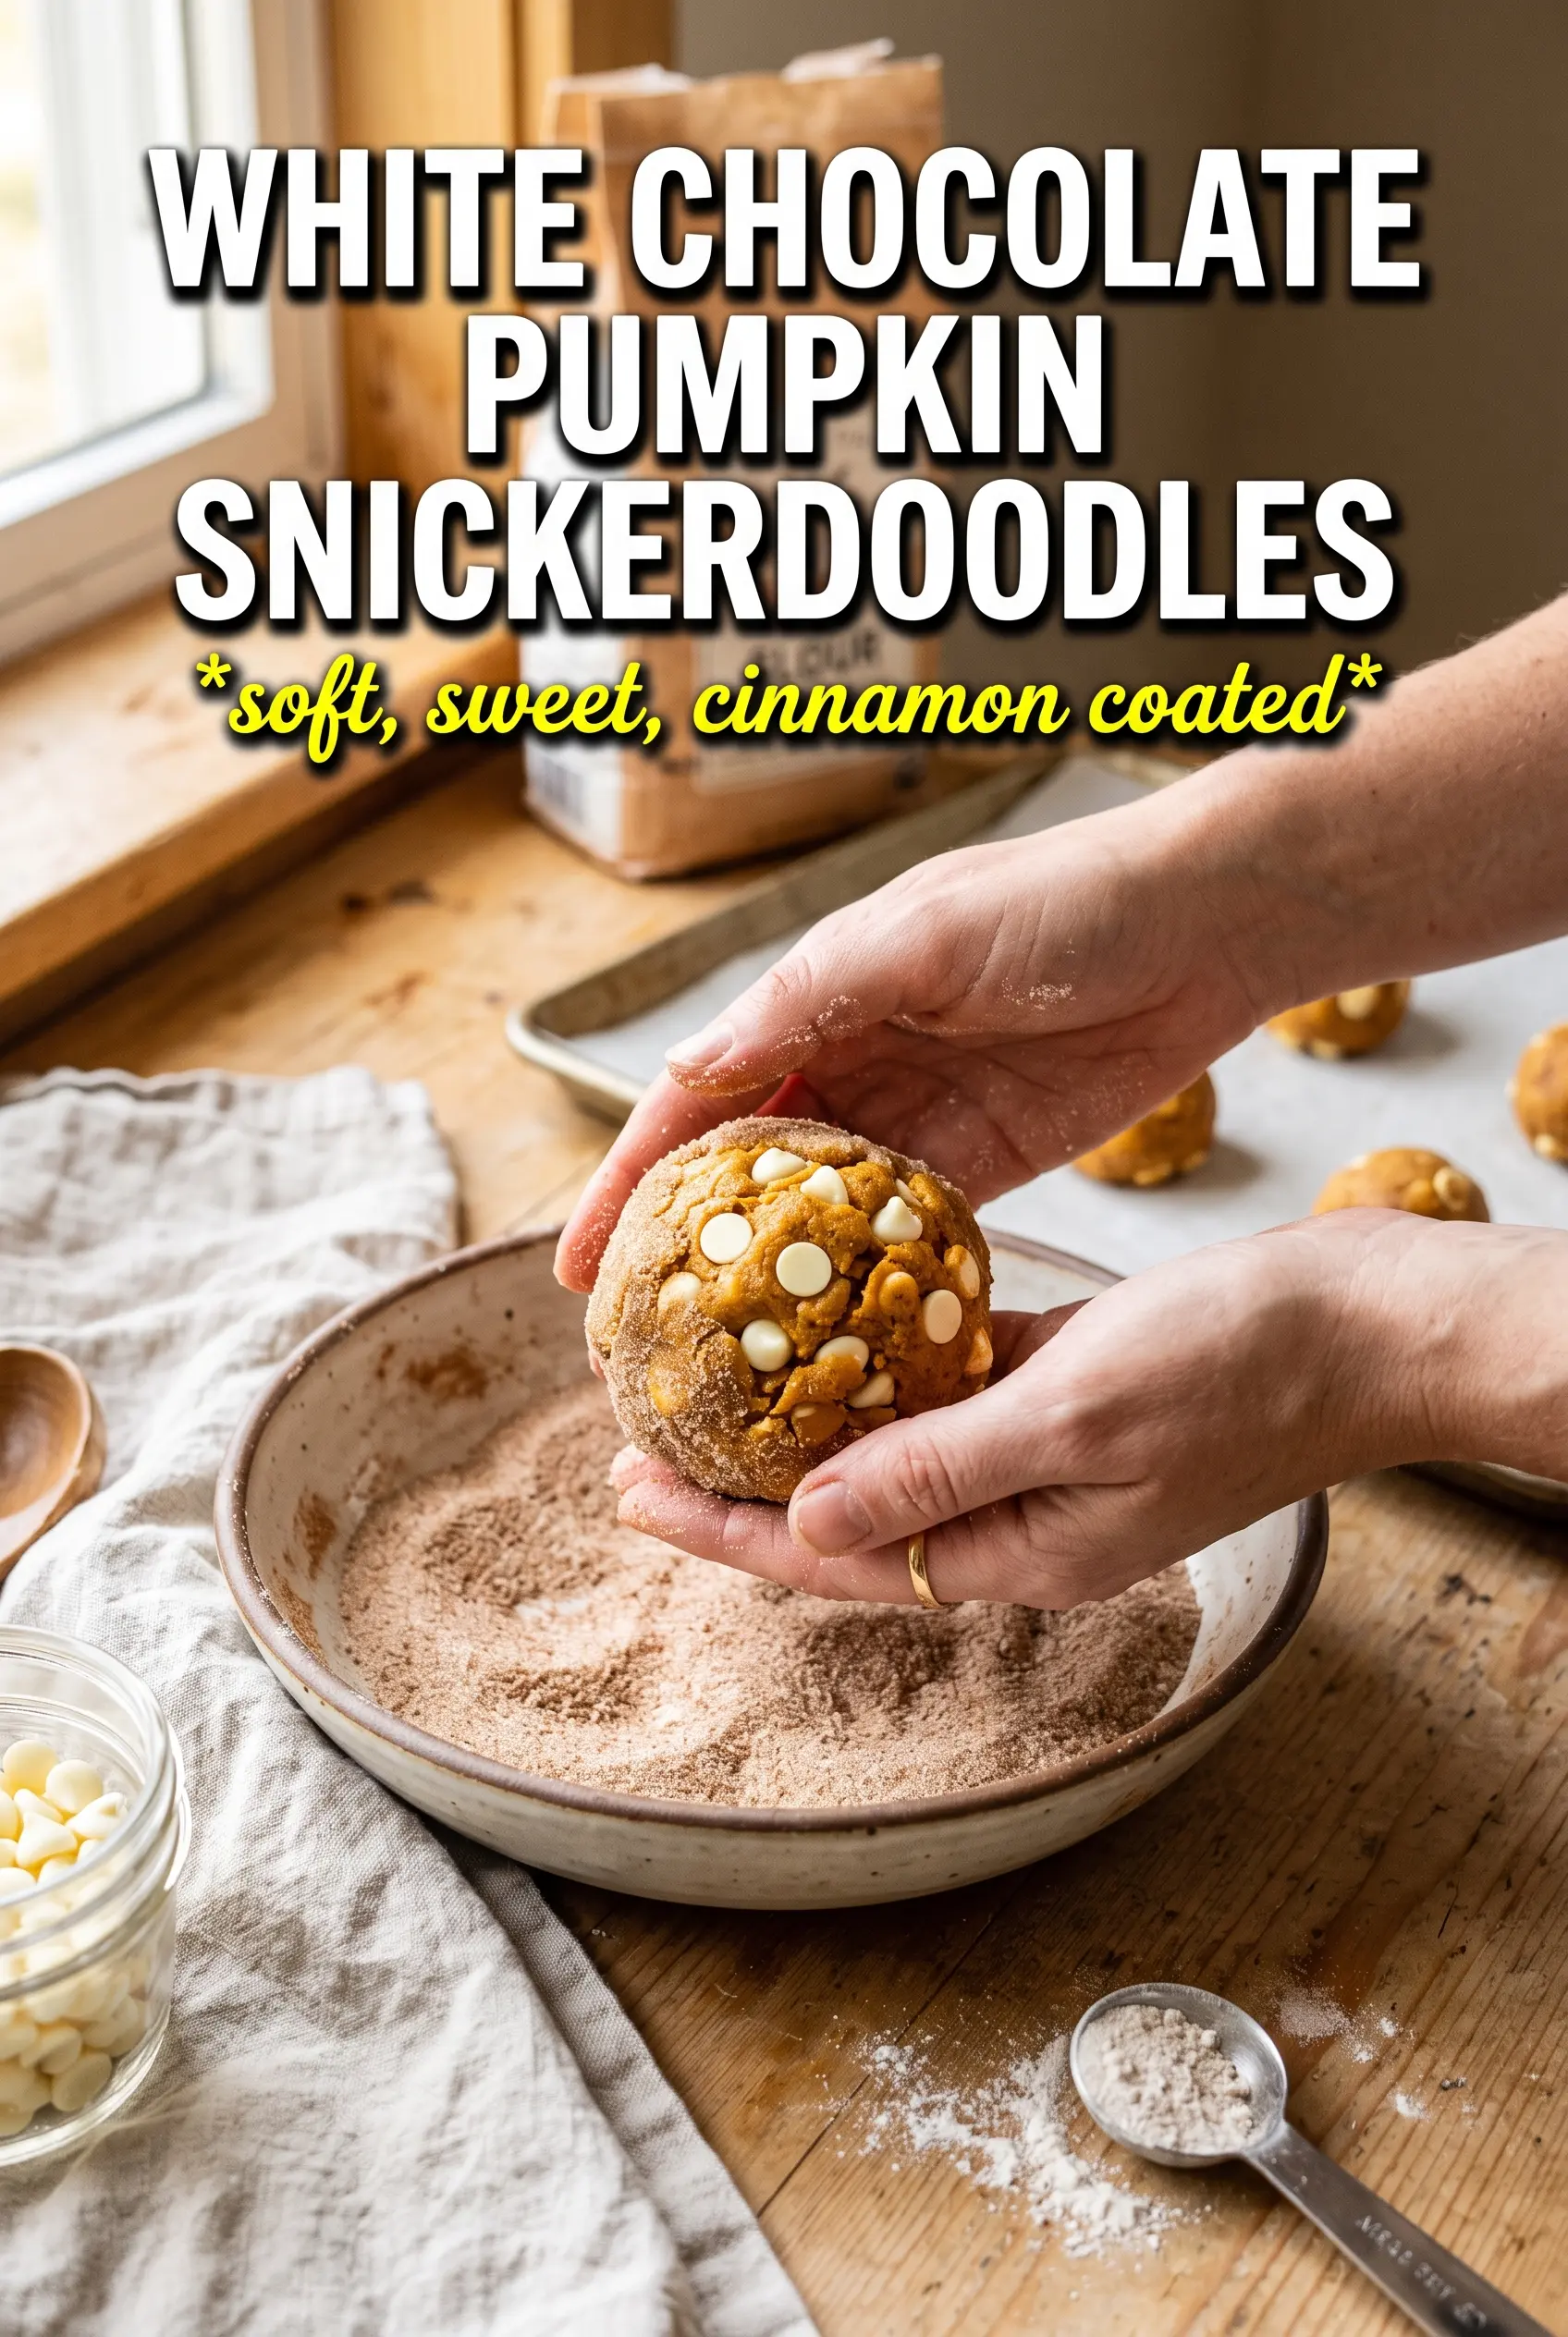
Use 1 1/2-tablespoon portions and roll them generously in the cinnamon-sugar mixture. The coating should cling all over, since that outer sugar helps form the crackly top as the cookies spread. Bake until the edges are set and the centers still look slightly soft; they finish cooking on the pan. If you wait for the centers to look fully done in the oven, they’ll end up dry once cooled.
Chilling the Dough for a Cleaner Shape
If your kitchen is warm or your pumpkin was a little wetter than ideal, chill the dough for 20 to 30 minutes before rolling. That firms the butter back up and gives the cookies a thicker, more bakery-style shape. The tradeoff is a slightly less dramatic spread, but the payoff is a better crinkle and a softer center.
Dairy-Free Version
Use a plant-based butter stick that behaves like real butter, not a tub spread. The texture stays close, though the flavor is a little less rich and the edges may brown a touch faster. Keep the white chocolate chips dairy-free if you need the whole cookie to fit that lane.
Gluten-Free Swap
A 1:1 gluten-free baking blend works best here, especially one with xanthan gum already included. The cookies will be a little more delicate and may spread a bit differently, so keep the portions uniform and watch the first pan closely. The flavor stays right in place even if the texture gets slightly softer.
Storage and Reheating
- Refrigerator: Store in an airtight container for up to 5 days. The cookies stay soft, though the sugar coating will soften a little.
- Freezer: These freeze well baked or as portioned dough balls. Freeze on a tray first, then transfer to a bag; baked cookies should be wrapped well so the white chocolate doesn’t pick up freezer flavor.
- Reheating: Warm baked cookies in a 300F oven for 3 to 5 minutes or let them sit at room temperature until soft. The mistake to avoid is microwaving too long, which melts the chips into greasy spots and dries the cookie edge.
Answers to the Questions Worth Asking
White Chocolate Pumpkin Snickerdoodles
Ingredients
Equipment
Method
- Preheat oven to 375°F and line baking sheets. The pan should be ready and cool enough to handle once the oven reaches temperature.
- Blot the pumpkin very dry. You should see the puree look less wet so the dough holds its shape.
- Whisk all-purpose flour, cream of tartar, baking soda, cinnamon, pumpkin pie spice, nutmeg, and salt. Whisk until evenly combined with no visible spice clumps.
- Beat softened unsalted butter and granulated sugar until very fluffy, then add the egg, pumpkin puree, and vanilla. Mix just until smooth and lighter in color.
- Fold the flour mixture into the wet ingredients, then fold in the white chocolate chips. Stop mixing as soon as no dry streaks remain so the cookies stay tender.
- Roll about 1 1/2 tablespoon balls in the cinnamon-sugar mixture (sugar, cinnamon, and pumpkin pie spice). Coat the tops and sides so they look crinkled and speckled after baking.
- Bake for 10-12 minutes at 375°F until crinkled and edges are set. Look for set edges and pale centers that finish baking as they cool.