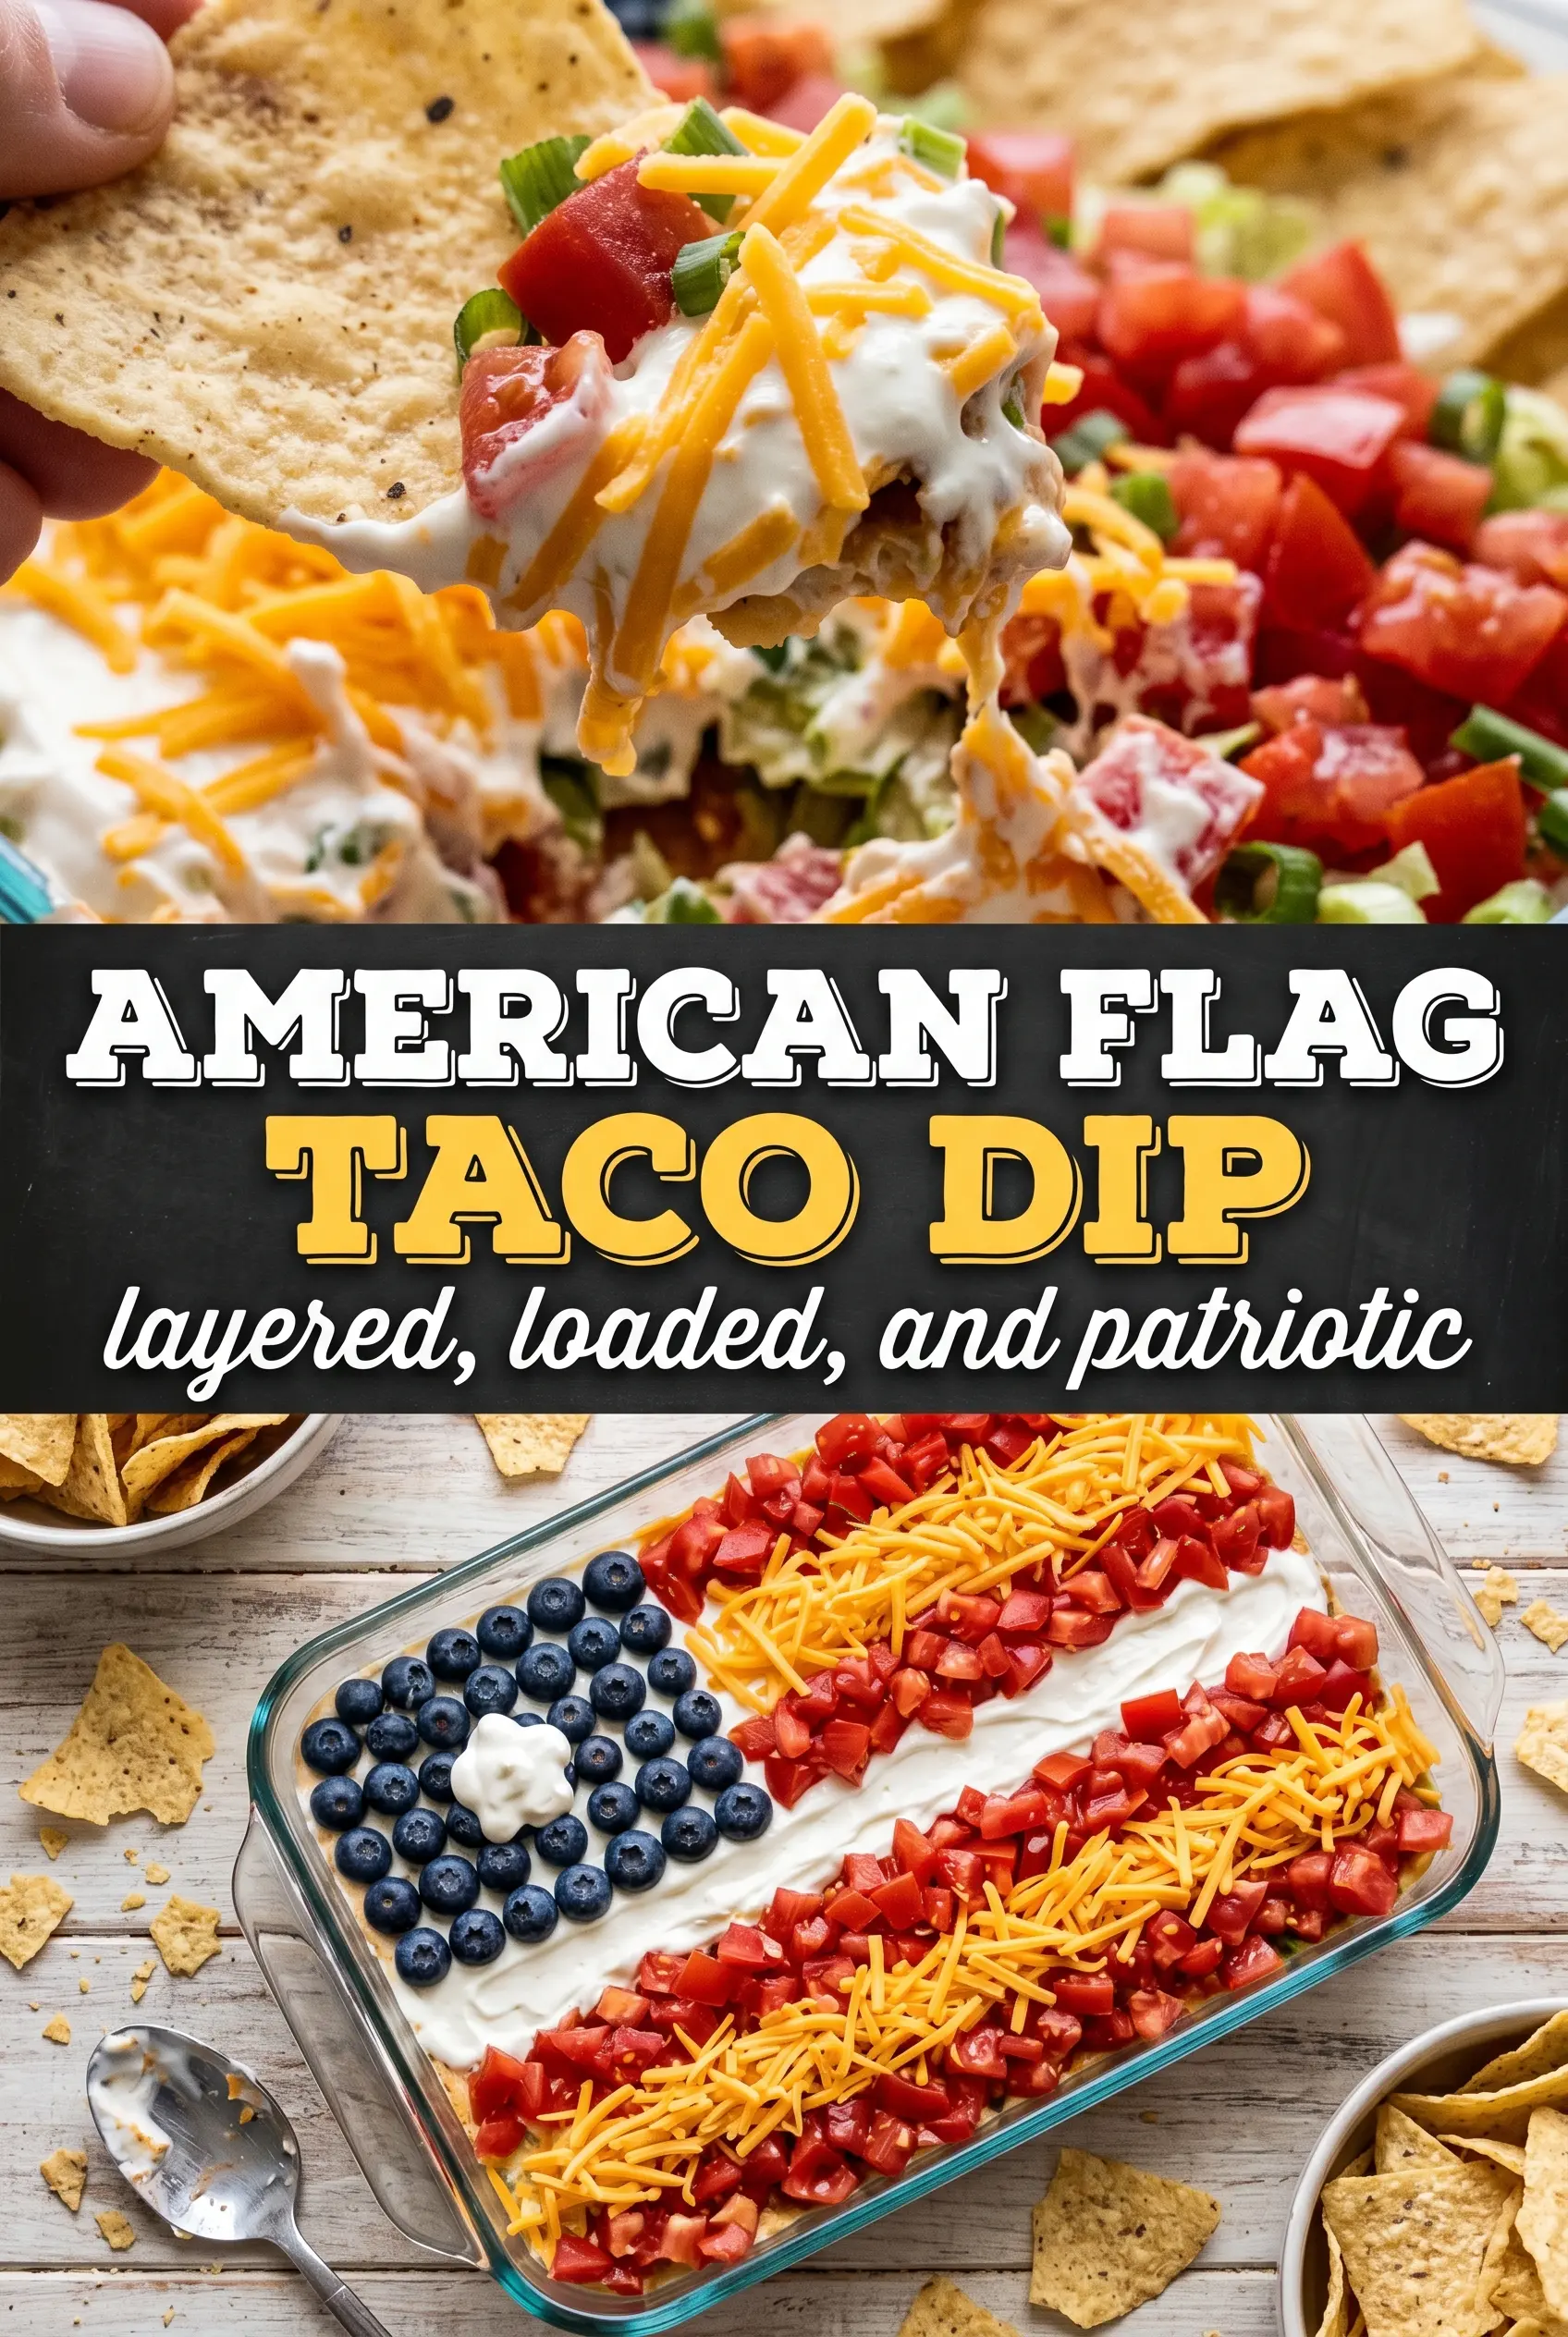
American Flag Taco Dip disappears fast because it hits every note people want in a party appetizer: creamy, salty, bright, and scoopable. The layers stay distinct enough to cut cleanly with a chip, and the flag design gives it that made-you-look moment before anyone even takes a bite. It’s the kind of dish that gets set down once and starts losing corners immediately.
The trick is building layers that are thick enough to hold the decoration without turning loose or watery. Softened cream cheese blended with taco seasoning makes a sturdy middle layer that keeps the guacamole and cheese from sliding around, and chilling it for a short stretch before serving helps everything settle into place. I like to keep the toppings fairly dry and use chunky salsa or pico so the red stripes stay sharp instead of bleeding into the sour cream.
Below, you’ll find the small technique details that make the flag pattern hold up, plus a few swaps for making it fit the crowd in front of you. If you’ve ever had a layered dip collapse the second the chips hit it, this version fixes that problem.
The layers stayed put even after sitting out during the whole cookout, and the sour cream stripes looked just like a little flag right before we dug in. The cream cheese layer gave it enough body that the chips didn’t sink straight through.
Save this American Flag Taco Dip for your next cookout when you want a patriotic party dip that holds its layers and slices into clean red, white, and blue rows.
The Layer Order That Keeps the Flag From Sliding
With layered dips, the problem usually isn’t flavor. It’s structure. If you stack everything too loosely, the toppings drift, the sour cream stripes smear, and the first chip drags half the dish with it. The fix is to start with a dense base and work upward in layers that have enough body to support the decoration.
The refried beans and cream cheese mixture do the heavy lifting here. Together they create a thick foundation that grips the guacamole and cheese instead of letting them float around in the salsa. Chilling the finished dip for 30 minutes isn’t just a nice extra; it firms the layers enough that the flag pattern stays sharp when the tray hits the table.
- Refried beans — These give the dip its base and keep it scoopable. Use the thickest beans you can find; watery beans make the whole tray sloppy.
- Cream cheese — This is what gives the middle layer its body. Soften it fully first, or you’ll end up with little cold lumps that tear the bean layer.
- Guacamole — Homemade or store-bought both work, but it needs to be thick. Thin guacamole slides under the cheese and softens the whole top.
- Sour cream — Pipe it on cold so the stripes hold their edges. Thinned sour cream won’t hold the flag shape.
- Chunky salsa or pico de gallo — Chunky is better than smooth here because it sits in distinct rows. If yours is extra juicy, drain off the excess first.
How to Build the Flag Toppings So They Stay Sharp
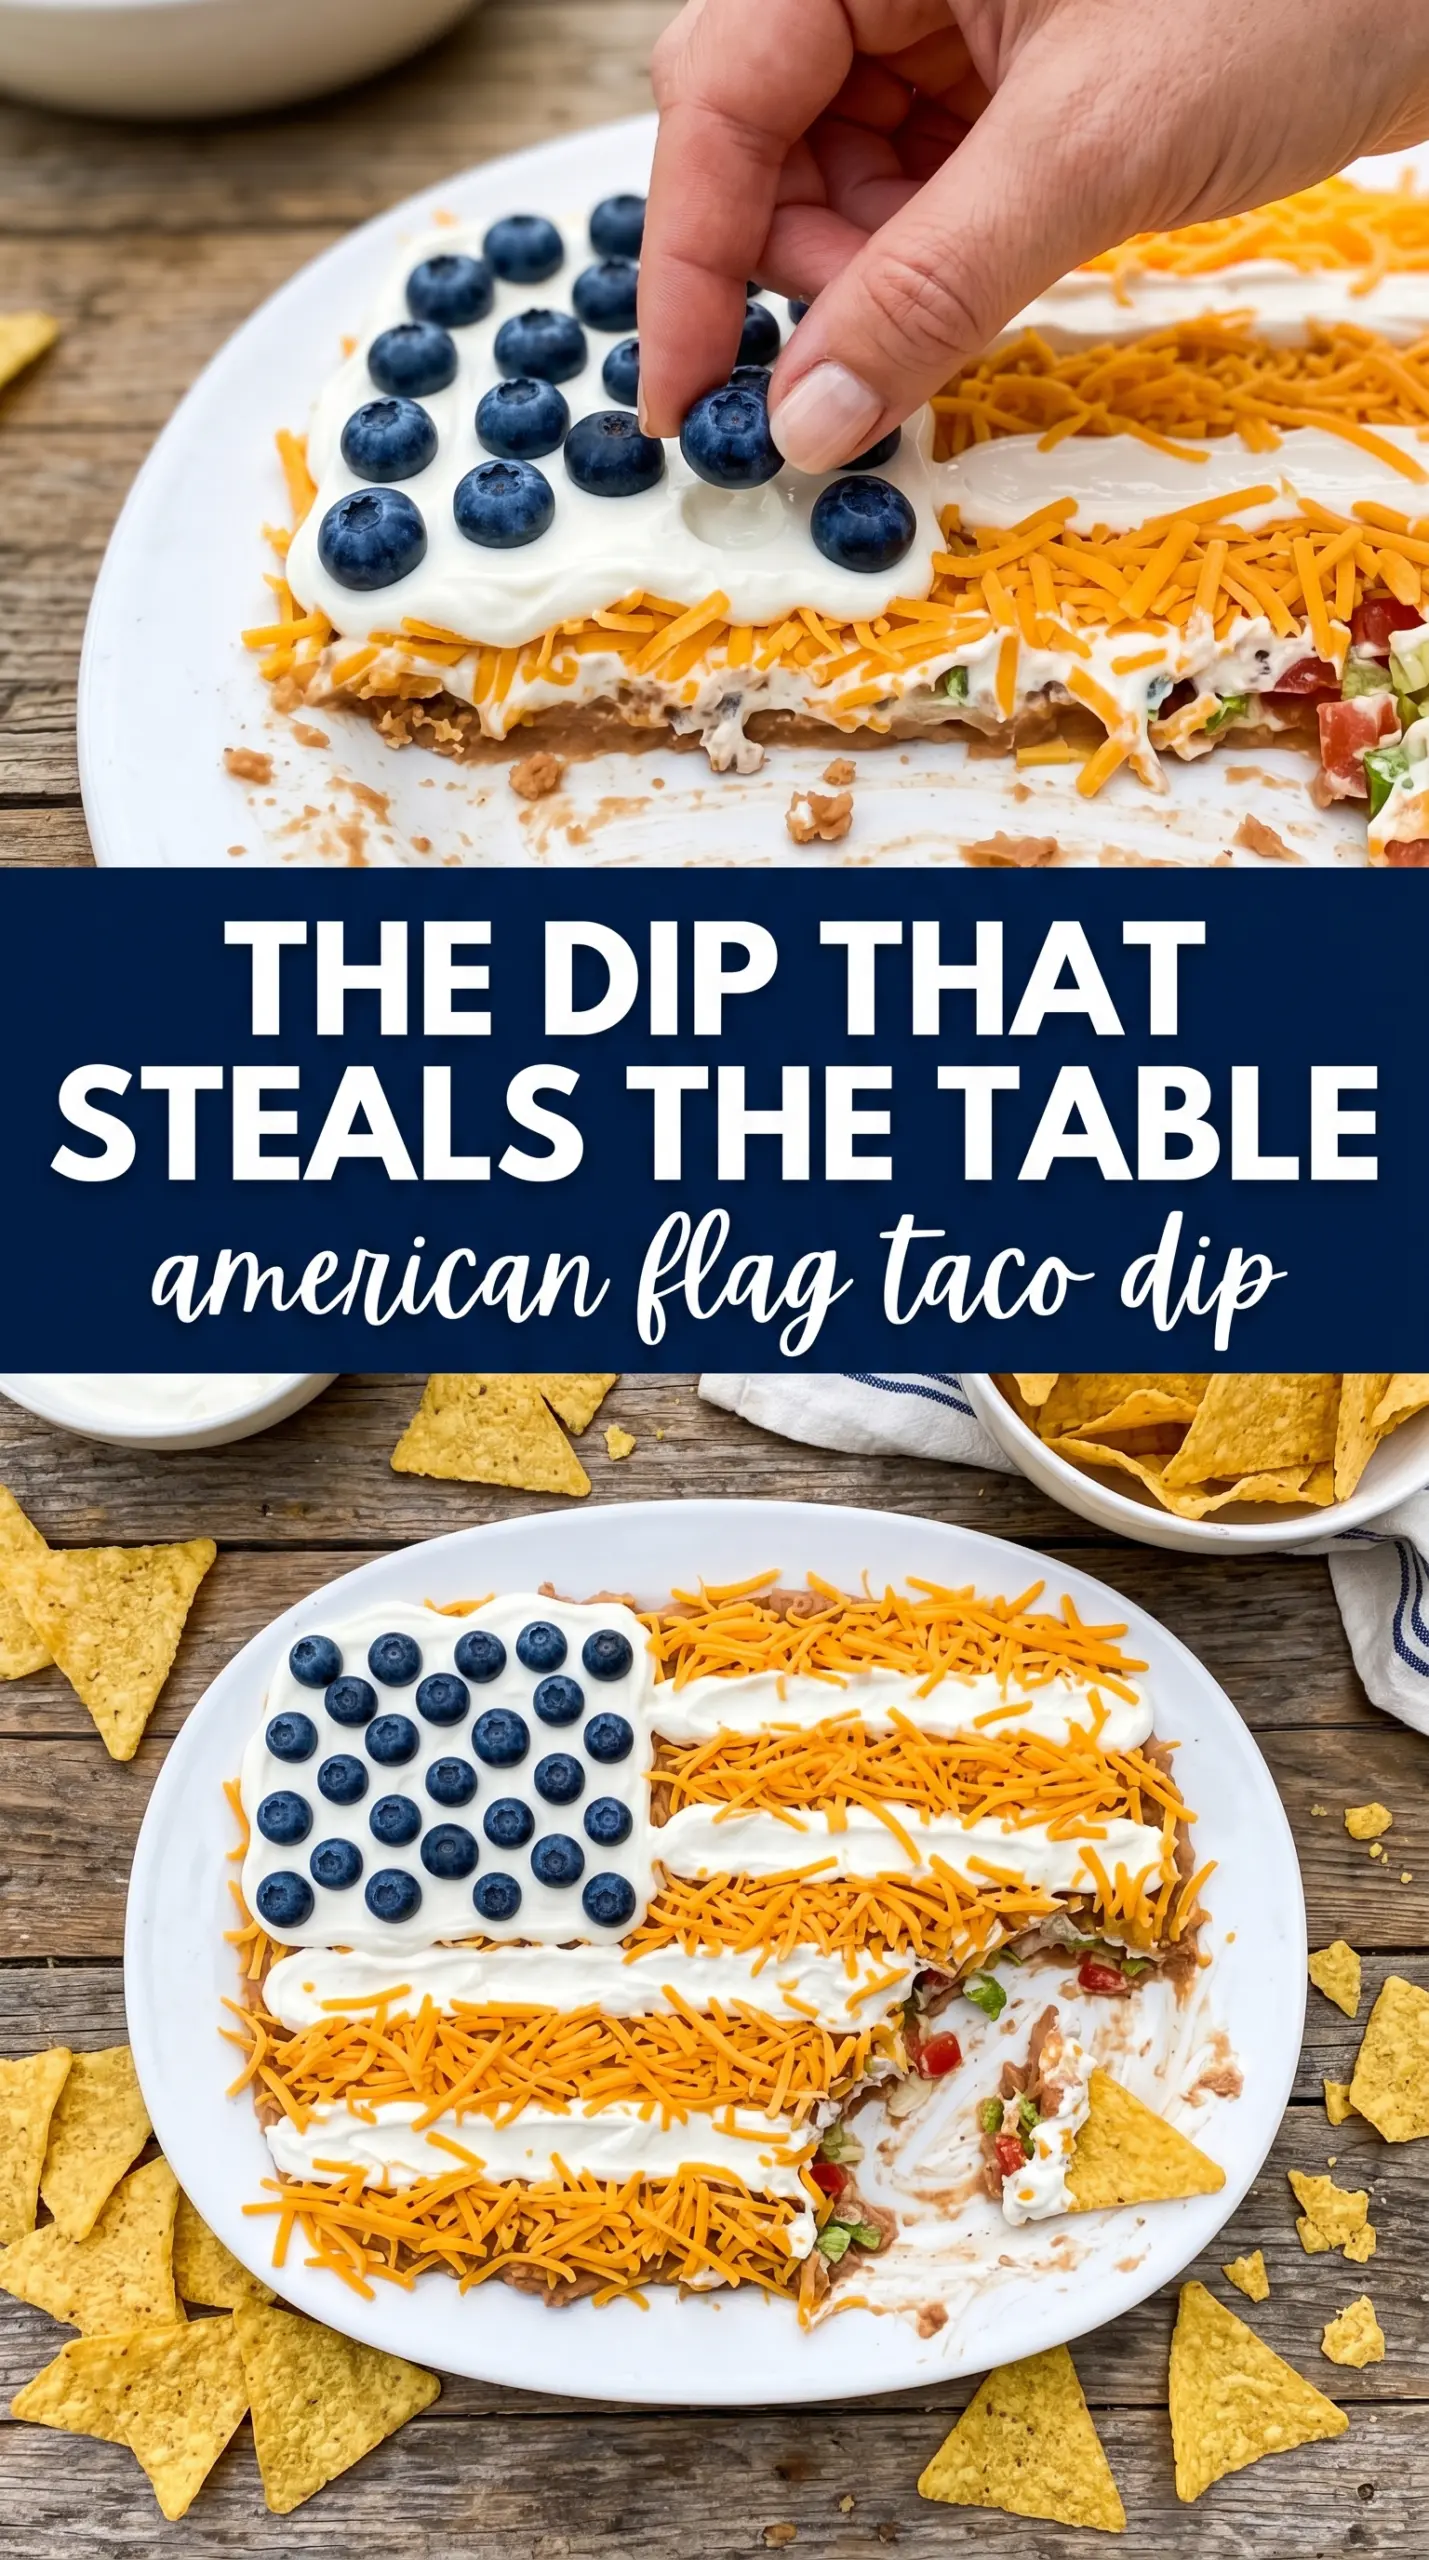
- Black olives for the canton — These make the blue corner look clean and bold. Slice them thin and pack them tightly so the rectangle reads as one solid block.
- Cherry tomatoes or red bell pepper — Tomatoes give you the strongest red color, while bell pepper stays a little cleaner and less juicy. If you use tomatoes, seed them first so they don’t leak.
- Green onions — These add freshness and a little visual lift. Scatter them lightly at the end so they don’t crowd the flag design.
Assembling the Dip Without Smearing the Design
Building the Base
Spread the refried beans in an even layer first, all the way to the edges of a rectangular dish. This is the layer that anchors everything else, so don’t leave thin spots in the corners. Mix the softened cream cheese with the taco seasoning until it’s smooth and spreadable, then lay it over the beans without dragging the spoon back and forth too much. If the cream cheese is still cold, stop and let it sit longer; cold cream cheese tears the bean layer and makes the middle patchy.
Adding the Middle Layers
Spread the guacamole on in a gentle, even layer and top it with the shredded Mexican cheese. The order matters because the cheese gives the top something to cling to before the decorative stripes go on. If your guacamole is loose, chill it first or it will slip when you try to pipe the sour cream. Keep the layers flat and level so the flag stripes sit on a smooth surface instead of sinking into dips and ridges.
Piping the Flag
Spoon the sour cream into a piping bag or a zip-top bag with the corner snipped, then pipe straight horizontal lines across the top. Don’t overthink the spacing; the lines just need to be even enough to suggest stripes. Add the salsa or diced red tomato between the sour cream lines, then press the olives into the upper left corner to form the blue field. If the salsa is watery, blot it lightly with a paper towel first or the white stripes will blur within minutes.
The Chill That Locks Everything In
Scatter the green onions over the top, then chill the dip for at least 30 minutes before serving. That short rest gives the cream cheese layer time to firm up and keeps the flag design from shifting when you move the tray. Pull it out just before serving so the sour cream stays cool and the chips keep their crunch. If you skip the chill, the dip still tastes fine, but the pattern will soften fast.
How to Adapt This for Different Crowds and Diets
Gluten-Free Party Dip
The dip itself is naturally gluten-free as long as your taco seasoning is certified gluten-free. Serve it with sturdy corn tortilla chips, and you’ve got a crowd-pleasing appetizer that doesn’t need any extra changes.
Dairy-Free Version
Use dairy-free cream cheese, sour cream, and shredded cheese in the same amounts. The texture will be a little softer, so chill it a bit longer before serving to help the layers set up.
Make It Spicier
Stir diced jalapeños or a spoonful of hot salsa into the bean layer, or use a spicy taco seasoning packet. That gives the dip more heat without changing the flag design, and it keeps the top layer looking clean.
Make-Ahead for a Cookout
You can assemble the base layers several hours ahead, then add the sour cream stripes, salsa rows, and olive corner closer to serving time. That keeps the red and white sections from bleeding and the whole tray looking fresh.
Storage and Reheating
- Refrigerator: Cover and refrigerate for up to 3 days. The top will soften a little, but the flavor holds well.
- Freezer: This one doesn’t freeze well. The sour cream, guacamole, and cream cheese layers change texture after thawing and turn grainy.
- Reheating: Don’t reheat it. Serve it cold or cool, and if it’s been in the fridge, let it sit out for 10 to 15 minutes so the layers aren’t too firm for chips.
Answers to the Questions Worth Asking
American Flag Taco Dip
Ingredients
Equipment
Method
- Spread refried beans in an even layer across the bottom of a large rectangular baking dish or serving tray.
- Mix cream cheese with taco seasoning until smooth, then spread evenly over the bean layer.
- Spread guacamole over the cream cheese layer, then top with the shredded cheese blend.
- Spoon sour cream into a piping bag or zip-lock bag with a corner snipped and pipe horizontal white stripes across the top of the dip.
- Add rows of salsa or diced red tomato between the sour cream stripes to create the red stripe effect.
- In the upper left corner, arrange sliced black olives tightly to form the blue canton rectangle.
- Scatter green onions across the top, then chill for 30 minutes to set the layers.
- Serve chilled with tortilla chips for scooping.