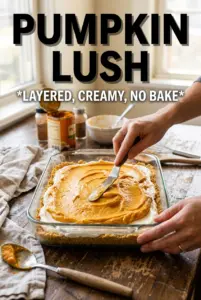
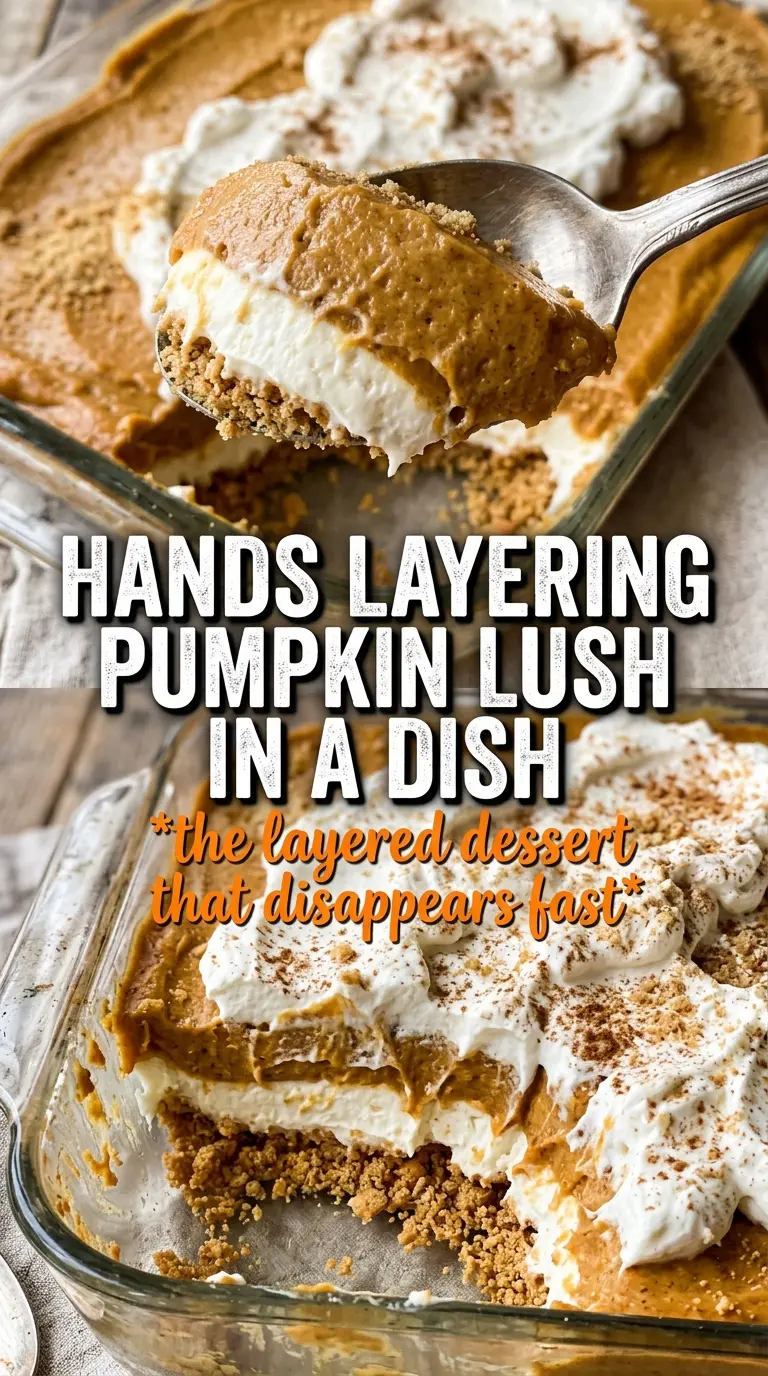
Pumpkin lush sets up into clean, bakery-style layers with a gingersnap crust that stays crisp enough to hold its shape and a pumpkin pudding layer that slices without slumping. The best part is the contrast: spiced cookie crunch at the bottom, tangy cream cheese in the middle, and a cool whipped top finished with toffee bits and cinnamon. It eats like a cross between pie and cheesecake, but without the fuss of rolling dough or baking a custard.
The texture depends on two things done right: the crust needs enough butter to pack firmly, and the pudding has to thicken before it goes on top of the cream cheese layer. If you rush either one, the dessert turns soft and muddy instead of distinct and layered. I’ve also found that letting it chill the full four hours matters more than people think; that’s what gives you those neat squares when you cut in.
Below you’ll find the little details that keep the layers clean, plus a few swaps if you want to change the crust or make it ahead for a crowd.
The pudding layer thickened up perfectly, and the gingersnap crust stayed crisp even after chilling overnight. I brought it to a potluck and people kept asking what was in the bottom layer.
Save this Pumpkin Lush for the layered dessert that slices cleanly, chills beautifully, and tastes like pumpkin pie met cheesecake.
The Secret to Clean Layers Is a Thick Fill, Not a Longer Chill
Pumpkin lush only looks effortless when each layer has enough body to sit on its own. The crust is forgiving, but the filling layers are where people run into trouble. If the cream cheese mixture is too loose or the pudding hasn’t thickened before spreading, the layers blend together and the dessert loses that sharp, defined look when sliced.
The other thing that matters is order. The cream cheese layer acts like a barrier between the crust and the pumpkin pudding, and it needs to be smooth before the pumpkin mixture goes on. Spread gently and stop as soon as the layer reaches the edges. Dragging the spatula back and forth too much will pull crumbs into the filling and blur the finish.
- Gingersnap crumbs — These give you the warm spice and sturdy texture that regular graham crackers can’t quite match here. Use fine crumbs so the crust packs tightly and cuts cleanly.
- Cream cheese — Full-fat cream cheese gives the middle layer enough structure and tang. If it’s cold, it won’t blend smooth, and little lumps will show through the dessert.
- Instant vanilla pudding — Instant pudding thickens fast and sets up the pumpkin layer without baking. Cook-and-serve pudding won’t give the same texture, so don’t swap that in.
- Pumpkin puree — Use plain pumpkin puree, not pumpkin pie filling. The filling already contains sugar and spices, which throws off the balance and makes the dessert overly sweet.
- Whipped topping — Thawed whipped topping folds in easily and keeps the layers light. Homemade whipped cream can work on top, but it won’t hold as long if the dessert sits for a while.
What Each Ingredient Is Actually Doing in This Recipe
- Primary ingredient (the star) — Quality matters most. Choose the best you can find.
- Cooking medium (oil, butter, or broth) — This carries flavors and prevents dryness.
- Seasonings (salt, pepper, spices, herbs) — Layer flavors so nothing overpowers. Build depth gradually.
- Aromatics (garlic, onion, herbs) — Cook with fat to bloom flavors. Become the foundation.
- Supporting ingredients — Complement the main ingredient without overpowering it.
- Sauce or liquid (if applicable) — Brings flavors together. Balance richness with acid.
- Acid (lemon, vinegar, wine, or other) — Brightens and prevents flat-tasting results.
- Final finish (garnish, glaze, or sauce) — Prevents one-dimensional taste and adds visual appeal.
Building Pumpkin Lush So the Layers Stay Separate
Press the Crust Until It Feels Packed
Mix the gingersnap crumbs, sugar, and melted butter until every crumb looks evenly moistened, then press the mixture into the pan with firm, even pressure. The crust should feel compact under the back of a spoon, not loose or sandy. Chill it for the full 20 minutes so the butter can firm up before the cream cheese layer goes on. If the crust is underpacked, it will crumble when you lift out the first square.
Whip the Cream Cheese Layer Smooth
Beat the softened cream cheese with powdered sugar and vanilla until it looks completely smooth before folding in the whipped topping. You want a creamy, spreadable layer that holds its shape but doesn’t tear the crust underneath. If the cream cheese is still cool in the center, it stays grainy and leaves little flecks in the finished dessert. Spread it gently over the crust in one even layer.
Let the Pumpkin Filling Thicken Before Spreading
Whisk the pumpkin puree, pudding mix, milk, pumpkin pie spice, and cinnamon until the mixture thickens noticeably. It should go from thin and glossy to spoonable in just a couple of minutes. Don’t spread it while it’s still loose, or it will sink into the cream cheese layer. Once it starts to mound slightly on the whisk, it’s ready for the pan.
Finish With a Light Hand and a Long Chill
Spread the whipped topping over the pumpkin layer, then scatter on the toffee bits and a dusting of cinnamon. Keep the topping light so you don’t press into the layer below. After that, the fridge does the real work. Four hours is the minimum for clean slices, and overnight is even better if you’re serving this for a party.
How to Adapt Pumpkin Lush Without Losing the Good Part
Gluten-Free Crust Swap
Use certified gluten-free gingersnap cookies and crush them finely. You’ll keep the same spice and crunch, and the dessert still sets the same way because the structure comes from the butter and chilling, not the wheat.
Dairy-Free Version
Use dairy-free cream cheese, plant-based whipped topping, and your favorite unsweetened non-dairy milk. The texture will be a touch softer, but the layered look still holds if you chill it long enough. Stick with instant pudding that works with non-dairy milk if that’s the route you’re taking.
Extra-Spiced Pumpkin Lush
Add a little extra pumpkin pie spice or a pinch of nutmeg to the pumpkin layer if you want a stronger spice finish. Keep the increase modest, though, because too much spice can overshadow the cream cheese layer and make the dessert taste dusty instead of balanced.
Storage and Reheating
- Refrigerator: Store covered for up to 4 days. The crust softens a little over time, but the layers still hold nicely.
- Freezer: It freezes better than a lot of cream desserts, but the whipped topping can lose some of its clean texture. Freeze in tightly wrapped portions, then thaw in the fridge overnight.
- Reheating: No reheating needed. Serve it cold from the fridge for the best texture, and wipe the knife between cuts if you want neat squares.
Answers to the Questions Worth Asking
Pumpkin Lush
Ingredients
Equipment
Method
- Press the gingersnap crust mixture into a 9x13 baking dish, then refrigerate for 20 minutes to firm up.
- Refrigerate for 20 minutes until the crust is set and holds together when you gently press the surface.
- Beat the softened cream cheese with powdered sugar and vanilla until smooth.
- Fold in 1 cup whipped topping until no streaks remain, then spread the cream cheese mixture over the chilled crust.
- Whisk pumpkin puree, instant vanilla pudding, milk, pumpkin pie spice, and cinnamon until thickened.
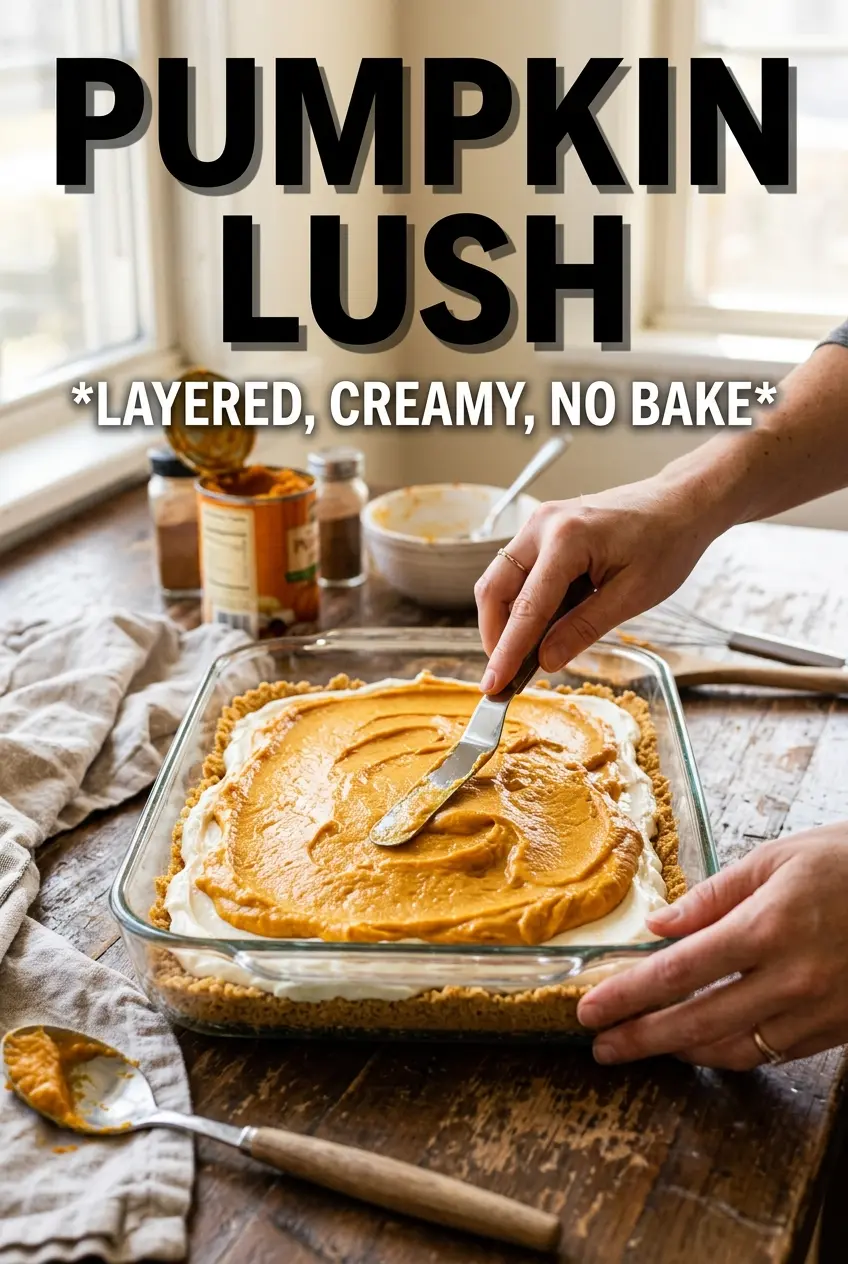
- Spread the thick pumpkin pudding over the cream cheese layer, smoothing it to the edges.
- Spread 8 oz whipped topping over the pudding layer in an even layer.
- Scatter toffee bits over the top and dust lightly with cinnamon for garnish.
- Refrigerate for 4 hours until fully set, then cut into squares to serve.