Flaky, golden pumpkin pasties deliver the kind of first bite that makes people pause for a second and go back in for another one. The pastry bakes up crisp at the edges and tender in the middle, while the filling stays smooth, warmly spiced, and just sweet enough to taste like dessert without turning heavy. A good pasty should hold its shape, seal cleanly, and crack open with a little whisper of steam when you bite into it.
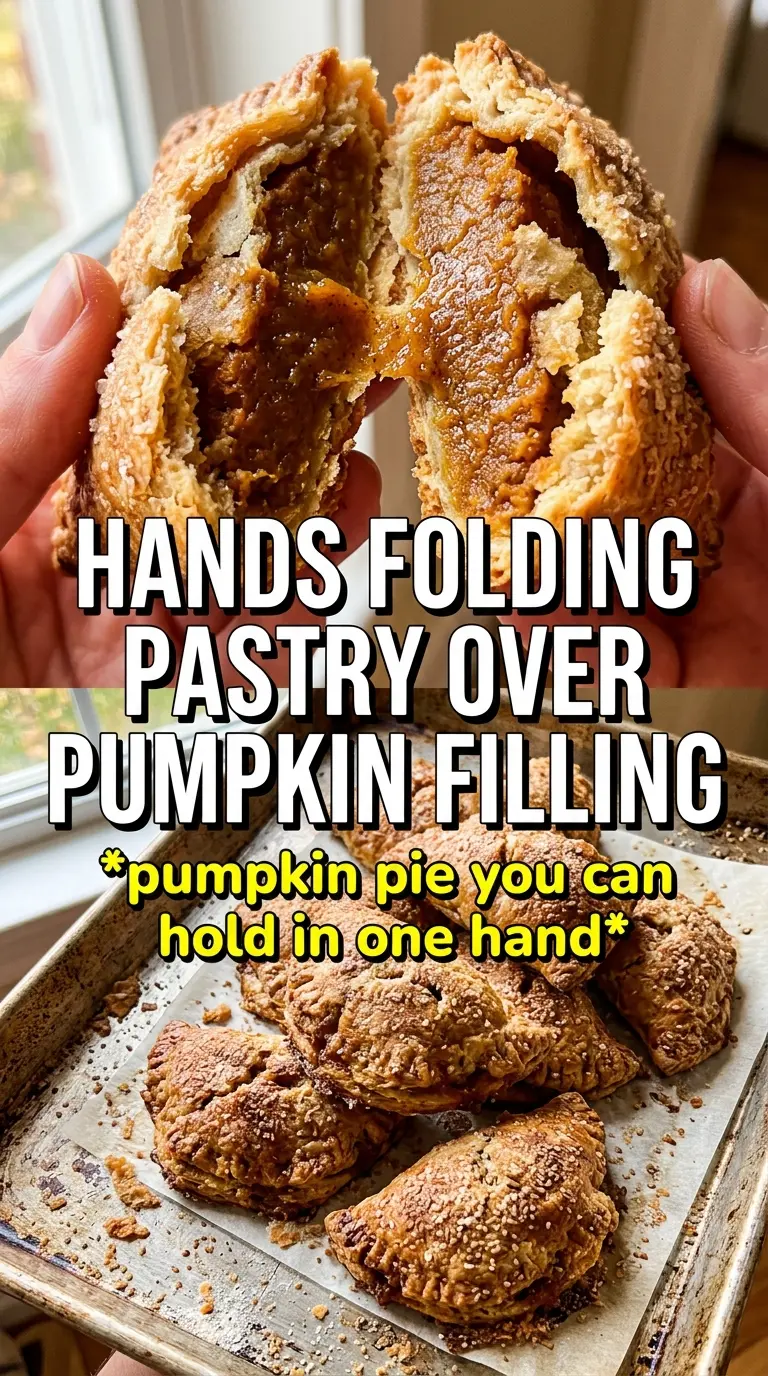
What makes this version work is the balance between a sturdy pie-style dough and a filling that’s thick enough to stay put. Pumpkin puree carries a lot of moisture, so the egg yolk and cornstarch matter more than they look at first glance; they keep the centers from turning loose or soggy in the oven. Cold butter is just as important. It creates the layered, shattery texture that makes these worth eating warm from the baking sheet.
Below, I’ll walk through the one place people usually lose the texture, how to keep the filling from leaking, and a couple of variations if you want to change the spice level or make the dough ahead.
The filling stayed thick and didn’t leak at all, and the pastry came out crisp instead of soggy underneath. I chilled the dough exactly 30 minutes and that made the edges much easier to crimp.
Love these flaky pumpkin pasties? Save this one for the days when you want crisp pastry and spiced pumpkin filling in a handheld dessert.
The Chilling Step That Keeps the Pasties From Slumping
Most pastry problems start before the oven ever turns on. If the butter softens too much, the dough spreads as it bakes, the edges seal poorly, and the bottoms lose that crisp bite. Chilling the dough after mixing gives the flour time to hydrate and keeps the butter in distinct little pieces, which is what creates those flaky layers in the oven.
The filling needs a little discipline, too. Pumpkin puree can look thick in the bowl and still be loose enough to seep out once heat hits it, so the cornstarch and egg yolk are there to set the mixture just enough. If the filling looks glossy but still mounds on a spoon, you’re in the right place. If it runs, the pastry will suffer for it.
- Cold butter — This is the difference between tender layers and a dense crust. Cube it first and keep it cold until the moment you cut it into the flour.
- Ice water — Add it a tablespoon at a time. Too much water makes the dough tough and sticky, and once that happens you can’t undo it.
- Cornstarch — It tightens the filling just enough to keep it from leaking, which is especially important with canned pumpkin puree that’s on the looser side.
What Each Ingredient Is Doing in These Pumpkin Pasties
- All-purpose flour — Gives the dough enough structure to roll thin without tearing. Pastry flour works too, but all-purpose gives a sturdy crust that holds the filling better.
- Brown sugar — Adds moisture and a deeper sweetness than white sugar. It helps the filling taste rounder and more pumpkin-forward.
- Pumpkin pie spice, cinnamon, ginger, and nutmeg — This combination gives the filling warmth without making it taste flat or one-note. If you only have pumpkin pie spice, use the full teaspoon and skip the individual spices.
- Egg yolk — Richens the filling and helps it set in the oven. A whole egg would make the center more custardy and less concentrated.
- Egg wash and cinnamon sugar — The egg wash gives the pastry color and helps the sugar cling. The cinnamon sugar adds that bakery-style finish and a little crunch on top.
Rolling, Filling, and Sealing Without Leaks
Making the Dough Just Until It Clumps
Cut the cold butter into the flour, sugar, and salt until the mixture looks like coarse crumbs with some pea-sized pieces still visible. Those larger butter bits matter; they melt in the oven and create flaky pockets. Add the ice water slowly and stop as soon as the dough holds together when pressed. If you knead it smooth in the bowl, the crust will bake up tough instead of tender.
Thickening the Filling Before It Hits the Dough
Stir the pumpkin puree, brown sugar, spices, egg yolk, and cornstarch until the filling is smooth and evenly colored. It should look thick and spoonable, not pourable. If you see any wet streaks or lumps of cornstarch, keep mixing until they disappear. That extra minute prevents a grainy filling and keeps the flavor even in every pasty.
Folding, Crimping, and Venting
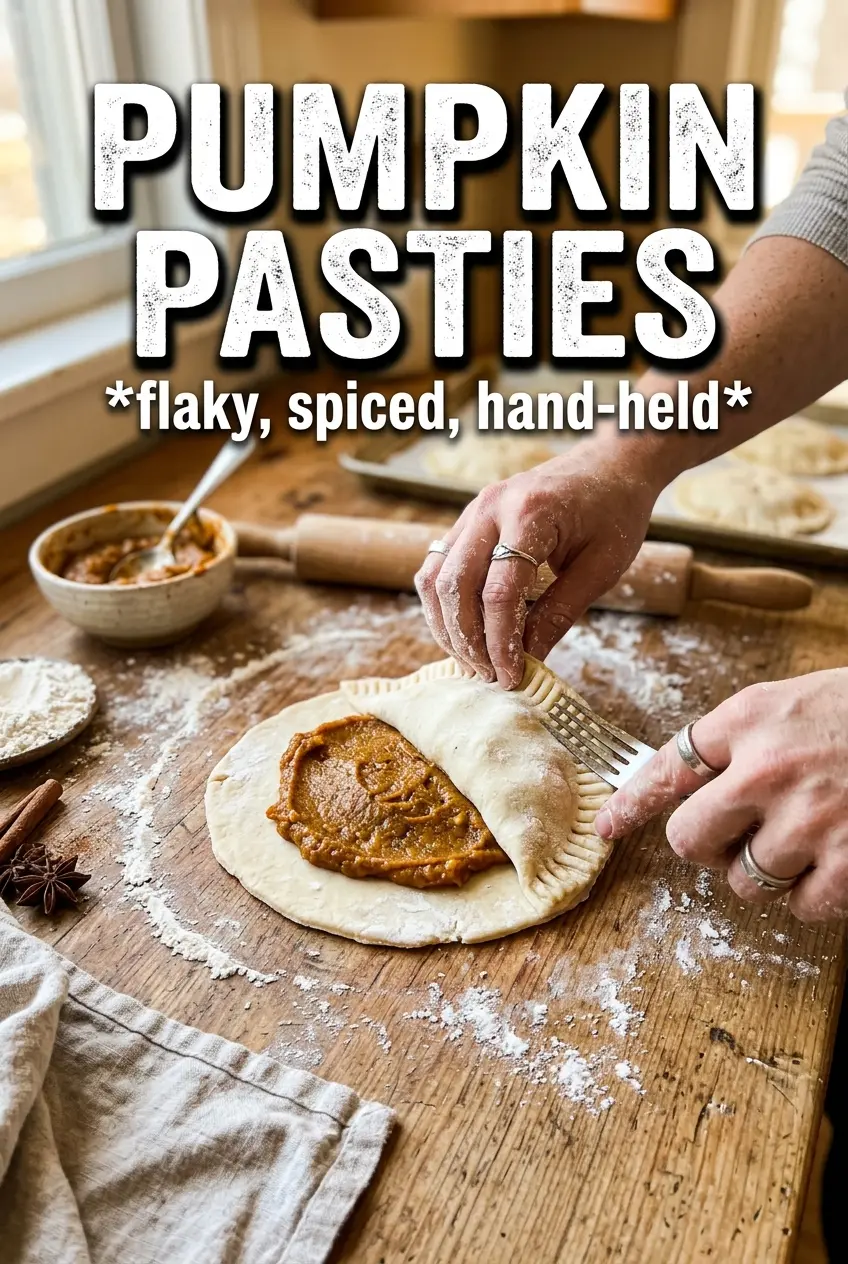
Roll the chilled dough to about 1/8-inch thick and cut clean 4-inch circles. Put only a tablespoon of filling on one half of each circle; overfilling is the fastest way to lose the seal. Press the edges together firmly, then crimp with a fork so the seam stays closed as the pastry expands. Cut a small vent on top so steam can escape, or the pastry may split at the weakest point instead of puffing neatly.
Baking to the Right Color
Brush the tops with egg wash and sprinkle on cinnamon sugar before they go into the oven. Bake until the pasties are deeply golden and the seams look dry, usually 22 to 25 minutes. The bottoms should be browned, not pale, because that’s where the real crispness lives. Pull them from the oven once they’re set; if you wait for dark brown edges, the filling can overcook and the pastry loses its flaky bite.
Three Ways to Make These Pumpkin Pasties Your Own
Dairy-Free Version
Swap the butter for a solid plant-based butter that’s meant for baking. You’ll lose a little of the classic dairy richness, but the crust still flakes well if the substitute stays cold and is handled the same way.
Extra-Spiced Filling
Add an extra 1/4 teaspoon cinnamon or a pinch more ginger if you want a stronger spice finish. Keep the changes small; too much spice can bury the pumpkin instead of supporting it.
Make-Ahead Dough
The dough can be made a day ahead and kept chilled, tightly wrapped. Cold dough rolls cleaner and seals better, so this is one of those cases where making it early actually improves the result.
Storage and Reheating
- Refrigerator: Store cooled pasties in an airtight container for up to 4 days. The crust softens a little in the fridge, but it comes back with reheating.
- Freezer: Freeze baked or unbaked pasties on a tray until firm, then transfer to a freezer bag for up to 2 months. Bake unbaked pasties straight from frozen, adding a few extra minutes.
- Reheating: Warm in a 350F oven for 8 to 12 minutes until the pastry crisps again. The microwave will make the crust limp, which is the one thing that ruins the texture here.
Answers to the Questions Worth Asking
Pumpkin Pasties
Ingredients
Equipment
Method
- In a mixing bowl, combine all-purpose flour, sugar, and salt. Cut in the cold unsalted butter until the mixture looks crumbly with pea-size bits.
- Add ice water 1 tablespoon at a time and mix just until the dough holds together. Press it into a disk and refrigerate for 30 minutes (visual cue: firmer dough that doesn’t feel sticky).
- Stir pumpkin puree, brown sugar, pumpkin pie spice, cinnamon, ginger, nutmeg, egg yolk, and cornstarch until smooth. If the mixture looks streaky, keep mixing until it is fully blended.
- Preheat the oven to 375°F and line baking sheets. (Visual cue: sheets ready and warm.)
- Roll the chilled pastry dough to 1/8-inch thickness. Cut 4-inch circles from the dough (keep scraps for rerolling if needed).
- Place about 1 tablespoon of pumpkin filling on one half of each circle. Fold the dough over to form a half-moon and crimp the edges with a fork.
- Whisk egg with milk to make an egg wash, then brush over the pasties. Sprinkle cinnamon sugar on top for a sparkly finish.
- Cut a small vent in the top of each pasty. Bake 22-25 minutes at 375°F until golden (visual cue: browned edges and set filling).