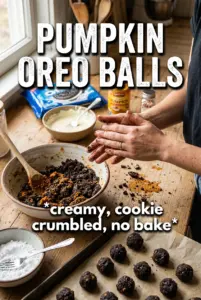
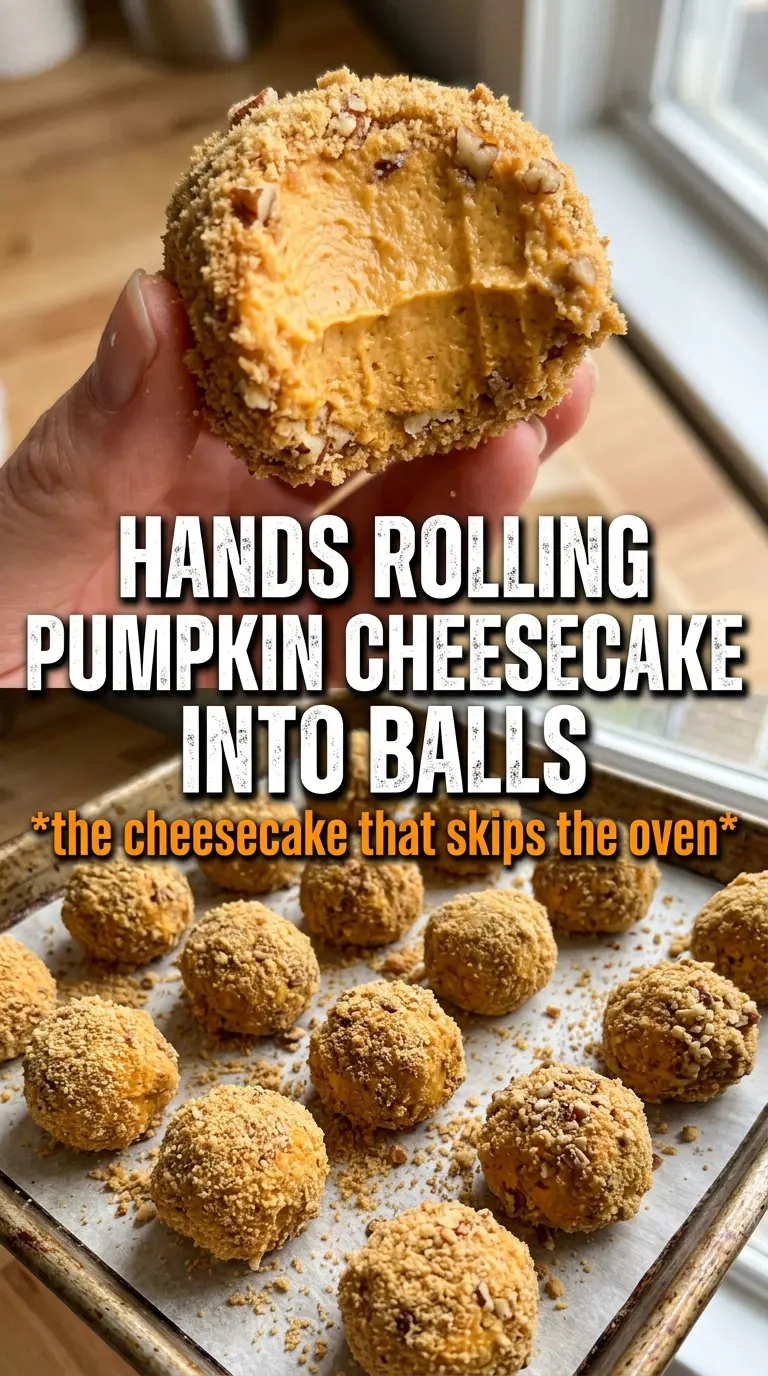
These no bake pumpkin cheesecake balls land right in that sweet spot between creamy and sturdy. They taste like pumpkin cheesecake truffles, but they’re easier to shape, easier to serve, and much less fussy than a full cheesecake. The filling stays smooth and tangy, the graham coating gives each bite a little crunch, and the pumpkin spice keeps the flavor warm without turning muddy or overly sweet.
The trick is drying the pumpkin puree before it goes into the bowl. Pumpkin holds a surprising amount of water, and if you skip that step the mixture turns soft and sticky instead of rolling cleanly. A small amount of graham cracker crumbs mixed into the filling helps it set without making it dense, so you still get that cheesecake texture instead of a cookie dough feel.
Below, I’ve included the part that matters most: how to keep the mixture firm enough to roll, what to do if it softens while you’re coating the balls, and a few variations that make these work for different occasions.
I was worried they’d be too soft, but blotting the pumpkin made all the difference. They rolled up neatly after chilling and the graham cracker coating stayed put without getting soggy.
Save these no bake pumpkin cheesecake balls for the holiday tray when you want a creamy pumpkin dessert that rolls neatly and chills fast.
The Pumpkin Puree Needs to Be Drier Than You Think
The most common reason these balls turn messy is excess moisture. Cream cheese gives you richness, but pumpkin puree brings water, and that water has to be handled before the mixture can hold its shape. Blotting the pumpkin with paper towels sounds fussy, but it’s the difference between a filling you can scoop and one that sticks to your hands.
The other small thing that matters is chilling before rolling. The mixture shouldn’t be rock hard, just firm enough that the scoops hold together when you lift them. If it still feels loose after the first chill, give it another 15 minutes instead of forcing it into shape. That extra wait saves you from coating the balls twice because the first layer slid off.
- Cream cheese — Use full-fat blocks, not the whipped tub kind. Block cream cheese gives the filling enough body to set properly and keeps the flavor tangy and rich.
- Pumpkin puree — Blotted dry pumpkin is non-negotiable here. Canned pumpkin pie filling won’t work the same way because it’s already sweetened and spiced.
- Graham cracker crumbs — A little goes into the filling to help it firm up, and the rest forms the coating. If you need a gluten-free version, use gluten-free graham-style crumbs and keep the ratios the same.
- Pumpkin pie spice and cinnamon — The spice blend gives the familiar pumpkin cheesecake taste, while the extra cinnamon in the coating makes the outside taste a little warmer and more bakery-like.
- Powdered sugar — This sweetens without making the filling grainy. Granulated sugar won’t dissolve as smoothly in a no-bake mixture.
What Each Ingredient Is Actually Doing in This Recipe
- Primary ingredient (the star) — Quality matters most. Choose the best you can find.
- Cooking medium (oil, butter, or broth) — This carries flavors and prevents dryness.
- Seasonings (salt, pepper, spices, herbs) — Layer flavors so nothing overpowers. Build depth gradually.
- Aromatics (garlic, onion, herbs) — Cook with fat to bloom flavors. Become the foundation.
- Supporting ingredients — Complement the main ingredient without overpowering it.
- Sauce or liquid (if applicable) — Brings flavors together. Balance richness with acid.
- Acid (lemon, vinegar, wine, or other) — Brightens and prevents flat-tasting results.
- Final finish (garnish, glaze, or sauce) — Prevents one-dimensional taste and adds visual appeal.
Getting the Filling Firm Enough to Roll Cleanly
Start with a Smooth Base
Beat the cream cheese first until it’s completely smooth and no lumps remain. That matters because once the pumpkin goes in, you won’t be able to beat aggressively without softening the mixture too much. Add the blotted pumpkin, powdered sugar, spice, cinnamon, and vanilla, then mix until the color looks even and pale orange. If you see streaks of cream cheese at this stage, keep mixing until they disappear.
Fold in the Crumbs for Structure
Stir in the graham cracker crumbs by hand or on the lowest mixer speed. You’re not trying to whip more air into the mixture; you’re giving it enough structure to scoop. The texture should look thick, like soft cookie dough, not pourable. If it still looks shiny and loose, add another tablespoon or two of crumbs before chilling.
Chill Before You Shape
Refrigerate the bowl until the mixture firms up enough to hold a scoop. Forty-five minutes is usually enough, but if your kitchen runs warm or the pumpkin was still a little damp, give it a full hour. When it’s ready, the mixture will feel cold, thick, and slightly tacky rather than sticky and wet. If it smears on the spoon, it needs more time.
Coat and Set
Mix the coating crumbs with cinnamon and pumpkin pie spice in a shallow bowl, then roll each ball gently until fully covered. Use small scoops and work quickly so the mixture doesn’t warm up in your hands. If the coating starts clumping, break it up with your fingers before continuing. After rolling, chill the balls again so the exterior firms and the coating settles into place.
How to Change These Without Losing the Cheesecake Texture
Gluten-Free Coating
Swap in gluten-free graham-style crumbs for both the filling and the coating. The texture stays close to the original, though some gluten-free crumbs are finer and may make the mixture a little softer, so chill it fully before rolling.
A Less Sweet Filling
Cut the powdered sugar by 2 tablespoons if you want the pumpkin and cream cheese to come through more clearly. The balls will still hold together, but the flavor shifts a little more toward cheesecake and a little less toward candy.
Extra-Spiced Holiday Version
Add a pinch of cloves or nutmeg to the filling and another pinch to the coating if you want a stronger spice note. Go light here; too much spice can take over the tangy cream cheese flavor and make the balls taste dusty instead of balanced.
Storage and Reheating
- Refrigerator: Store in an airtight container for up to 5 days. The coating may soften slightly after day two, but the centers stay creamy.
- Freezer: These freeze well. Freeze in a single layer until firm, then move to a freezer container with parchment between layers for up to 1 month.
- Reheating: No reheating needed. Let frozen balls thaw in the refrigerator for a few hours before serving; room temperature thawing can make the coating damp and the centers too soft.
Answers to the Questions Worth Asking
No Bake Pumpkin Cheesecake Balls
Ingredients
Equipment
Method
- Blot the pumpkin puree very dry. This helps keep the cheesecake mixture from becoming loose.
- Beat the softened cream cheese until smooth, then add the blotted pumpkin puree, powdered sugar, pumpkin pie spice, cinnamon, and vanilla. Mix until fully combined and creamy.
- Fold in 1/2 cup graham cracker crumbs to help firm the mixture. Stir just until evenly incorporated.
- Refrigerate the mixture for 45 minutes until firm enough to roll. You should be able to scoop and shape it without sticking.
- Mix the coating crumbs with 1 teaspoon cinnamon and 1/4 teaspoon pumpkin pie spice in a shallow bowl. Stir to evenly distribute the spices.
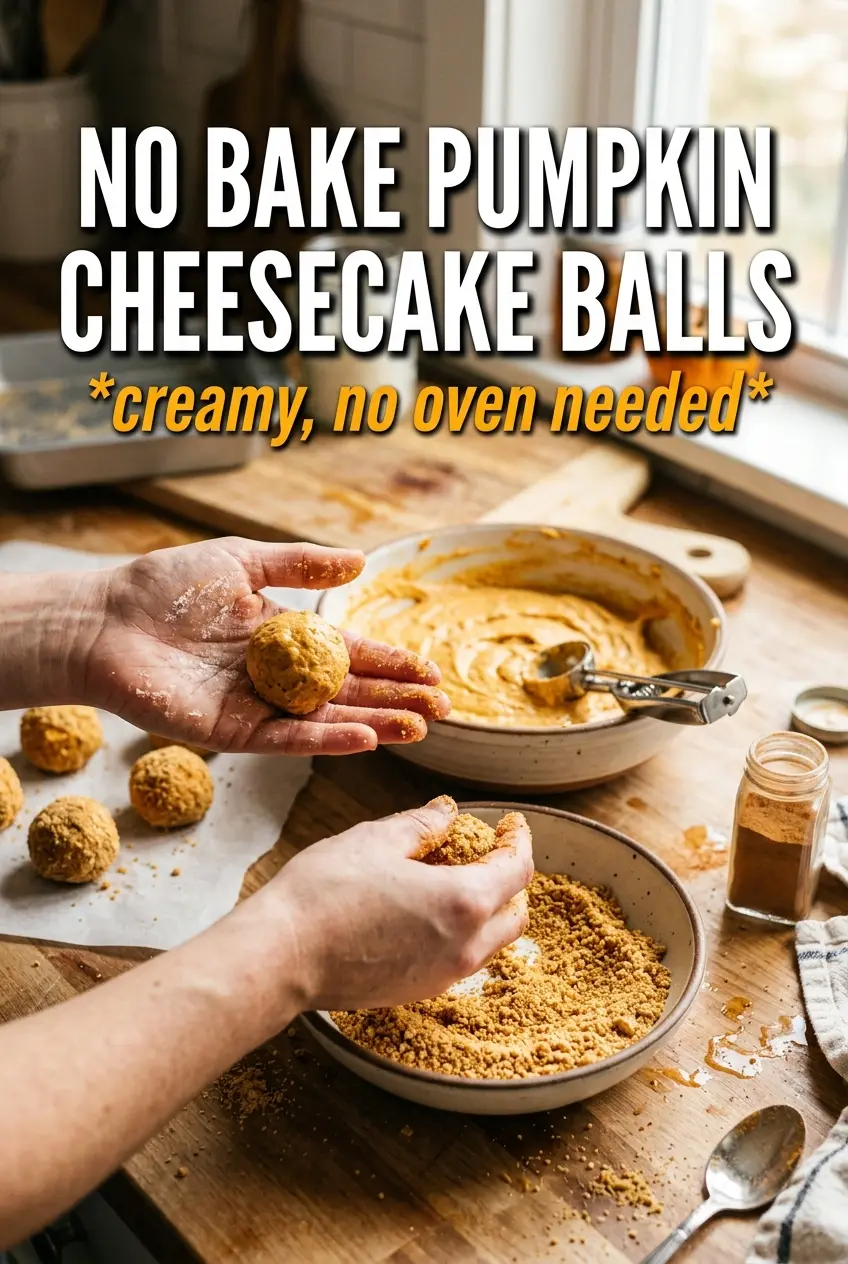
- Scoop the mixture into 1-inch balls, then roll each ball in the spiced graham cracker coating. Press lightly so the crumbs adhere.
- Refrigerate the coated balls until serving. Keep them chilled for the best firm texture.