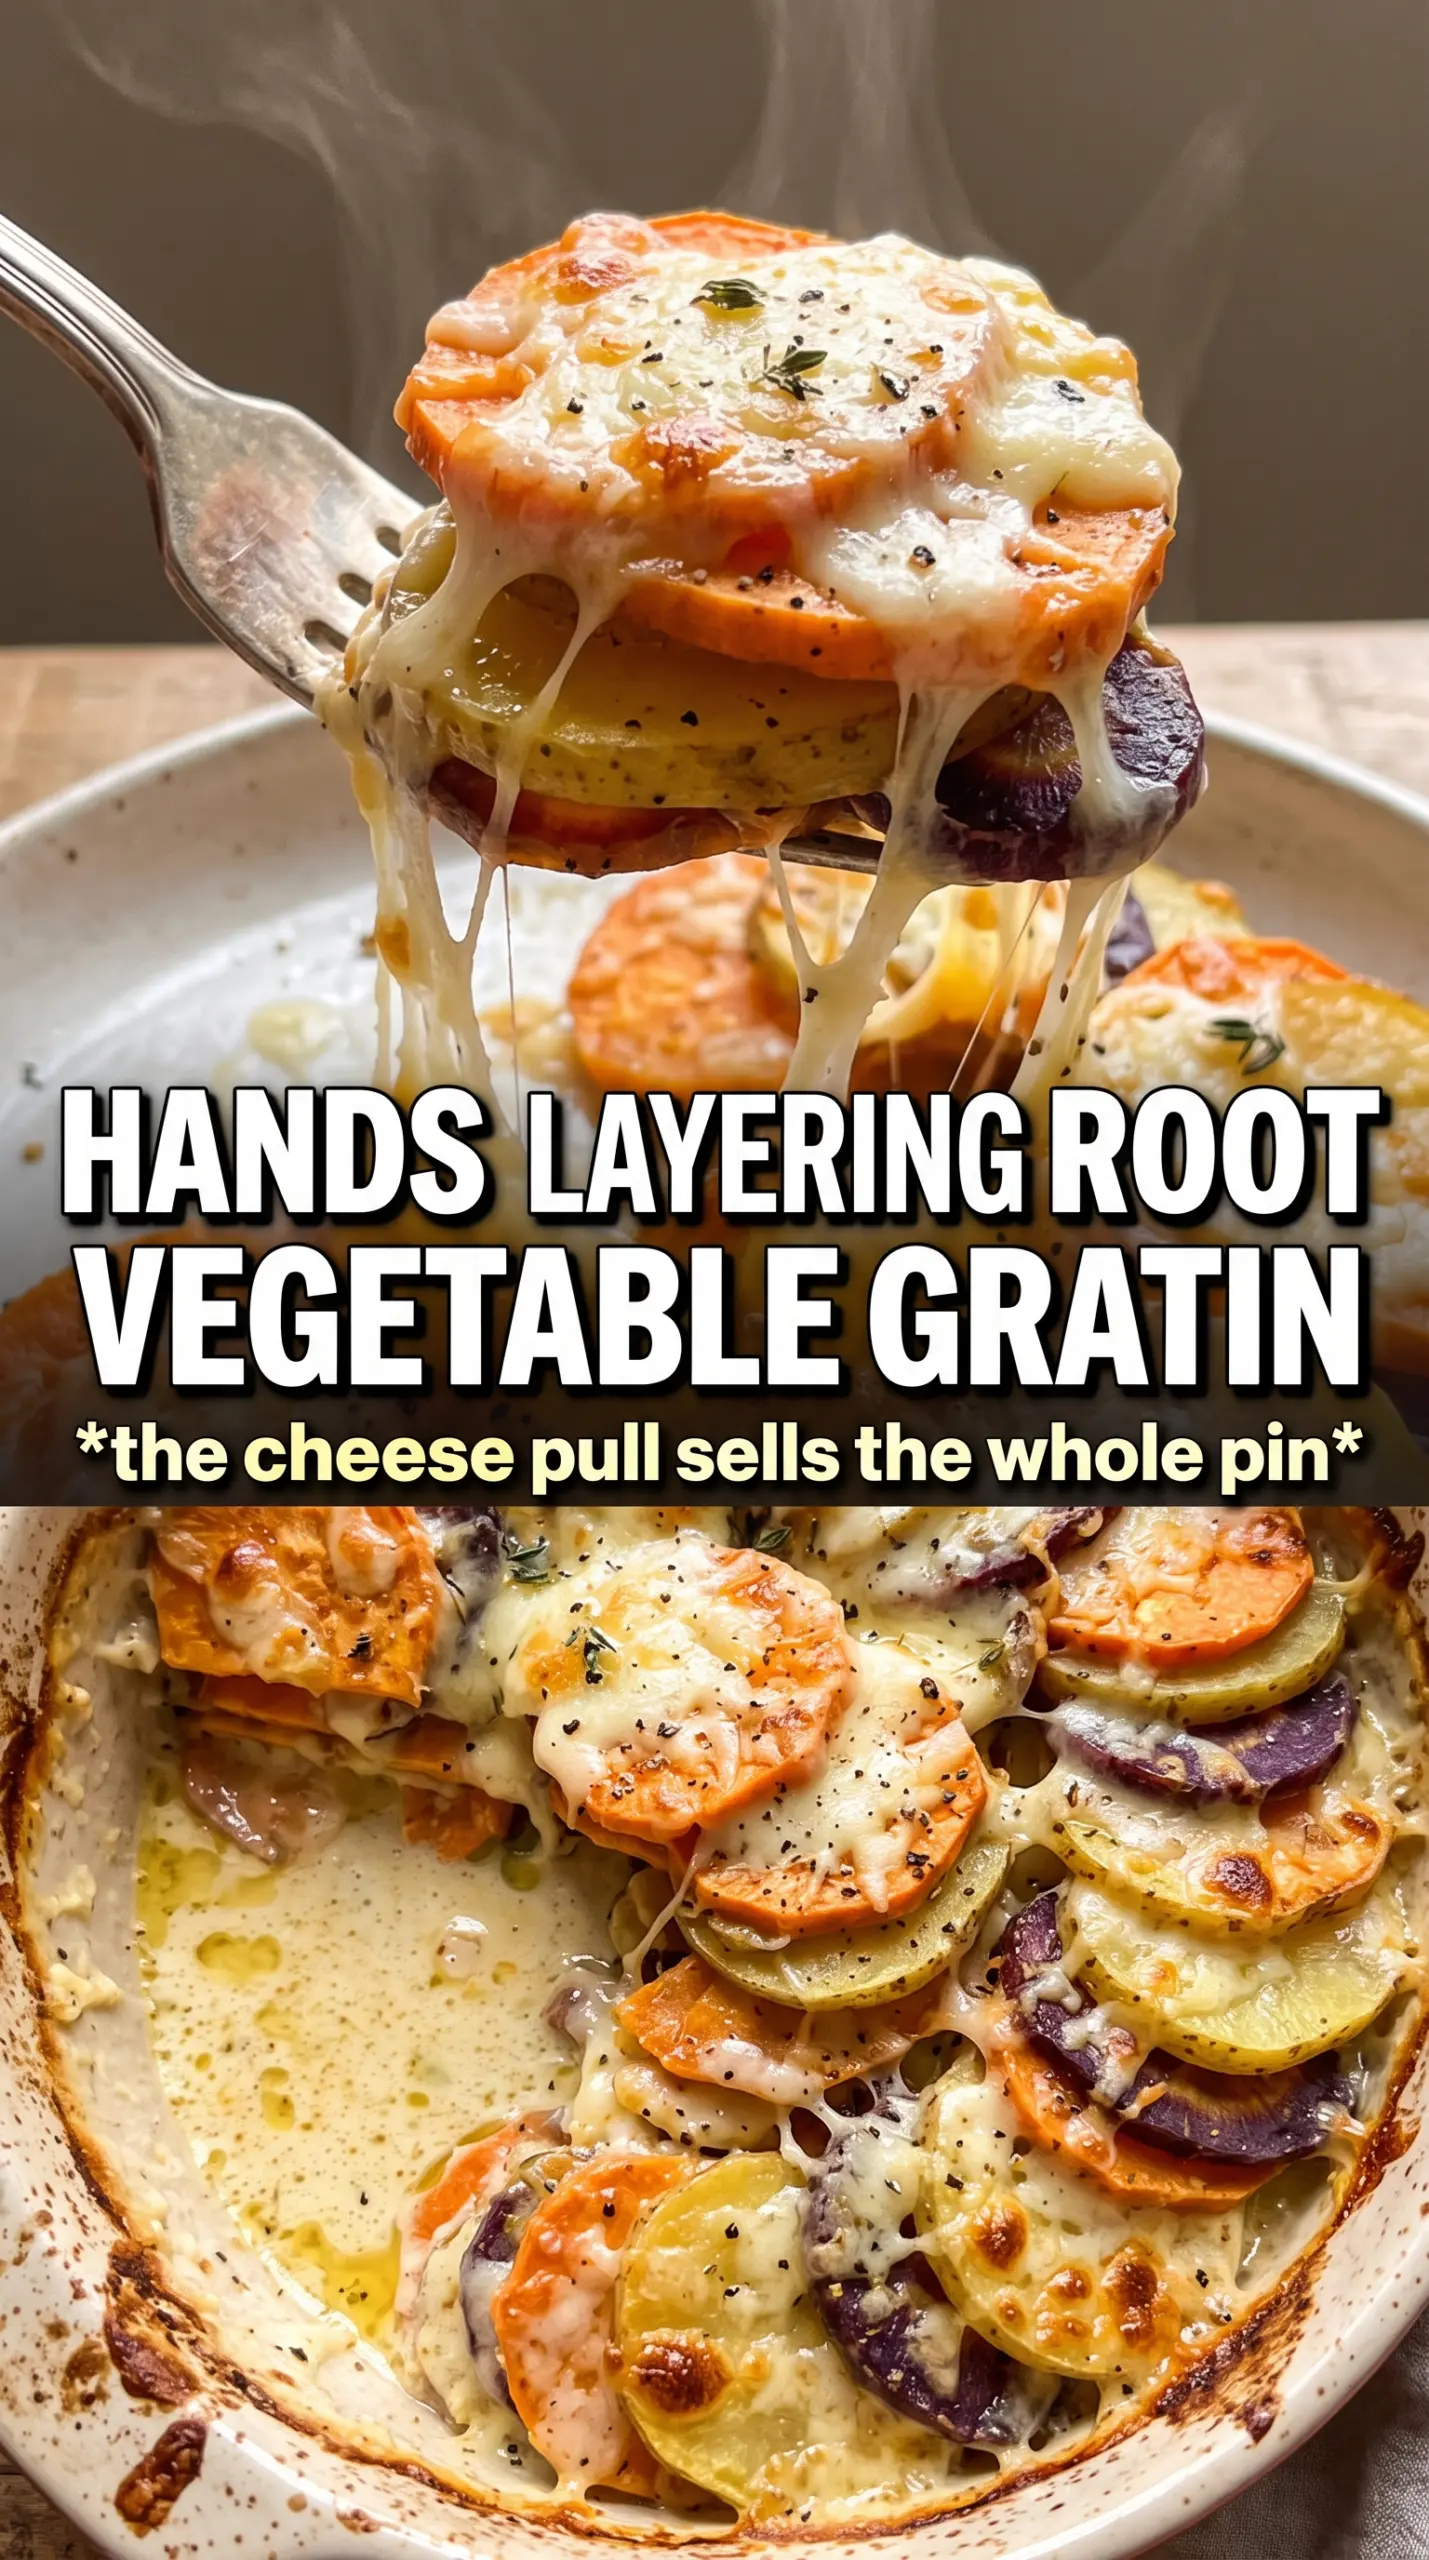
Thin, overlapping layers of potatoes, parsnips, carrots, and turnip bake into a gratin that cuts cleanly, holds its shape, and still melts on the tongue. The top turns deeply golden and bubbling, while the cream underneath settles into the vegetables instead of pooling at the bottom of the dish.
What makes this version work is the balance between sturdy root vegetables and a cream mixture that’s seasoned from the start. The garlic, thyme, and nutmeg don’t just perfume the top layer; they infuse the dairy as it bakes, which keeps every bite tasting finished, not flat. Gruyere brings the nutty melt, and parmesan sharpens the crust so the top comes out crisp instead of heavy.
Below, I’ll show you how to keep the vegetables tender without turning the gratin watery, plus the small details that make the difference between a good casserole and one people go back for seconds of immediately.
The cream baked all the way through the layers and the top browned into the best crunchy edge. I used celery root for half the turnip, and it still sliced and baked beautifully.
Save this Cheesy Root Vegetable Gratin for a golden, bubbling side dish with layers that bake tender and hold together beautifully.
The Trick to Keeping the Layers Tender, Not Watery
The biggest mistake with root vegetable gratin is treating every slice like it behaves the same. Potatoes soften faster than turnips or celery root, and if the slices are too thick, the cream never fully moves through the dish before the top starts browning. Thin, even slices are what give you that tender, layered finish instead of a tray of crunchy centers under a dark crust.
Pressing the vegetables down gently after pouring in the cream matters too. You’re not compacting the dish; you’re helping the liquid settle between the layers so it bakes evenly. If the top seems a little dry before baking, that’s a sign the slices were packed too loosely or cut too thick.
- Potatoes — Yukon golds hold their shape and turn silky, which makes them the backbone of the gratin. Russets work in a pinch, but they break down more and can make the dish a little softer.
- Turnip or celery root — This is the earthy note that keeps the gratin from tasting one-dimensional. Celery root gives a sweeter, cleaner finish; turnip is sharper and a little more rustic.
- Parsnips and carrots — These bring natural sweetness that balances the cheese. Don’t skip them unless you’re replacing them with another firm root vegetable that slices cleanly.
What Each Ingredient Is Actually Doing in the Gratin
- Heavy cream and whole milk — The cream gives the gratin body, while the milk keeps it from feeling too dense. If you use all cream, the dish gets richer but heavier; if you use only milk, it can taste thin.
- Gruyere — This is the cheese that melts into long, nutty strands and browns well without turning greasy. If you need a substitute, use an aged Swiss-style cheese with good meltability.
- Parmesan — Parmesan sharpens the top and helps it bake into a more structured crust. Finely grated parmesan works best here because it melts and browns more evenly than thick shavings.
- Garlic, thyme, and nutmeg — These season the dairy, not just the top of the dish. Nutmeg should stay subtle; too much will push the gratin into dessert territory fast.
Building the Gratin So the Top Browns After the Center Cooks
Start with the cream mixture
Whisk the cream, milk, garlic, thyme, nutmeg, salt, and pepper together before the vegetables go in. That gives the seasoning a head start and keeps you from having to chase flavor at the end. If the garlic is left in one clump, you’ll get a harsh pocket instead of even flavor throughout the dish.
Layer with intention
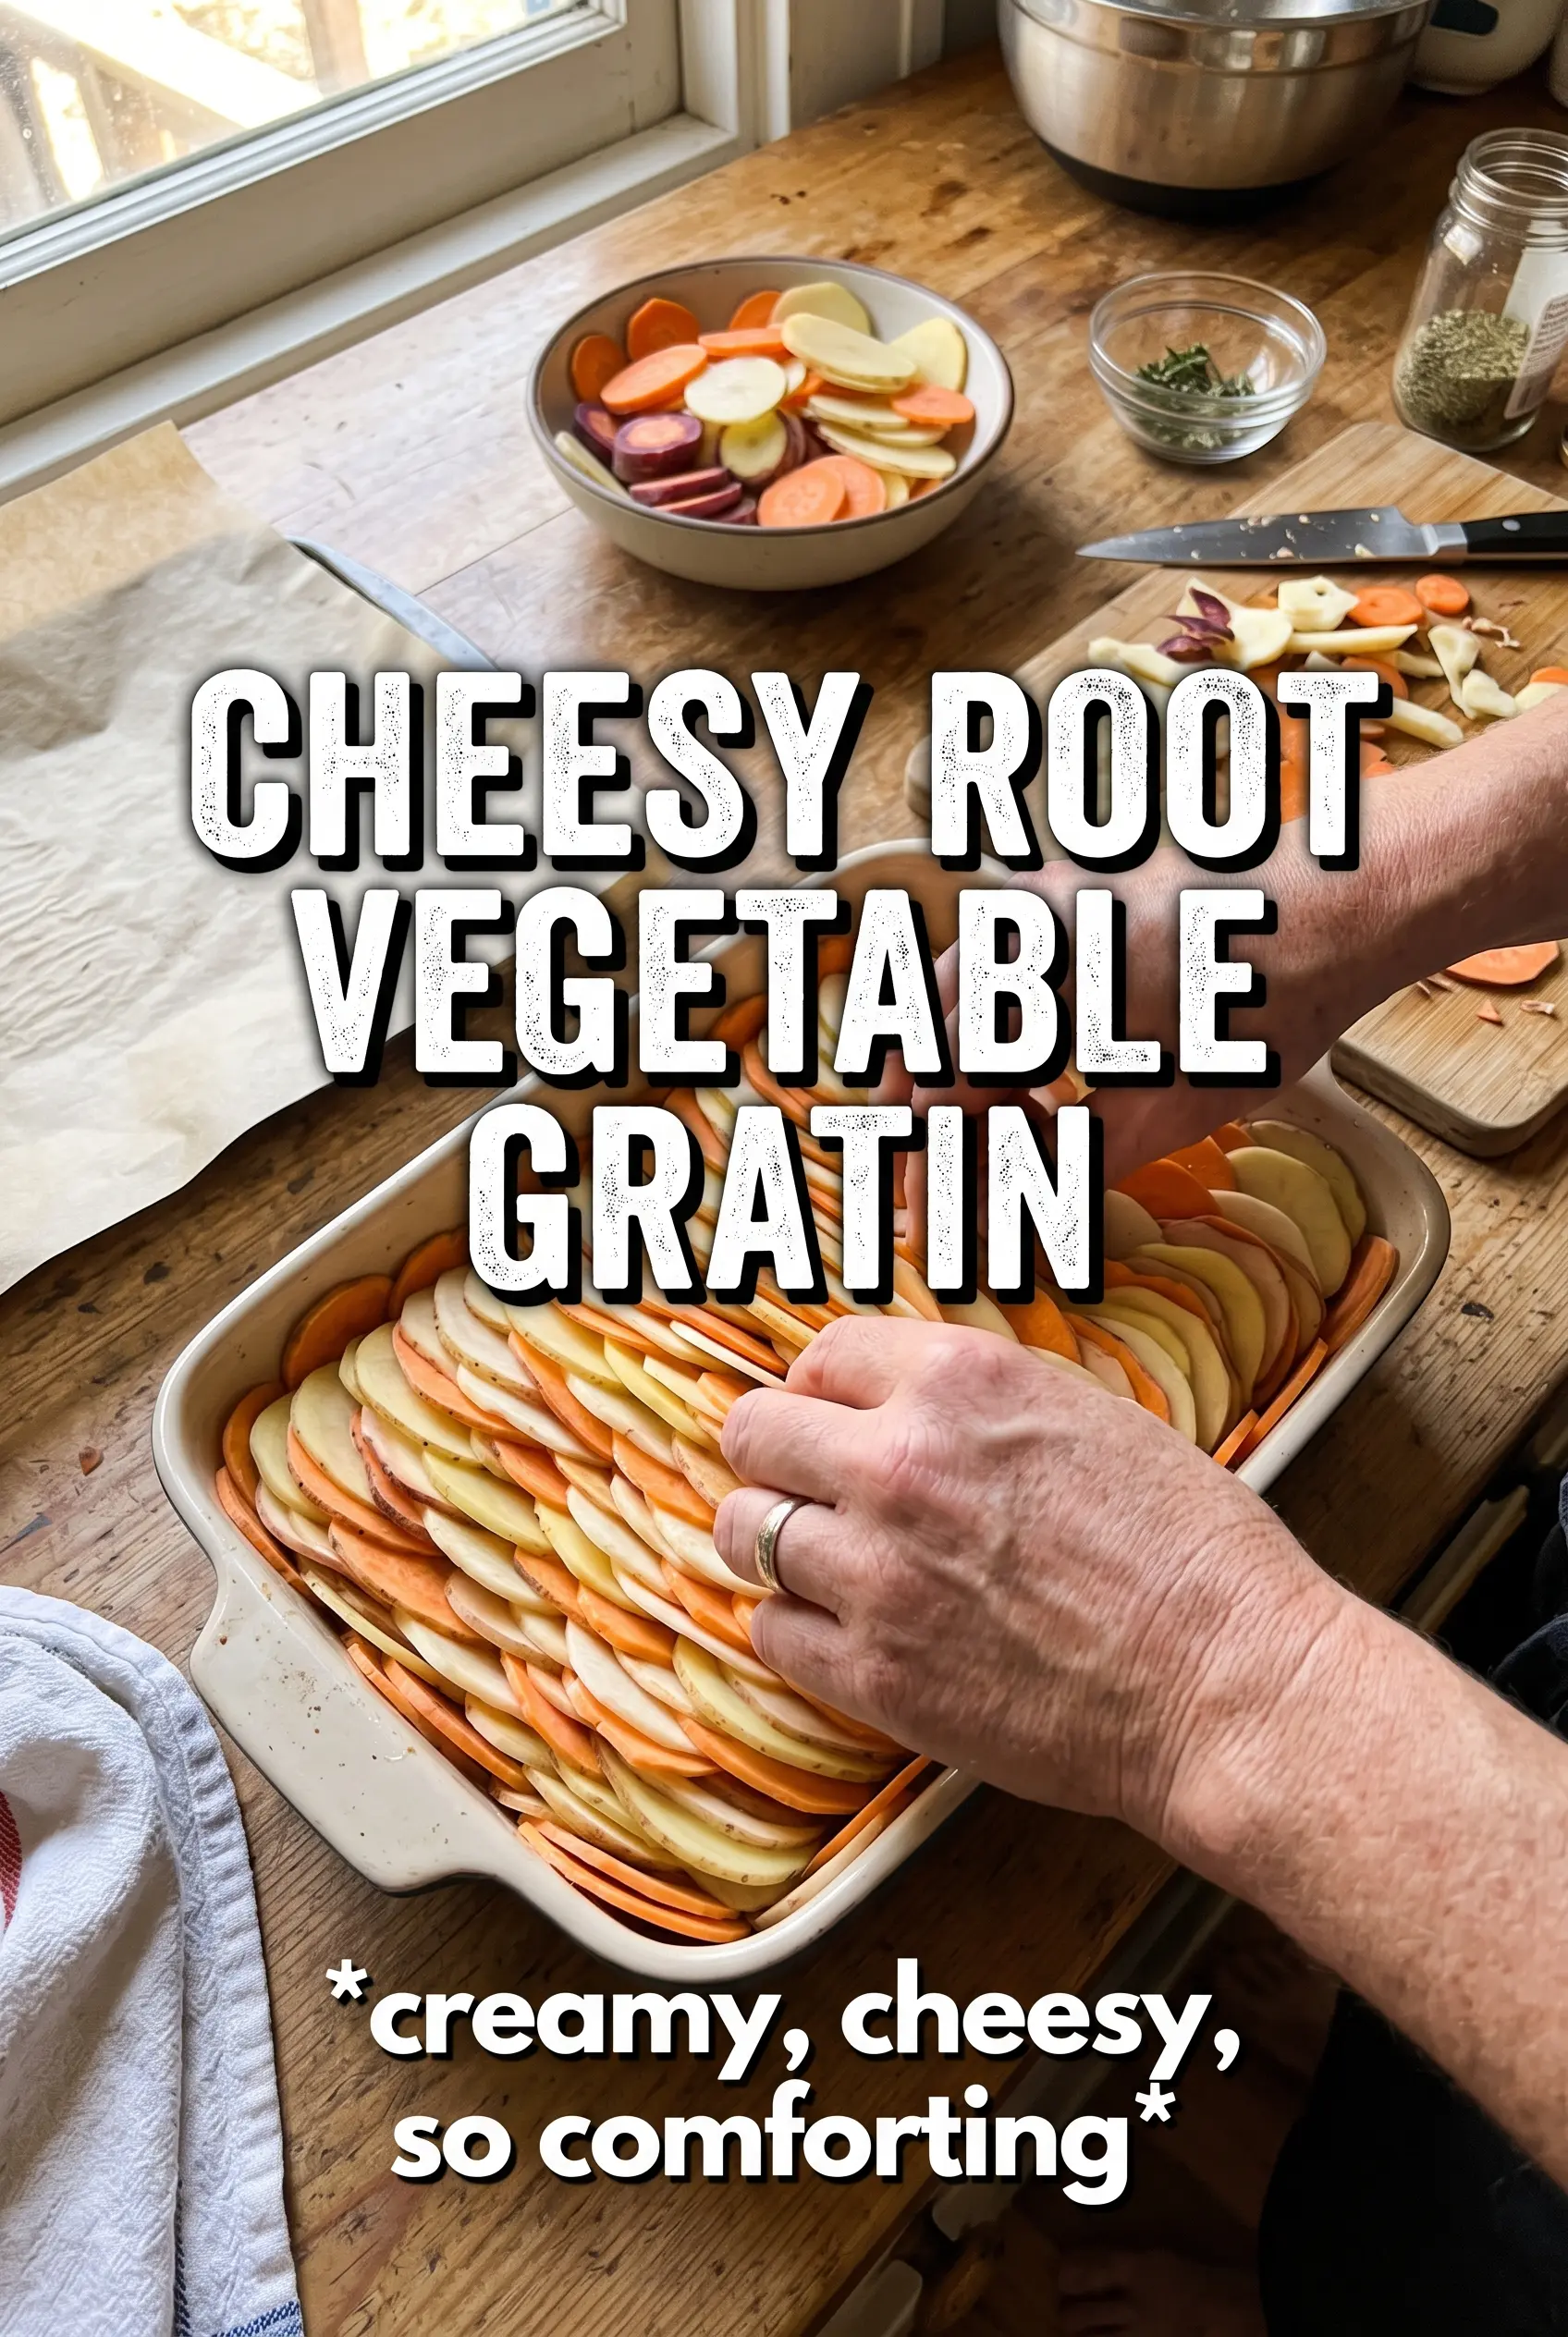
Alternate the vegetables in slightly overlapping rows so the slices nest together instead of collapsing into a jumble. You want enough overlap that the cream has to move through the layers, but not so much that the dish turns into a solid brick. If a slice is sticking up too high, tuck it down; exposed edges brown too fast before the interior softens.
Cover first, then brown
The foil stage is what steams the vegetables through. Forty minutes covered gives the roots time to soften before the cheese goes on, and if you uncover too early, the top browns while the center stays firm. When the foil comes off, the vegetables should already be tender enough that a knife slides through with only light resistance.
Finish until the crust bubbles
Once the Gruyere and parmesan go on, bake just until the top is deeply golden and the edges are bubbling. That’s the signal the cheese has melted into the cream instead of sitting dry on top. Let the gratin rest for 10 minutes before serving so the sauce settles and the slices hold together on the plate.
How to Adapt This Gratin When You Need a Different Finish
Make it gluten-free without changing the method
This gratin is naturally gluten-free as written, so the only thing to watch is cross-contamination in your cheese and seasoning. The texture stays the same because the sauce thickens from the cream and the starch from the potatoes, not from flour.
Use all turnip or celery root for a lower-starch version
If you want a lighter, less starchy gratin, replace some or all of the potatoes with extra turnip or celery root. The dish will bake a little more firmly and taste earthier, which works especially well if you’re serving it with roast meat.
Swap the dairy for a richer, sharper top
For a slightly tangier finish, replace part of the whole milk with half-and-half and use a mix of Gruyere and aged white cheddar. The sauce will be a touch thicker and the top will brown faster, so keep an eye on it during the last 10 minutes.
Make it ahead for a dinner party
You can assemble the gratin up to a day ahead, cover it, and refrigerate it before baking. Let the dish sit at room temperature while the oven preheats so it doesn’t go in ice-cold; that’s the easiest way to avoid a center that lags behind the top.
Storage and Reheating
- Refrigerator: Store leftovers covered for up to 4 days. The sauce will tighten as it chills, but the flavor deepens overnight.
- Freezer: It freezes, but the dairy can separate a little on thawing, so the texture won’t be quite as silky. Freeze in tightly wrapped portions and thaw in the fridge before reheating.
- Reheating: Warm covered in a 325F oven until heated through, then uncover for a few minutes to re-crisp the top. The mistake to avoid is blasting it in the microwave, which turns the cheese oily and the vegetables soft.
Answers to the Questions Worth Asking
Cheesy Root Vegetable Gratin
Ingredients
Equipment
Method
- Preheat the oven to 375F, then butter a 9x13 baking dish generously to prevent sticking.
- Whisk the heavy cream, whole milk, garlic, fresh thyme, nutmeg, 1 teaspoon salt, and pepper until smooth and well combined.
- Layer the Yukon gold potatoes, parsnips, carrots, and turnip/celery root in the dish, alternating types in slightly overlapping rows.
- Pour the cream mixture over the vegetables and press down gently so the liquid settles between the slices.
- Cover tightly with foil and bake for 40 minutes at 375F.
- Uncover and scatter the Gruyère and Parmesan over the top in an even layer.
- Bake 20-25 more minutes at 375F until the vegetables are completely tender and the top is golden and bubbly.
- Rest the gratin for 10 minutes before serving to let the sauce thicken slightly.