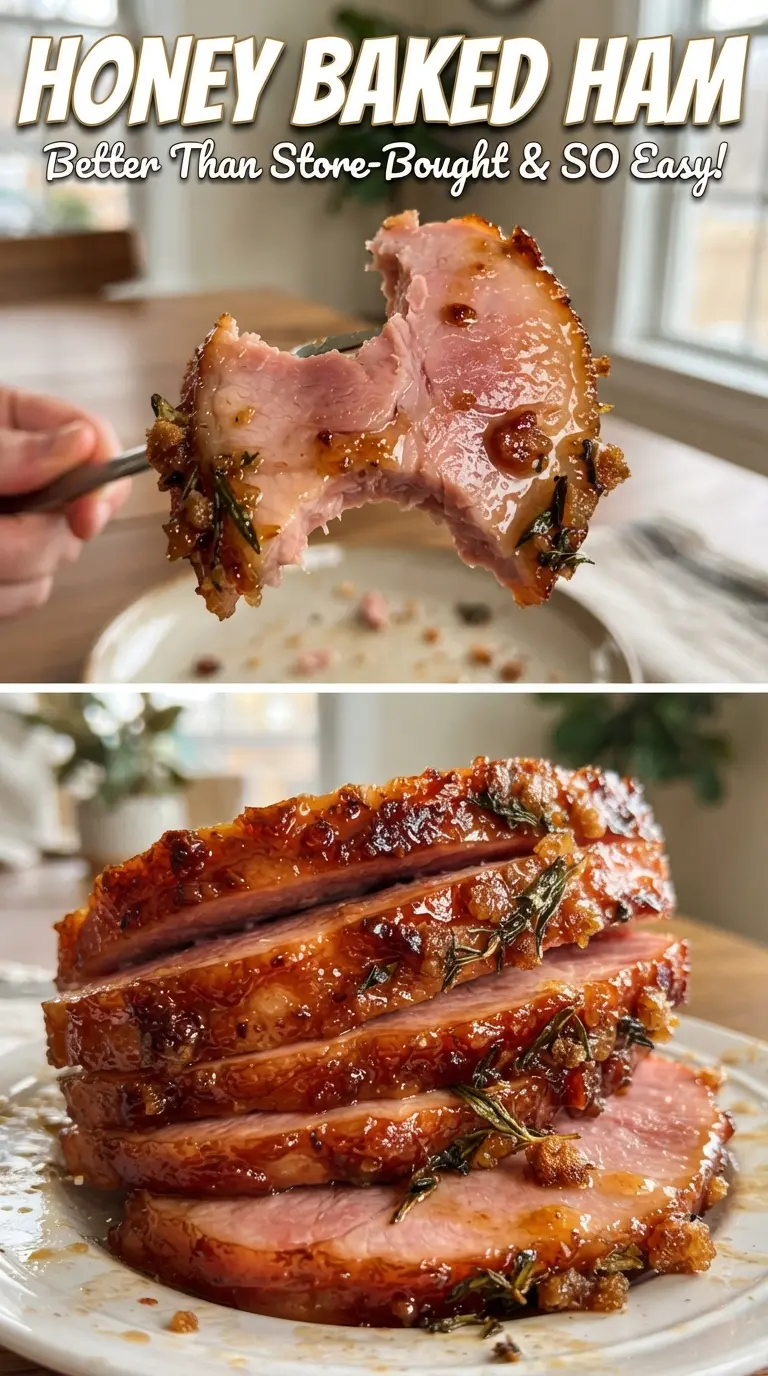
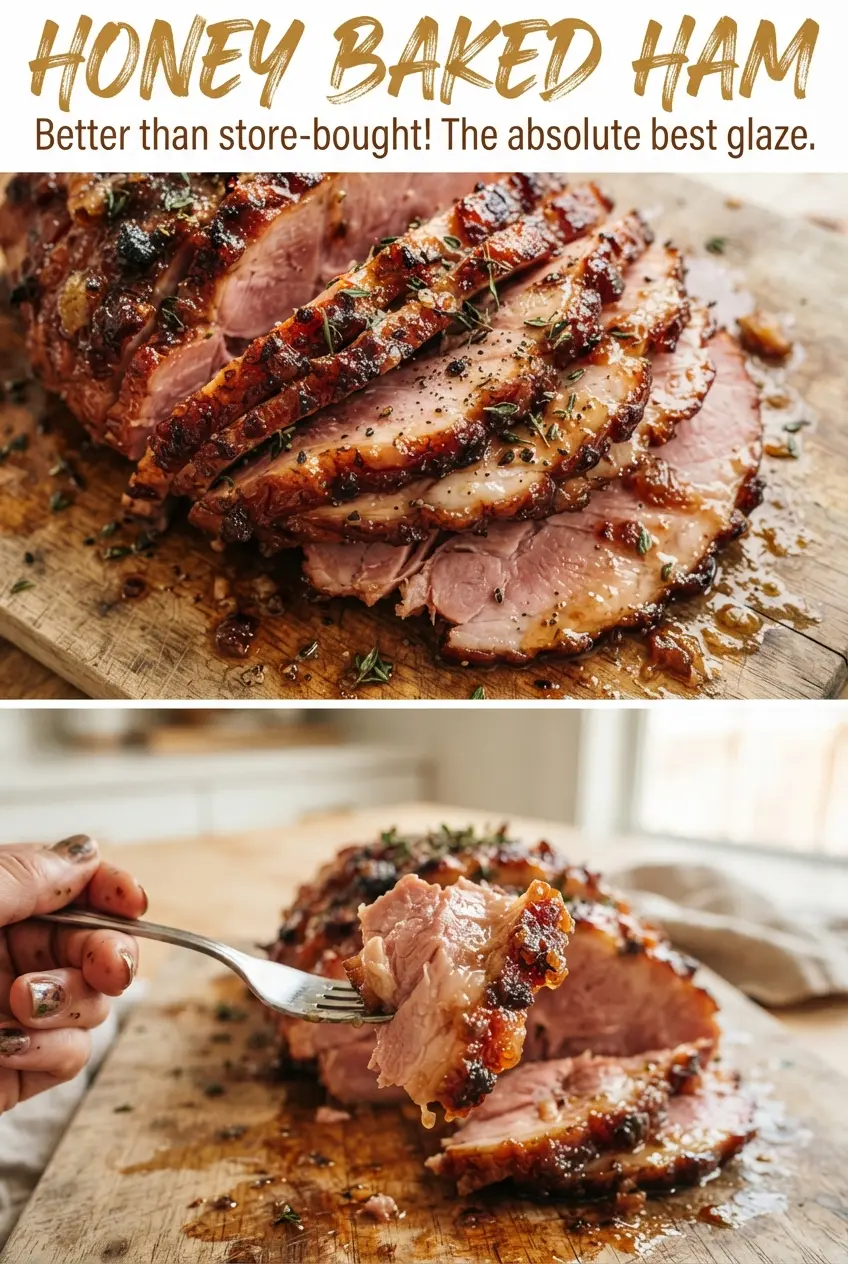
Honey baked ham comes out with a crackly, caramelized crust that shatters a little when you slice into it, while the meat underneath stays juicy and sliceable. The sweet glaze clings to the spiral cuts, so every piece picks up a little honey, butter, and spice instead of just tasting sugary on the outside.
What makes this version work is the layering. The ham warms gently under foil first, which keeps the edges from drying out before the center is hot enough. Then the honey butter helps the sugar mixture adhere, and the final blasts of high heat turn the coating into a lacquered crust instead of a wet glaze. Cinnamon, cloves, ginger, nutmeg, allspice, and paprika give the crust the familiar bakery-style flavor without turning it muddy.
Below, I’ve included the details that matter most: how to keep the crust from burning, why spiral-sliced ham takes the glaze so well, and the small timing trick that keeps the whole thing from going dry before it hits the table.
The honey butter soaked into the spiral cuts beautifully, and the crust turned out crisp instead of sticky. I followed the timing exactly and the ham stayed juicy all the way through.
Save this Honey Baked Ham for the holiday table — that crackly brown sugar crust and honey glaze make it the one everyone reaches for first.
The Trick to a Crackly Crust Without Drying Out the Ham
The biggest mistake with honey baked ham is rushing the glaze before the ham is hot all the way through. If you start with high heat too early, the sugar coating browns before the center warms, and you end up with a crust that tastes scorched instead of caramelized. This recipe solves that by baking low and covered first, then finishing hot only after the ham is ready for the glaze.
Spiral-sliced ham helps a lot here because the cuts give the honey butter and spiced sugar places to settle. That means the crust isn’t just sitting on top of the roast; it gets tucked into the slices and around the edges. The result is a better bite from the first slice to the last.
- Covered baking first keeps the surface from tightening up before the inside is warmed through.
- Honey and butter give the sugar something rich to cling to, instead of letting it slide off the ham.
- High heat at the end is what turns the coating into that shiny, crackly shell.
- Repeated glazing builds thickness without drowning the ham in a sticky layer.
What Each Spice Is Actually Doing in the Glaze
- Honey gives the glaze its unmistakable shine and helps the sugar melt into a lacquer. Use a thicker honey if you have it; very thin honey can make the coating a little loose.
- Butter adds richness and keeps the glaze from tasting one-note sweet. It also helps the sugar mixture spread more evenly over the ham.
- Granulated sugar and brown sugar work together for texture and depth. Granulated sugar makes the crust crisp, while brown sugar brings molasses flavor and a darker finish.
- Cinnamon, cloves, ginger, nutmeg, and allspice are the warm backbone of the glaze. Don’t cut them all the way back unless you want a flatter, more generic sweet ham.
- Paprika doesn’t make the ham spicy; it deepens the color and keeps the crust from looking pale once it bakes.
Building the Glaze in Layers So It Sets, Not Slides
Warming the Ham Gently
Set the ham cut-side down in the roasting pan and cover it tightly with foil. That tight seal traps steam and keeps the outside from drying before the center reaches temperature. Bake until the ham is around 120F, which leaves room for the glaze stage without overcooking the meat. If the foil is loose, the edges dry out and the exposed slices can turn a little leathery.
Mixing the Sugar Coating
Melt the honey and butter together until smooth, then stir the sugars and spices in a separate bowl. You want a sandy, fragrant mixture that clings when you press it, not a wet paste. If the butter is too hot, the sugar can start to dissolve too soon and won’t form that crackly layer later. Mixing them separately keeps the coating thick enough to pat on.
Glazing and Crusting
Brush the ham generously with the honey butter, then press on a layer of the spiced sugar. Return it to the oven at 400F for just a few minutes at a time, repeating the glaze two more times. Watch for the crust to turn deep golden and crackly at the edges; that’s the cue that it’s set. If it starts to darken too fast, pull it out between rounds rather than waiting for it to catch.
Resting Before the First Slice
Let the ham rest for 15 minutes before carving. That pause helps the glaze firm up and keeps the juices from running out the second you cut into it. Skip the rest and the slices can fall apart a little messier than they should. A short rest makes the whole platter cleaner and easier to serve.
How to Adapt This for a Smaller Table or a Different Diet
Using a boneless ham
A boneless ham works, but it won’t have the same dramatic slices or the built-in flavor of the bone. The glaze still sticks well, though, and it’s easier to carve into neat serving pieces. Keep the bake time a little shorter and start checking the internal temperature earlier.
Lower-sugar version
You can reduce the sugar a little, but don’t remove it completely if you want the crust to set. The sugar is what creates that crisp shell, so cutting too much makes the glaze stickier and softer. If you want less sweetness, trim the brown sugar first and keep the honey for shine.
Gluten-free serving
This recipe is naturally gluten-free as written, as long as your ham and spices are certified gluten-free. That matters most with pre-seasoned or pre-cured hams, where additives can vary by brand. The glaze itself doesn’t need flour or starch to work.
Storage and Reheating
- Refrigerator: Store leftovers for up to 4 days. The crust softens in the fridge, but the flavor stays excellent.
- Freezer: Freezes well for up to 2 months if you wrap slices tightly and portion them first. Freeze with a little of the pan juices if you have them to help keep the meat moist.
- Reheating: Warm slices covered at 300F with a splash of liquid until heated through. Don’t blast it at high heat or the spiral-cut meat will dry out before the center warms.
Answers to the Questions Worth Asking
Honey Baked Ham
Ingredients
Equipment
Method
- Preheat oven to 325°F. Place the ham cut-side down in a roasting pan and cover tightly with foil.
- Bake for 12-14 minutes per pound until it reaches 120°F inside. Keep the foil on to hold moisture while the ham heats through.
- Melt honey and butter together. Stir until smooth and pourable.
- Mix granulated sugar and brown sugar with cinnamon, cloves, ginger, nutmeg, allspice, and paprika in a separate bowl. Toss well to evenly distribute the spices.
- Remove the foil, then brush the ham generously with the honey butter. Make sure glaze gets into the spiral grooves.
- Pat on a layer of the spiced sugar over the brushed ham. Press lightly so the sugar adheres.
- Raise oven to 400°F and bake for 5 minutes. Look for early browning at the edges.
- Brush again with honey butter. Keep the layer thin so the sugar can crisp.
- Pat on another layer of spiced sugar. Aim for an even coating across the spiral ridges.
- Bake for 5 minutes at 400°F, then brush and sugar once more. Continue until you see deep golden color forming and cracking.
- Bake until the crust is deep golden and crackly and the ham reaches 140°F. Use an instant-read thermometer in the thickest part of the ham.
- Rest the ham for 15 minutes before serving. Let the juices set so the glaze stays crisp.