These Kentucky Hot Brown Sliders bake up rich, messy, and impossible to ignore, with soft rolls soaking in savory Mornay sauce while the tops turn golden and crisp under the broiler. You get the classic Hot Brown combination in a party-size pan: turkey, tomato, bacon, and that creamy cheese sauce that settles into every gap without turning the sliders soggy.
The trick is keeping the sauce thick enough to cling. Warm milk helps the roux thicken smoothly, and pulling the pan off the heat before stirring in the cheese keeps the Mornay velvety instead of grainy. I also layer the tomatoes right under the sauce so they soften just enough without flooding the rolls.
Below you’ll find the one step that keeps the sauce stable, the ingredient swap that still gives you a proper Hot Brown feel, and the broiling cue that gets the tops browned without drying out the turkey.
The Mornay sauce thickened up beautifully and stayed creamy after baking. The bacon on top gave the perfect salty crunch, and the sliders held together better than I expected.
Kentucky Hot Brown Sliders are perfect for game day, and the broiled bacon-topped finish makes them even better for a make-ahead party tray.
The Mornay Sauce Has to Be Thick Before It Hits the Rolls
The biggest mistake with Hot Brown sliders is treating the sauce like a pour-over cheese sauce. If it’s too loose, it slides straight through the rolls and pools in the pan. You want a spoon-coating Mornay that settles into the turkey and tomato layer, then finishes in the oven without separating.
That’s why the roux cooks for a full minute before the milk goes in, and why the milk should be warm. Cold milk takes longer to thicken and can leave you whisking past the point where the sauce is smooth. Once the cheese goes in, take the pan off the heat. High heat is what makes a cheese sauce grainy.
What Each Layer Is Doing in a Kentucky Hot Brown
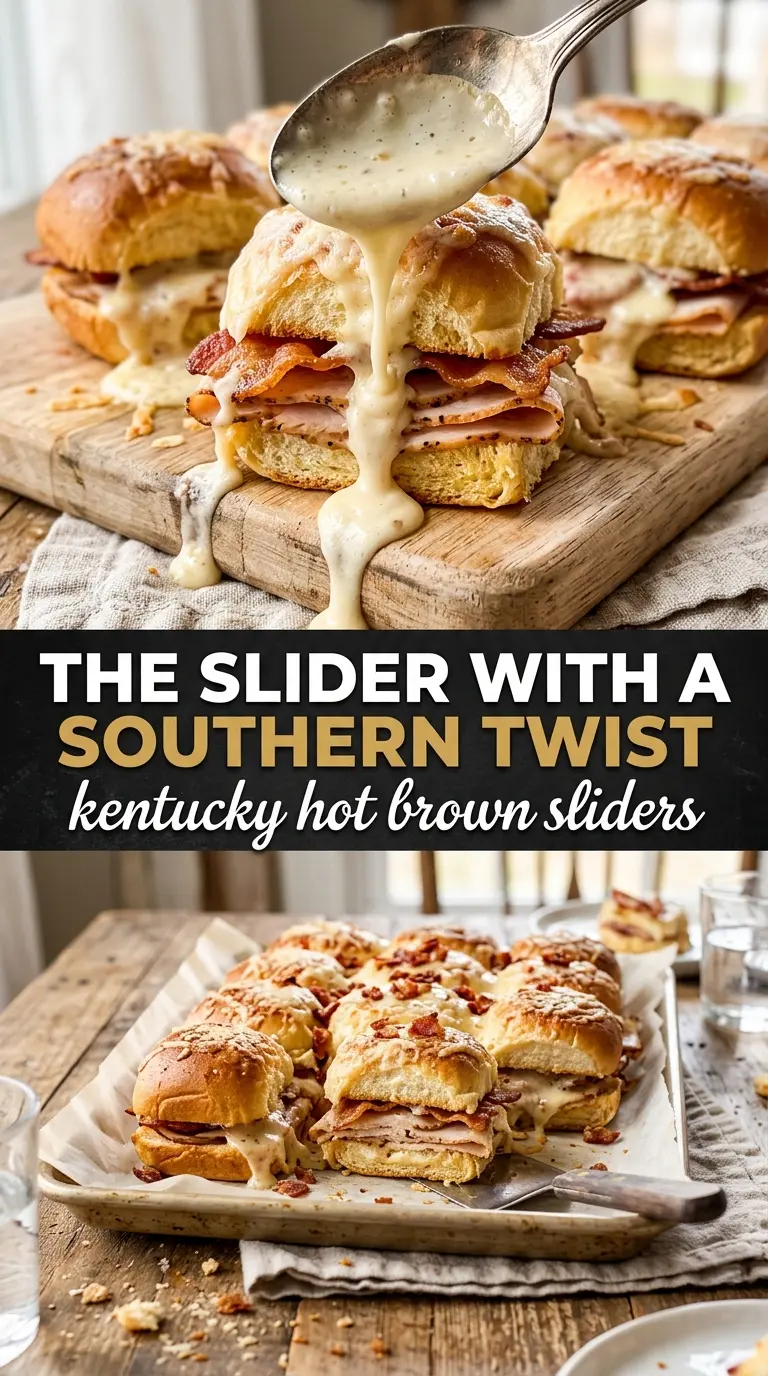
- Slider rolls — Hawaiian sweet rolls work well because they soften around the sauce without falling apart. A sturdier dinner roll also works if you want a less sweet base, but avoid crusty rolls since they don’t pull apart the same way.
- Deli turkey — Thin-sliced turkey layers evenly and stays tender after baking. Leftover roast turkey is great here too; just slice or shred it so it warms through quickly.
- Tomatoes — Slice them thin and keep them in a single layer. Thick slices dump too much moisture into the pan and make the bottoms soggy before the broiler has a chance to crisp anything.
- Cheese for the Mornay — Sharp cheddar gives the sauce more bite, while Gruyère makes it a little more classic and nutty. Either one needs to be shredded fresh if possible, because pre-shredded cheese can leave the sauce less smooth.
- Bacon — Cook it until crisp before it goes on top. It softens slightly under the broiler, but that first crisp texture is what keeps each bite from feeling heavy.
Building the Pan So the Sliders Hold Together
Setting the Roll Base
Split the rolls cleanly and keep the bottom half in one connected sheet if you can. That makes serving easier and helps the sauce stay distributed instead of slipping between loose buns. Grease the baking dish well so the bottoms release cleanly after they toast around the edges.
Layering the Turkey and Tomatoes
Spread the turkey in an even layer, then tuck the tomatoes over it so every slider gets some of both. The order matters: turkey under tomatoes gives the tomatoes something to rest on, which keeps them from sliding around when the sauce goes on. If your tomatoes are especially juicy, blot them lightly with a paper towel first.
Finishing With Sauce, Heat, and Broil
Pour the Mornay over the filling while it’s still warm and spread it to the edges. Bake long enough for the rolls to absorb some of the sauce, then add the bacon and broil just until the tops are spotted with color. Watch the broiler the whole time; the line between toasted and burned is short, especially once the sauce starts bubbling at the edges.
Use Gruyère for a more classic finish
Gruyère melts into a silkier, slightly nuttier Mornay that leans closer to the original Hot Brown flavor. Sharp cheddar gives you more punch and a deeper orange color, but Gruyère keeps the sauce a little more elegant if you’re serving these for brunch or Derby day.
Make it gluten-free with the right rolls and thickener
Use gluten-free slider buns and swap the flour for a cup-for-cup gluten-free blend that works in roux. The sauce will still thicken, but it may need an extra minute on the stove to lose the raw starch taste before the cheese goes in.
Use leftover turkey without changing the method
Leftover roasted turkey works beautifully and gives the sliders a more homemade feel. If the turkey is already well seasoned, ease up slightly on the salt in the sauce so the finished tray doesn’t tip too salty once the bacon goes on.
Storage and Reheating
- Refrigerator: Store covered for up to 3 days. The rolls soften as they sit, but the flavor stays good.
- Freezer: These freeze best before baking, without the tomatoes or bacon. Assemble, wrap tightly, and freeze for up to 1 month, then thaw before adding sauce and baking.
- Reheating: Reheat covered in a 325°F oven until warmed through, then uncover for a few minutes to re-crisp the tops. The mistake is blasting them in the microwave, which turns the rolls rubbery and makes the sauce separate.
Questions I Get Asked About This Recipe
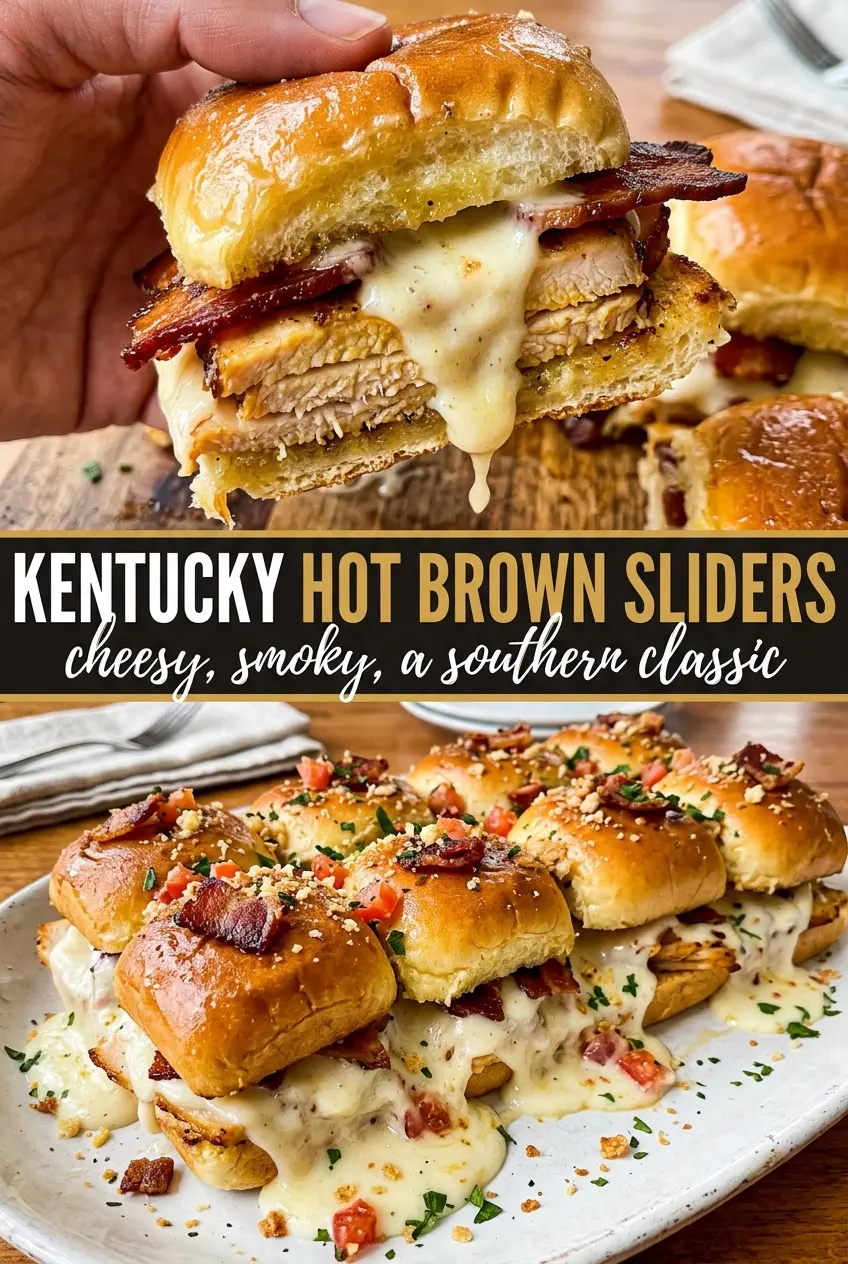
Kentucky Hot Brown Sliders
Ingredients
Equipment
Method
- Preheat the oven to 350°F and grease a 9x13 baking dish.
- Slice slider rolls in half horizontally and place the roll bottoms in the baking dish.
- Layer deli turkey slices evenly over the roll bottoms, then top with thin-sliced tomatoes.
- Melt butter in a saucepan over medium heat until foaming.
- Whisk in the all-purpose flour and cook for 1 minute.
- Slowly whisk in warmed whole milk, then stir until thickened, about 3–4 minutes.
- Remove from the heat and stir in shredded sharp cheddar or Gruyère, salt, white pepper, and nutmeg until smooth.
- Pour the Mornay sauce generously over the turkey layer, then place the slider tops on.
- Bake for 15 minutes at 350°F until hot throughout and beginning to bubble.
- Remove from the oven, place crispy bacon strips across the top, switch to broil, and broil for 2–3 minutes until the tops are golden and edges are crispy.
- Garnish with paprika and fresh parsley and serve immediately.