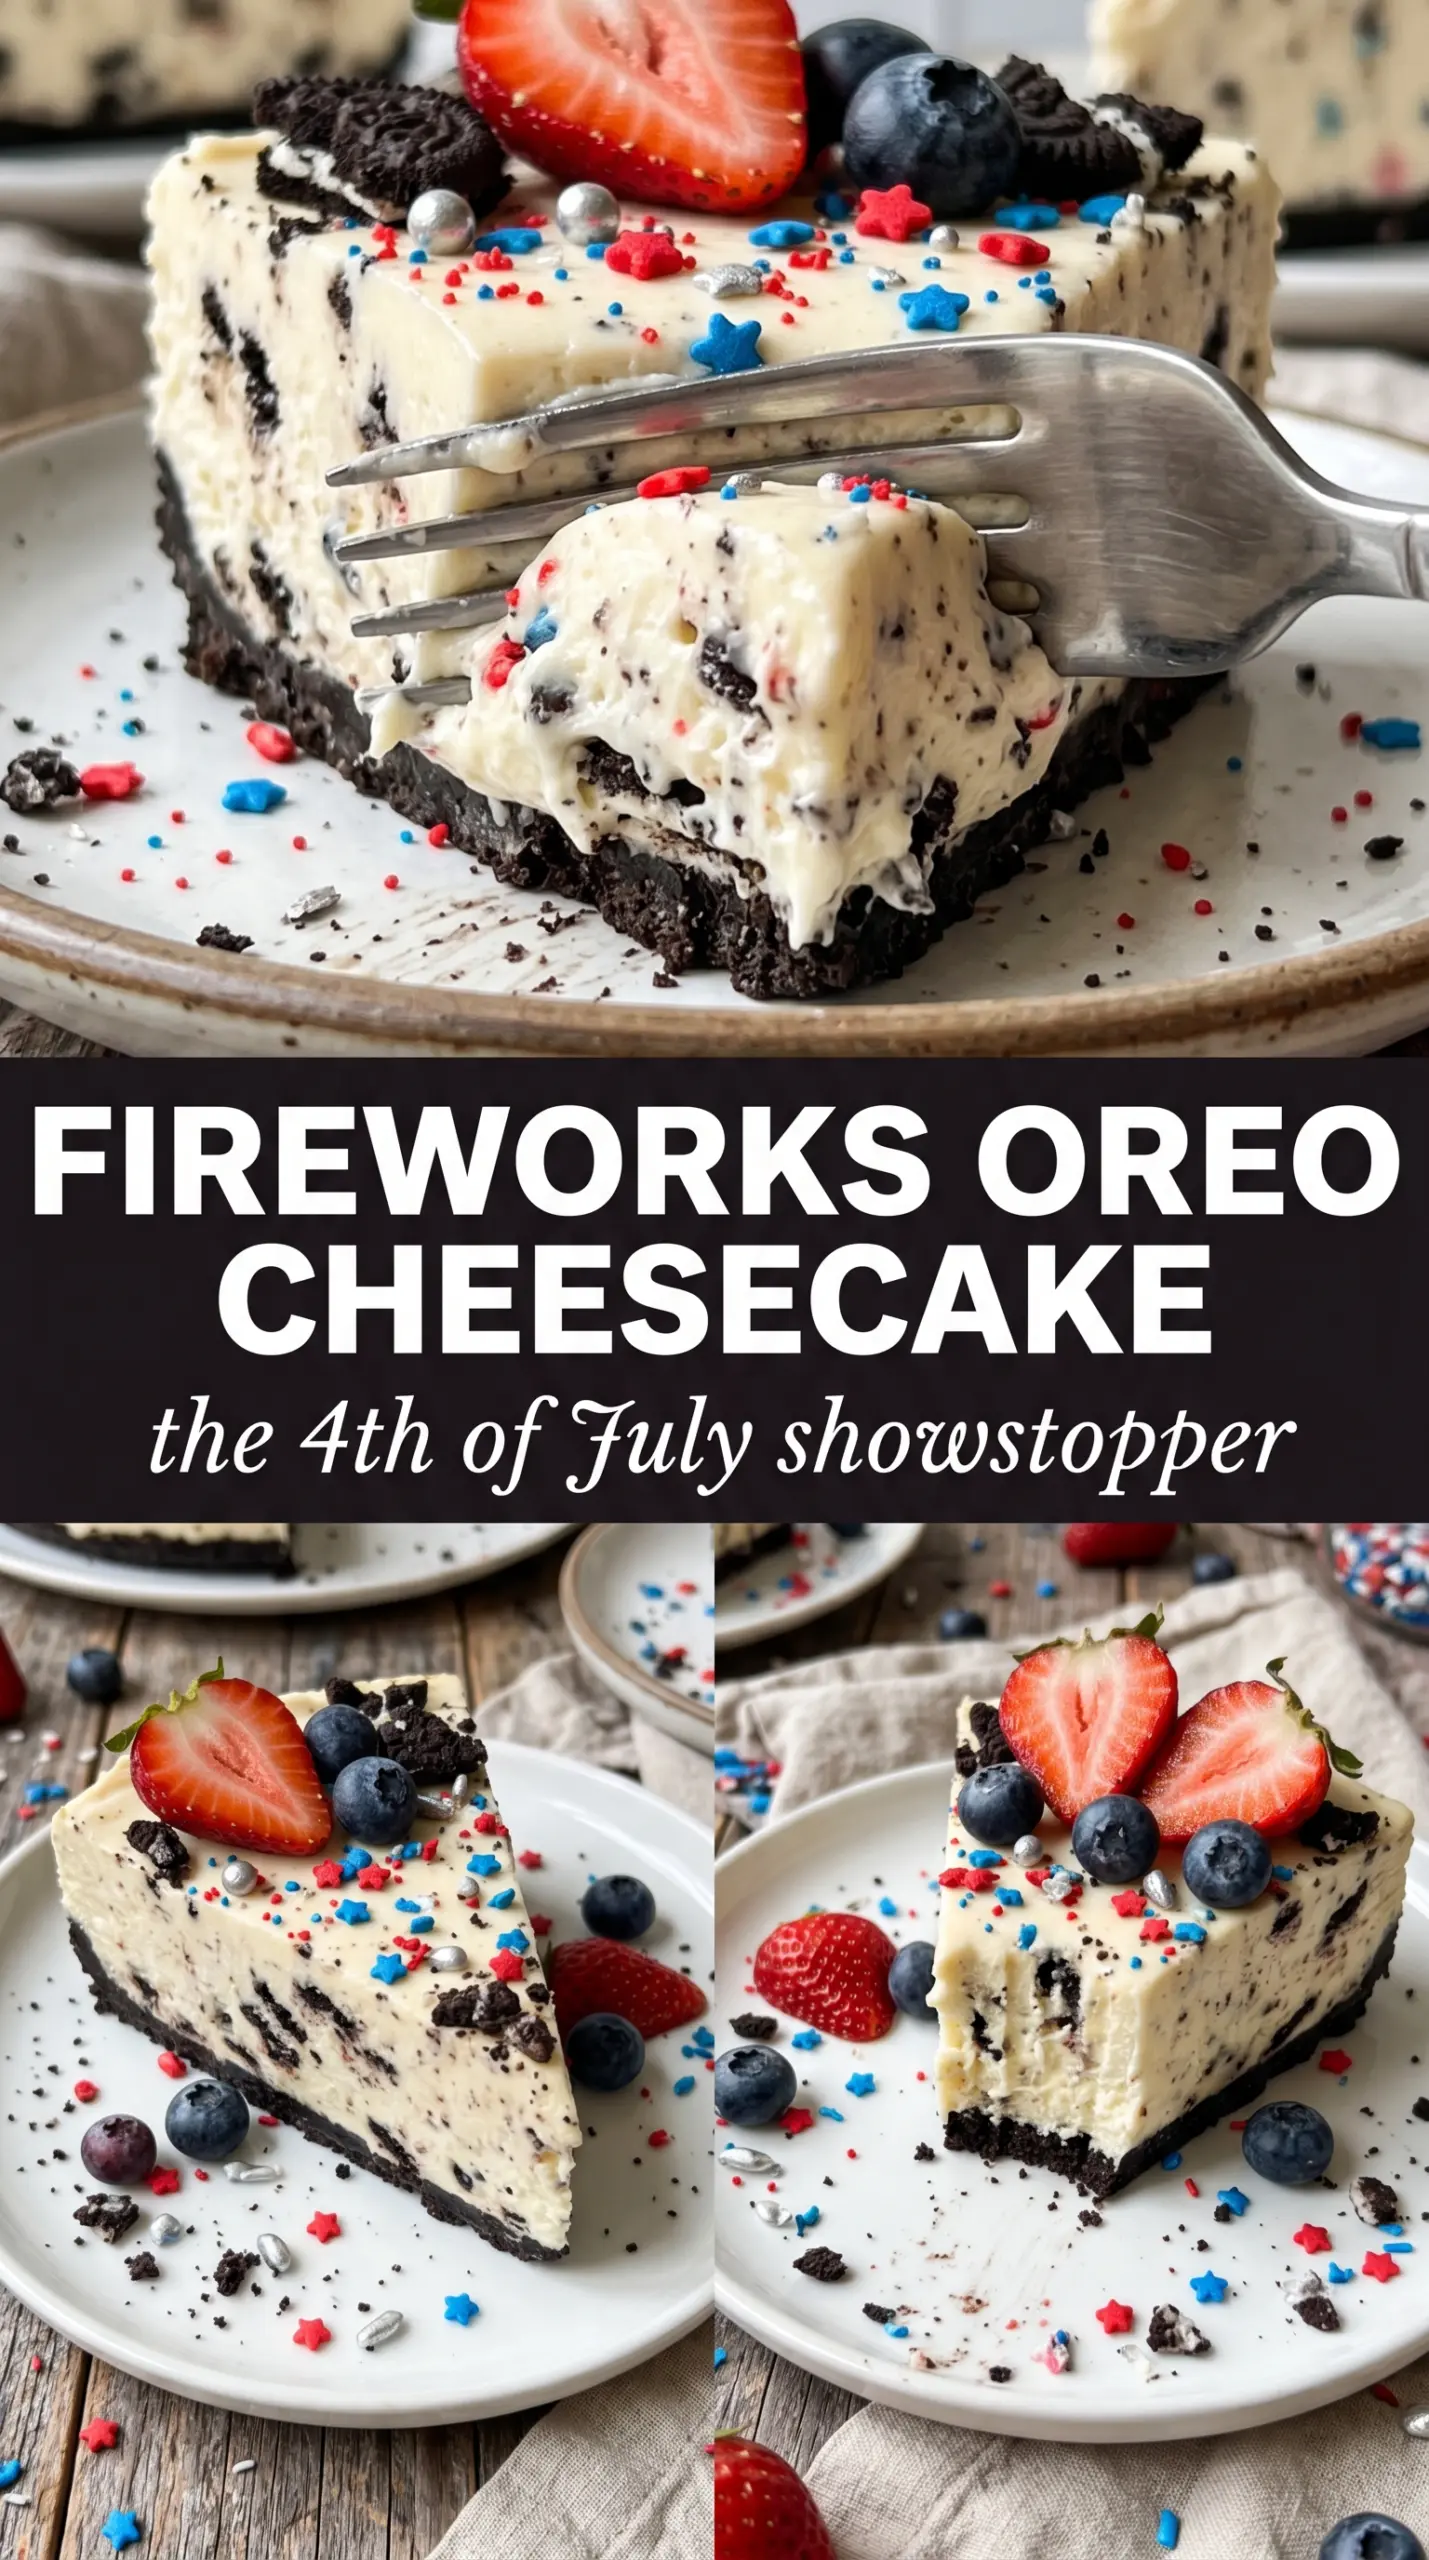
Cold, creamy no-bake cheesecake layered over an Oreo crust is already a strong dessert, but the fireworks finish turns it into the kind of pan that disappears fast at a party. The filling sets up plush and sliceable after a long chill, with enough vanilla sweetness to balance the deep cocoa crust and keep every bite from feeling heavy. The crushed Oreos on top and the whipped cream swirls give it that celebratory look without turning the whole cake into a decorating project.
What makes this version work is the texture contrast. The crust gets packed firmly enough to hold clean slices, while the filling depends on two different steps for structure: smooth the cream cheese base first, then fold in whipped cream that has been taken all the way to stiff peaks. If the cream isn’t whipped enough, the cheesecake will soften too much in the fridge and won’t cut neatly. If the cream cheese is still chilly, you’ll fight lumps all the way through the bowl.
Below, I’ve included the little details that keep a no-bake cheesecake stable, plus the best way to decorate it so the red, white, and blue finish looks intentional instead of messy.
The filling set up smooth and sturdy, and the Oreo crust stayed crisp enough to slice cleanly after chilling overnight. My kids thought the sprinkle burst on top looked like fireworks.
Like this fireworks Oreo cheesecake? Save it to Pinterest for a chilled make-ahead dessert with a crisp cookie crust and red, white, and blue topping.
The Step Most No-Bake Cheesecakes Get Wrong
The filling for a no-bake cheesecake lives or dies by temperature and texture. Softened cream cheese needs to be beaten until it’s completely smooth before anything else goes in, because once powdered sugar and whipped cream are added, stubborn lumps don’t break down easily. The other place people lose structure is underwhipped cream. Stiff peaks matter here, not soft ones, because the whipped cream is carrying the set of the whole dessert.
The crust needs the opposite treatment: compact, cold, and firm. A loosely packed Oreo crust crumbles at the first slice, especially once the filling softens slightly at room temperature. Press it down with real pressure and chill it before filling so it behaves like a base, not cookie crumbs pretending to be a crust.
What Each Ingredient Is Actually Doing in This Cheesecake
- Oreo cookies — These pull double duty as both the chocolate flavor and the structure of the crust. The cream filling in the cookies helps the crumbs bind with the butter, which is why standard Oreos work better here than chocolate sandwich cookies with a drier center.
- Unsalted butter — This is what turns loose crumbs into a sliceable base. If you cut the butter back, the crust will look fine in the pan but fall apart under a knife.
- Cream cheese — Full-fat brick cream cheese gives the filling its body and tang. Tub-style cream cheese is softer and can make the cheesecake slack, so stick with the block kind and let it soften fully before mixing.
- Heavy whipping cream — This is the structure maker in a no-bake cheesecake. It needs to be whipped to stiff peaks before folding in, or the filling won’t hold up after chilling.
- Powdered sugar — This sweetens the filling and dissolves cleanly without graininess. Granulated sugar won’t melt the same way and can leave the texture sandy.
- Vanilla extract — A small amount rounds out the tang of the cream cheese and keeps the filling from tasting flat. Use real vanilla if you have it; the flavor shows up in a filling this simple.
Building the Crust and Folding the Filling Without Losing the Set
Press the Oreo Base Until It Holds Its Shape
Mix the crushed Oreos with the melted butter until the crumbs look evenly damp, like dark wet sand. Press them into the bottom of a 9-inch springform pan with the bottom of a glass or measuring cup so the layer is flat and tight all the way across. If the crust feels loose, it didn’t get enough pressure, and it will break apart when you serve the first slice. Chill it while you make the filling so the butter firms back up.
Beat the Cream Cheese Until the Bowl Looks Silky
Beat the softened cream cheese with the powdered sugar and vanilla until there are no visible lumps and the mixture looks smooth and thick. Stop and scrape the bowl several times, especially around the bottom edge where cold bits hide. If you skip this part, those little cream cheese lumps will stay in the finished cheesecake because the filling never gets cooked or strained. The mixture should look glossy before the whipped cream goes in.
Fold in the Whipped Cream in Two Gentle Additions
Whip the heavy cream until stiff peaks stand straight up when you lift the beaters. Fold about a third of it into the cream cheese base first to lighten the mixture, then add the rest and fold just until no white streaks remain. Overmixing knocks out the air you just built, which leaves the cheesecake soft and dense instead of plush and sliceable. Pour it over the crust right away and smooth the top before it has a chance to settle unevenly.
Chill Until It Slices Cleanly
Cover the pan and refrigerate it for at least 6 hours, but overnight gives you the cleanest cut. The center should feel fully set when you nudge the pan, not wobbly like pudding. If you rush this and cut too soon, the slices will slump at the edges and the crust will separate from the filling. Add the whipped cream and sprinkles just before serving so the decoration stays fresh and the colors stay sharp.
How to Adapt This Fireworks Cheesecake for Different Needs
Gluten-Free Cookie Crust
Use certified gluten-free chocolate sandwich cookies in place of the Oreos. The crust will still hold and taste close to the original, though some GF cookies are a little drier, so if the crumbs seem loose, add just enough extra butter to make them pack firmly.
Dairy-Free Version
Swap in dairy-free cream cheese and a plant-based whipping cream that can be whipped to stiff peaks. The texture will be slightly softer and the tang a little different, but the dessert still chills into neat slices if you give it the full overnight set.
Chocolate Lover’s Upgrade
Add a thin layer of melted chocolate over the chilled crust before pouring in the filling, or fold a handful of extra crushed Oreos into the cream mixture. The chocolate layer gives you a firmer base and a more dramatic cookie bite, but it does make the dessert a touch richer.
Storage and Reheating
- Refrigerator: Store covered for up to 4 days. The crust softens a little over time, but the filling stays set and sliceable.
- Freezer: This cheesecake freezes well without the whipped cream topping. Wrap the whole cheesecake or individual slices tightly and freeze for up to 1 month, then thaw overnight in the refrigerator.
- Reheating: No reheating needed. Serve cold straight from the fridge, and let it sit out for 10 minutes before slicing if you want cleaner cuts. Warmth will soften the filling too much and blur the decorative topping.
Questions I Get Asked About This Recipe
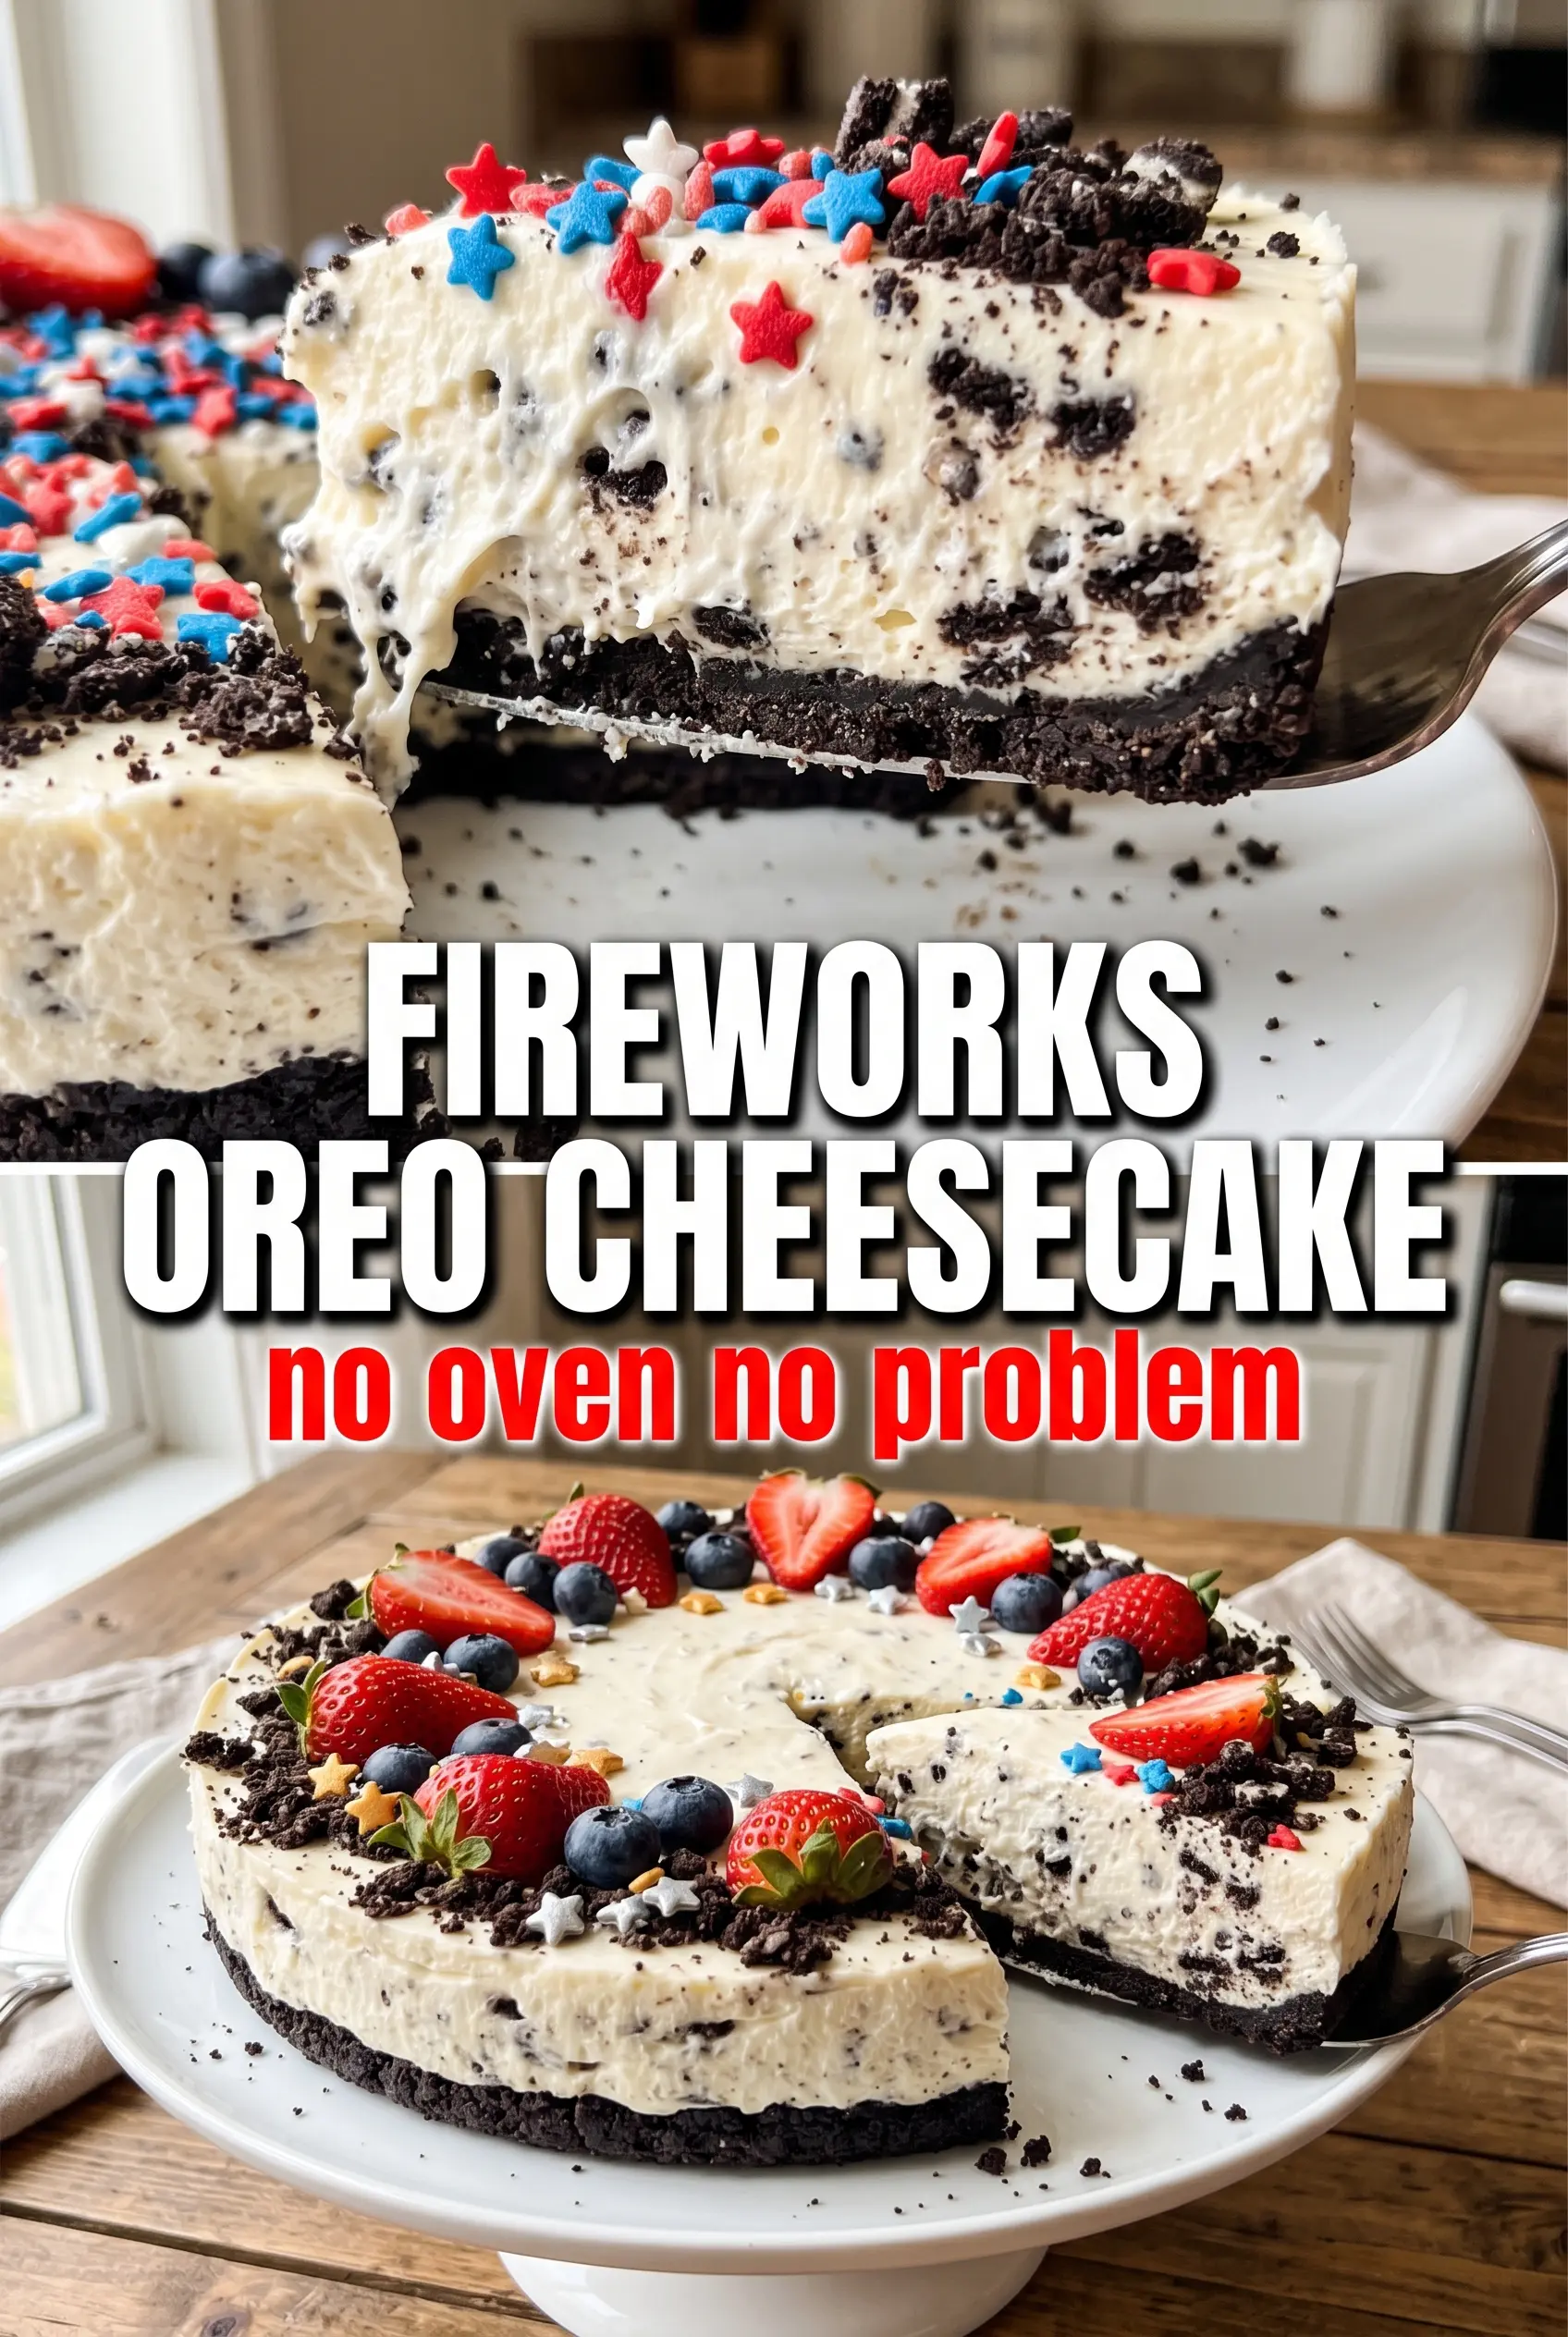
No-Bake Fireworks Oreo Cheesecake
Ingredients
Equipment
Method
- Mix the finely crushed Oreo cookies with the melted unsalted butter until the texture resembles wet sand, then stir until evenly coated.
- Press the Oreo mixture firmly into the bottom of a 9-inch springform pan, then refrigerate while you make the filling.
- Beat the softened cream cheese, powdered sugar, and vanilla extract until completely smooth with no lumps.
- In a separate bowl, whip the heavy whipping cream to stiff peaks, about 3–5 minutes.
- Fold the whipped cream into the cream cheese mixture in two additions until no streaks remain.
- Pour the filling over the chilled crust and smooth the top with an offset spatula.
- Cover and refrigerate for at least 6 hours or overnight until fully set.
- Before serving, pipe whipped cream around the edge in a swirled starburst pattern.
- Scatter red and blue star sprinkles across the center, then dust with crushed Oreos in a fireworks burst pattern.