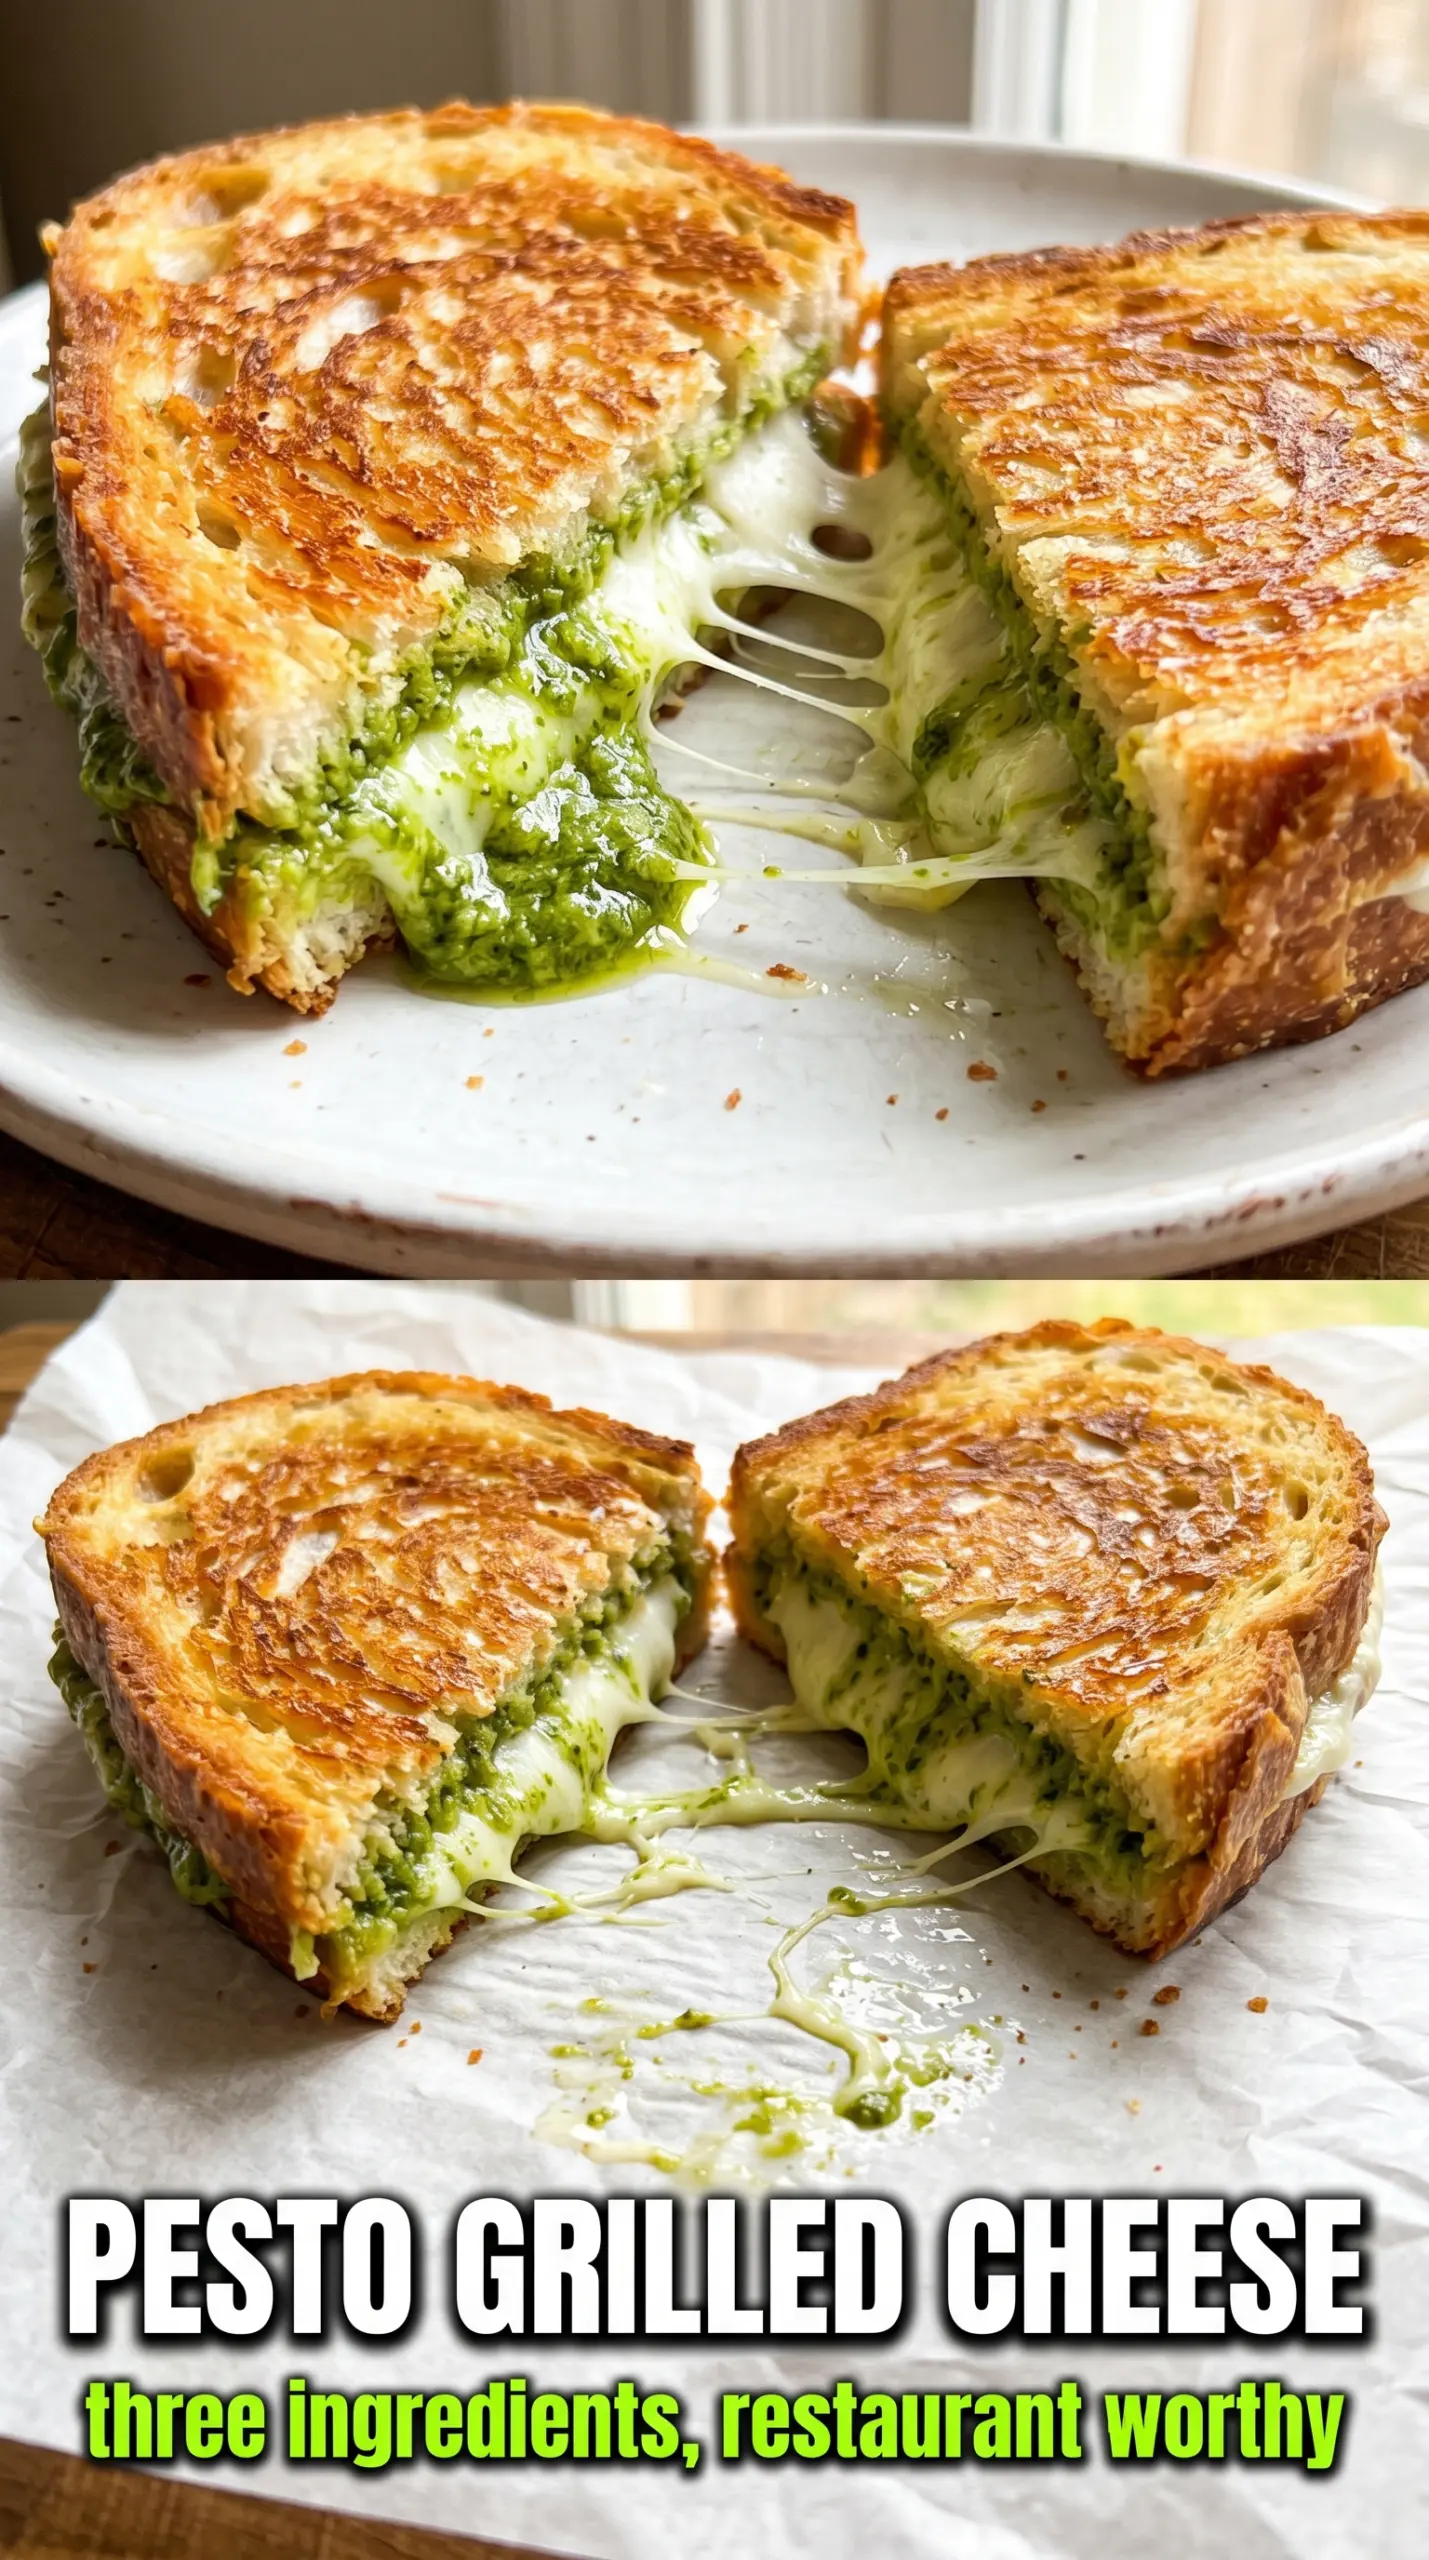
Pesto grilled cheese turns a familiar sandwich into something that tastes layered and intentional without asking for much more than good bread and a steady hand at the skillet. The crust goes deeply golden, the mozzarella melts into long strands, and the pesto brings that sharp basil-garlic bite that keeps each bite from feeling heavy. The sun-dried tomatoes are the piece that makes it memorable. They add sweetness and chew, and they cut through the richness of the cheese in a way plain grilled cheese never can.
The trick is balance. Thick sourdough gives you enough structure to hold the filling, while the butter on the outside helps the bread brown evenly before the cheese has a chance to leak out. Medium-low heat matters here. If the pan runs too hot, the bread will brown before the mozzarella softens, and you end up with a sandwich that looks done but cuts like a mess. Pesto also needs to stay on the inside layer, where it can perfume the cheese instead of scorching against the pan.
Below, I’m walking through the small details that make this sandwich worth repeating, plus the one substitution I’d use when fresh mozzarella isn’t on hand.
The bread browned evenly and the mozzarella melted all the way through without the pesto burning. I’ve made it twice this week and the sun-dried tomatoes give it such a good little tang.
Save this pesto grilled cheese for the nights when you want a gooey mozzarella pull, a crisp sourdough crust, and those sweet-tangy sun-dried tomatoes in every bite.
The Mistake That Turns Pesto Grilled Cheese Soggy Before It Melts
What ruins this sandwich most often is not the cheese. It’s too much pesto, or pesto placed where it can soak straight into the bread while the pan is still warming up. Basil pesto carries oil, which means it can make the interior slippery if you pile it on too thick. A thin, even layer is enough to perfume the whole sandwich and keep the bread from going damp.
The second trap is heat. Grilled cheese needs enough time for the mozzarella to soften all the way through, and that happens best over medium-low heat. Push the temperature too high and the sourdough darkens before the center turns gooey. Keep the pan steady, press lightly, and let the sandwich tell you when it’s ready by how the cheese starts to relax at the edges.
- Sourdough — Thick slices give you a sturdy shell that stays crisp instead of collapsing under the filling. Anything much softer can turn flimsy once the pesto and cheese warm up.
- Basil pesto — This is the main flavor driver, so use one you actually like eating by the spoonful. Store-bought works fine here, but a very oily pesto should be used sparingly so the bread doesn’t get greasy.
- Fresh mozzarella — It melts into that stretchy, creamy center that makes the sandwich worth the effort. If all you have is low-moisture mozzarella, it will melt more firmly and less luxuriously, but it still works.
- Sun-dried tomatoes in oil — Drain them well before layering so the sandwich doesn’t get slippery. Their concentrated sweetness keeps the sandwich from tasting one-note.
- Butter — Softened butter spreads evenly and helps the bread brown in patches that go deep gold instead of blotchy. If it’s straight from the fridge, you’ll tear the bread while trying to spread it.
What Each Ingredient Is Actually Doing in This Recipe
- Primary ingredient (the star) — Quality matters most. Choose the best you can find.
- Cooking medium (oil, butter, or broth) — This carries flavors and prevents dryness.
- Seasonings (salt, pepper, spices, herbs) — Layer flavors so nothing overpowers. Build depth gradually.
- Aromatics (garlic, onion, herbs) — Cook with fat to bloom flavors. Become the foundation.
- Supporting ingredients — Complement the main ingredient without overpowering it.
- Sauce or liquid (if applicable) — Brings flavors together. Balance richness with acid.
- Acid (lemon, vinegar, wine, or other) — Brightens and prevents flat-tasting results.
- Final finish (garnish, glaze, or sauce) — Prevents one-dimensional taste and adds visual appeal.
The Best Order for Building the Melt
Butter the Outside First
Spread the softened butter on the outside faces of all four bread slices before you touch the pesto. That keeps the filling side clean and makes assembly faster. If you butter the bread after stacking, you’ll press down on the sandwich and squeeze filling out the edges. A thin, even coat is enough; thick globs just leave pale spots in the skillet.
Keep the Pesto on the Inside
Spread the pesto on the unbuttered sides in an even layer. You want enough to taste it in every bite, but not so much that it floods the bread. The pesto should sit against the cheese, not the pan, so the basil stays bright instead of frying into bitterness. If your pesto is loose or oily, stir it first so you’re spreading the solids and oil together.
Let the Cheese Melt Slowly
Layer the mozzarella and sun-dried tomatoes on two slices, close the sandwiches, and cook them in a skillet over medium-low heat. Press gently with a spatula, just enough to help the bread make full contact with the pan. After 4 to 5 minutes, lift a corner and check for a deep golden crust before flipping. The second side usually needs a touch less time, and the sandwich is done when the cheese has softened all the way through and the crust feels crisp, not hard.
Make It with Dairy-Free Cheese
Use a dairy-free mozzarella that melts well, not a firm block that stays chalky. The result will be a little less stretchy than the original, but the pesto and sun-dried tomatoes still carry the sandwich. Keep the heat modest so the plant-based cheese has time to soften before the bread over-browns.
Use Low-Moisture Mozzarella for a Firmer Melt
Low-moisture mozzarella gives you a tighter, less oozy filling that holds together well for slicing. It won’t have the same creamy pull as fresh mozzarella, but it’s a strong swap when you want less moisture in the sandwich. Shred or slice it thin so it melts before the bread gets too dark.
Make It Gluten-Free
Choose a gluten-free sandwich bread that’s thick enough to handle the filling and has a crust that browns well in butter. Many gluten-free breads are more delicate, so work a little more gently when flipping. If the slices are especially soft, toast them lightly before assembling so they hold up better in the skillet.
Swap the Sun-Dried Tomatoes
Roasted red peppers work when you want a milder, softer sweetness, while chopped olives bring a saltier, brinier bite. Both change the character of the sandwich, so expect a different balance than the original. Drain any wet add-ins well or they’ll steam the bread from the inside.
Storage and Reheating
- Refrigerator: Store cooked sandwiches for up to 2 days. The crust softens as it sits, but the flavor still holds up.
- Freezer: Freezing isn’t ideal for the finished sandwich because the mozzarella can turn watery when reheated. If you want to get ahead, assemble the sandwiches and refrigerate them instead of freezing.
- Reheating: Rewarm in a skillet over low heat until the bread crisps again and the center loosens. The mistake people make is microwaving it, which makes the bread rubbery and the filling unevenly hot.
Answers to the Questions Worth Asking

Pesto Grilled Cheese
Ingredients
Equipment
Method
- Spread the softened butter on the outside of each bread slice, making sure the full edges are coated for browning.
- Spread pesto generously on the inside (unbuttered) side of all four slices so it fully covers the bread surface.
- Layer the mozzarella slices and sun-dried tomatoes on two of the pesto-covered slices, keeping an even layer for melting.
- Top with the remaining two bread slices, pesto-side in and buttered-side out, to form two sandwiches.
- Heat a skillet over medium-low heat and cook the sandwiches for 4–5 minutes per side, pressing gently as they toast for a deep golden crust.
- Continue cooking until the cheese is fully melted, then slice in half and serve immediately to keep the interior gooey.