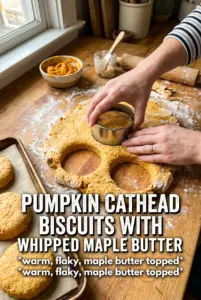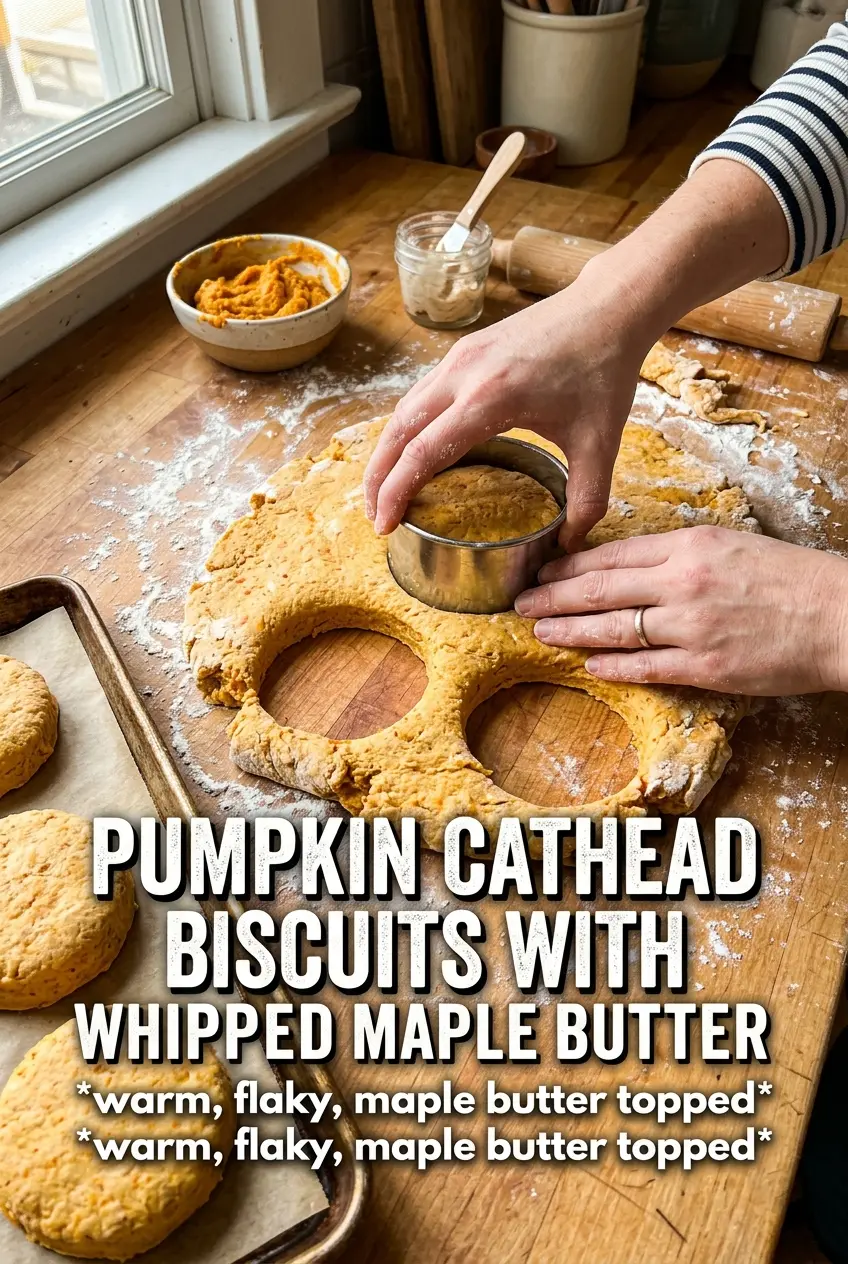
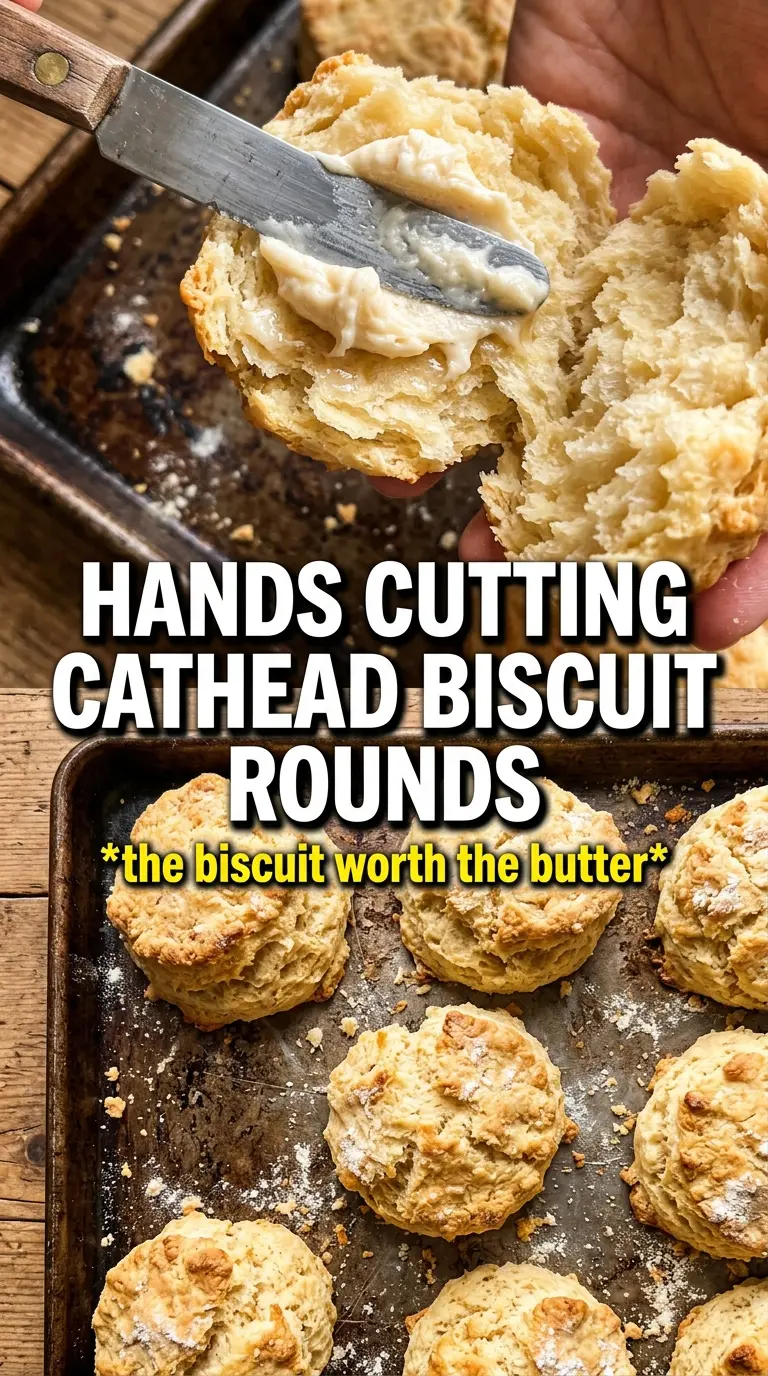
These pumpkin cathead biscuits bake up tall, craggy, and tender in the middle with edges that turn deeply golden in the cast iron skillet. The pumpkin brings a soft orange color and just enough moisture to keep the crumb plush, while the whipped maple butter melts into every split and warm ridge the second they hit the table.
What makes this version work is the balance: cold butter for flaky pockets, buttermilk for tang and lift, and pumpkin puree for body without turning the dough heavy. The dough stays shaggy on purpose. If you work it until it looks smooth, the biscuits lose that big, rustic shape that makes cathead biscuits worth making in the first place.
Below, I’ll walk through the little details that matter most, from keeping the butter cold to getting the biscuits spaced just right in the skillet. I’ve also included a few smart swaps and storage notes, because these are the kind of biscuits that disappear fast but still deserve a plan.
The biscuits rose high and stayed fluffy inside, and the maple butter soaked into all those craggy tops without making them soggy. I baked them in cast iron like suggested and the bottoms came out perfectly crisp.
Save these pumpkin cathead biscuits for the mornings when you want a big, fluffy biscuit with crisp cast iron edges and maple butter melting into every bite.
Why the Pumpkin Stays Tender Instead of Heavy
The mistake with pumpkin biscuits is treating pumpkin puree like a wet ingredient that should be mixed in until smooth. It isn’t. Pumpkin adds moisture and flavor, but it also brings enough density to weigh the dough down if you overwork it. The goal here is a shaggy mass that just holds together when you drop it into the skillet.
Cold butter matters just as much as the pumpkin. As those butter pieces melt in the oven, they leave tiny steam pockets behind, which is what gives cathead biscuits their lift. If the butter softens before baking, the biscuits spread instead of rising, and you lose that tall, torn texture.
- Flour — All-purpose flour gives enough structure to hold the big biscuit mounds without making them tough. A lower-protein flour can work, but the biscuits may bake up a little softer and less sturdy.
- Pumpkin puree — Use plain pumpkin puree, not pumpkin pie filling. Pie filling is already sweetened and spiced, and it throws off both texture and flavor balance.
- Buttermilk — The acidity helps the baking soda do its job and adds a little tang that keeps the biscuits from tasting flat. If you don’t have it, mix 3/4 cup milk with 2 teaspoons lemon juice or vinegar and let it sit 5 minutes.
- Cold butter — This is where the flaky, tender crumb comes from. Cut it in while it’s still firm and stop when the mixture looks like coarse crumbs with some pea-sized pieces left behind.
What Each Ingredient Is Actually Doing in This Recipe
- Primary ingredient (the star) — Quality matters most. Choose the best you can find.
- Cooking medium (oil, butter, or broth) — This carries flavors and prevents dryness.
- Seasonings (salt, pepper, spices, herbs) — Layer flavors so nothing overpowers. Build depth gradually.
- Aromatics (garlic, onion, herbs) — Cook with fat to bloom flavors. Become the foundation.
- Supporting ingredients — Complement the main ingredient without overpowering it.
- Sauce or liquid (if applicable) — Brings flavors together. Balance richness with acid.
- Acid (lemon, vinegar, wine, or other) — Brightens and prevents flat-tasting results.
- Final finish (garnish, glaze, or sauce) — Prevents one-dimensional taste and adds visual appeal.
The 20 Minutes That Decide the Crumb
Getting the Dry Mix Evenly Spiced
Whisk the flour, leaveners, cinnamon, nutmeg, salt, and sugar until the color looks even and no clumps of baking soda remain. That part matters more than it sounds, because an uneven mix gives you bitter pockets and biscuits that rise unevenly. If your cinnamon forms little dark streaks, keep whisking for a few more seconds before adding the butter.
Cutting in the Butter Without Melting It
Add the cold butter cubes and cut them in until the mixture looks sandy with some bigger bits still visible. Those bigger pieces are a good sign; they melt into pockets in the oven and help the biscuits separate on the inside. If the butter starts getting soft under your fingers, stop and slide the bowl into the fridge for 10 minutes before moving on.
Bringing the Dough Together Lightly
Stir the pumpkin puree and cold buttermilk together first, then add it to the flour mixture and mix only until the dry flour disappears. The dough should look rough, sticky, and uneven. If you knead it into a smooth ball, the biscuits turn bready instead of tender, and the big craggy tops won’t form.
Baking in a Hot Cast Iron Skillet
Drop eight large mounds into the greased skillet and leave them touching or almost touching so they support each other as they rise. The skillet should be hot going into the oven, and the biscuits should start sizzling at the edges within a few minutes. Bake until the tops are golden and the centers feel set when lightly pressed; if the tops brown too fast, move the skillet one rack lower for the last few minutes.
How to Adapt These Biscuits Without Losing the Texture
Dairy-Free Version
Swap the butter for a solid plant-based butter stick and use unsweetened soy or oat milk with 2 teaspoons lemon juice in place of buttermilk. You’ll still get a tender biscuit, though the flavor will be a little less rich and the whipped maple butter should be made with a dairy-free butter that whips well.
Gluten-Free Swap
Use a cup-for-cup gluten-free flour blend that includes xanthan gum. The biscuits won’t have quite the same chew as the wheat version, but they can still rise well if you keep the dough cold and avoid overmixing.
Extra Cinnamon or Savory Twist
For a sweeter breakfast biscuit, add another 1/2 teaspoon cinnamon to the dough and finish with a pinch of flaky salt on top of the maple butter. If you want something less sweet, cut the sugar back to 2 teaspoons and skip the whipped maple butter in favor of plain softened butter.
Storage and Reheating
- Refrigerator: Store baked biscuits in an airtight container for up to 3 days. They soften a little on day two, which is normal for pumpkin biscuits.
- Freezer: Freeze the baked biscuits without the maple butter for up to 2 months. Wrap them well, then thaw at room temperature before reheating.
- Reheating: Warm in a 325F oven for 8 to 10 minutes. The microwave will make the crumb gummy and erase the crisp edges, so skip it if you want the texture to stay close to fresh.