
Pumpkin cookies with sweet cream glaze bake up soft, cakey, and lightly spiced, with edges that stay tender instead of turning crisp. The glaze settles into a smooth, milky layer that adds just enough richness to make each cookie feel finished without covering up the pumpkin and cinnamon underneath.
What makes these cookies work is the balance of moisture and structure. Pumpkin brings tenderness, but too much can make cookies gummy, so the dry ingredients are doing real work here. The batter should look thick enough to scoop cleanly, and the cookies need just enough time in the oven to set the centers without drying out the crumb. The sweet cream glaze matters too — the heavy cream and melted butter give it a softer, fuller finish than a plain powdered sugar icing.
Below, you’ll find the little details that keep the cookies from spreading too much, plus the one thing that makes the glaze smooth instead of chalky. Once you’ve made them once, they’ll be the kind of cookie you keep coming back to whenever you want something easy but a little more special than the usual batch.
The cookies stayed soft for days and the glaze set up just enough that it didn’t run everywhere. I liked how the pumpkin spice came through without tasting heavy, and my batch was done right at 11 minutes.
Save these pumpkin cookies with sweet cream glaze for the kind of soft, spiced cookie that stays tender and looks bakery-worthy with almost no fuss.
The Trick to Keeping Pumpkin Cookies Soft Without Making Them Wet
Pumpkin is the ingredient that gives these cookies their plush, cakey texture, but it can also be the reason a batch turns dense and underbaked. The goal is to use enough pumpkin for flavor and moisture, but not so much that the dough loses shape in the oven. That is why the butter and sugar need a good beat at the start: you want a light base before the pumpkin goes in, not a heavy paste that bakes up thick and dull.
The dry ingredients matter more here than they would in a standard drop cookie. Flour, baking soda, and baking powder work together to give lift while the pumpkin pie spice and cinnamon keep the flavor warm and rounded. If your cookies spread too much, the usual culprit is a dough that was too loose from overmeasuring the pumpkin or a baking sheet that was still warm from a previous batch.
- Pumpkin — Use canned pumpkin puree, not pumpkin pie filling. Pie filling already has sugar and spices added, which throws off both the sweetness and the texture. If your puree looks especially watery, give it a quick stir before measuring so the cookies don’t bake up gummy.
- Butter — Softened butter gives the cookies a tender crumb and helps the sugar dissolve properly when you beat them together. Melted butter would make the dough greasy and flatter. Use unsalted butter here so you control the seasoning in both the cookies and the glaze.
- Flour — Spoon and level it instead of packing it into the cup. Too much flour makes these cookies dry and bready instead of soft. If you need a gluten-free swap, use a cup-for-cup blend with xanthan gum already included.
- Pumpkin pie spice and cinnamon — The spice blend gives the cookies that familiar autumn bakery flavor, while the extra cinnamon keeps the glaze from tasting flat. If you only have cinnamon on hand, add a little extra and expect a simpler flavor.
- Heavy cream in the glaze — This is what makes the topping taste richer than a basic powdered sugar glaze. Milk works in a pinch, but the glaze will be thinner and less plush. Start with the listed amount and add only enough extra cream to make it spoonable.
Mix the Dough, Then Stop Before It Turns Tough
Building the Butter Base
Beat the butter and sugar until the mixture looks lighter in color and a little fluffy around the edges. That step traps air, which gives the cookies a softer rise. If you rush it, the dough stays heavy and the cookies bake up dense instead of cakey.
Adding the Pumpkin Without Overmixing
Mix in the pumpkin, egg, and vanilla until the batter looks smooth and evenly colored. It will look looser than a classic cookie dough, and that’s normal. Once the wet ingredients are blended, stop as soon as the dry ingredients disappear; overmixing builds gluten and makes the finished cookies chewy in the wrong way.
Baking Just Until Set
Scoop the dough in 2-tablespoon rounds and leave a little space between them. Bake at 350°F until the tops look set and the cookies spring back lightly when touched, usually 10 to 12 minutes. If the centers still look wet and glossy, give them another minute, but don’t wait for deep browning or the cookies will dry out as they cool.
Glazing at the Right Time
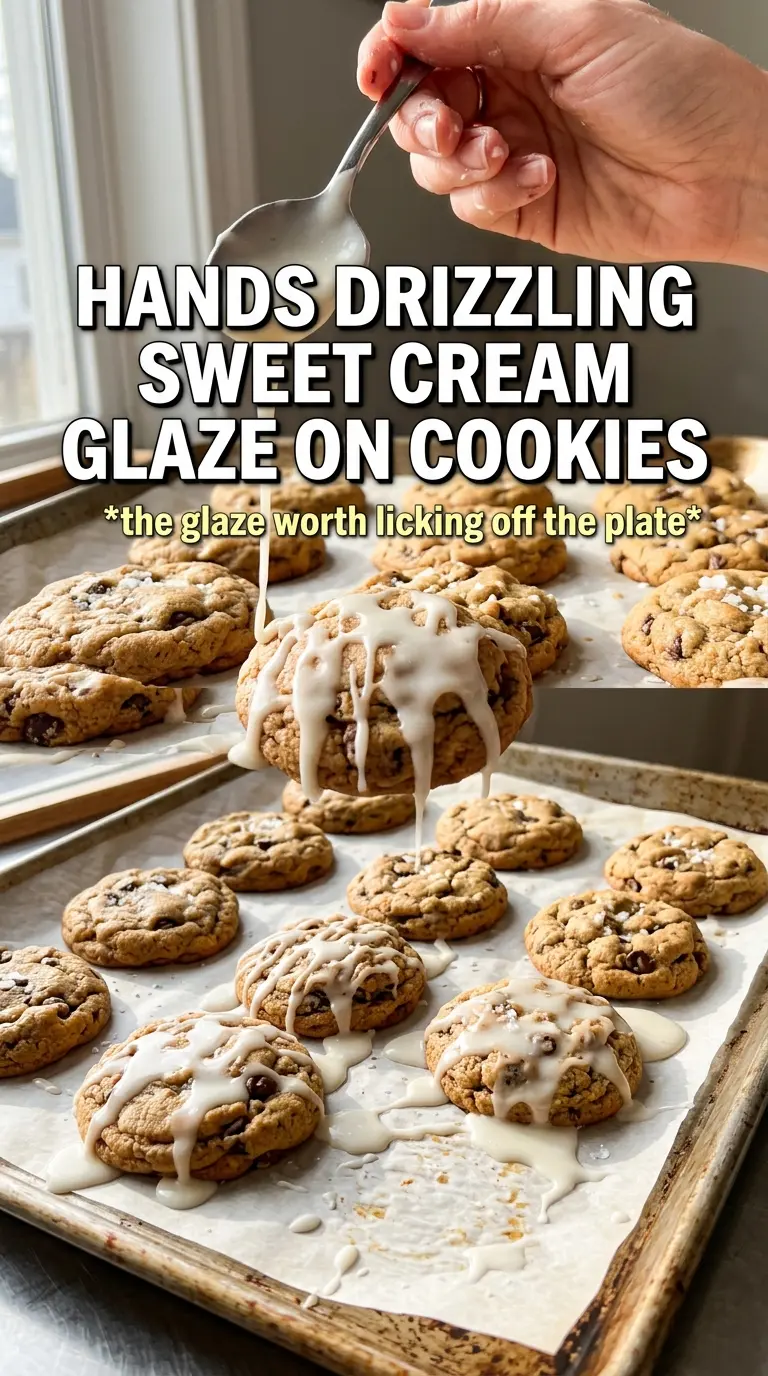
Let the cookies cool completely before glazing them. Warm cookies will melt the glaze right off the tops, and you’ll lose that thick, pretty finish. Whisk the glaze until it pours in a ribbon but still holds its shape for a second before smoothing out, then spoon it generously over each cookie and let it set for about 20 minutes.
How to Adapt These Pumpkin Cookies for Different Kitchens
Dairy-Free Version
Use a plant-based butter that bakes well and swap the heavy cream for full-fat coconut milk or an unsweetened dairy-free creamer. The cookies will still be soft and spiced, but the glaze will taste a little less rich and a little more coconut-forward if you use coconut milk.
Gluten-Free Swap
A cup-for-cup gluten-free flour blend works well here because the cookies are already tender and moist. The texture will be a touch softer and more delicate, so let them cool fully on the pan before moving them to a rack.
Extra-Spiced Bakery Style
Add another 1/2 teaspoon cinnamon and a pinch of nutmeg to push the cookies toward a warmer, more aromatic finish. This doesn’t change the structure, but it does make the pumpkin flavor read more like a classic bakery cookie than a mild tea cookie.
Storage and Reheating
- Refrigerator: Store glazed cookies in an airtight container for up to 5 days. The cookies stay soft, though the glaze may lose a little shine after the first day.
- Freezer: Freeze the baked cookies without glaze for up to 2 months. Thaw at room temperature, then glaze after they come back to room temp so the topping stays smooth.
- Reheating: These don’t need reheating. If you want to take the chill off a refrigerated cookie, let it sit out for 15 to 20 minutes. Microwaving glazed cookies will melt the topping and make the texture gummy.