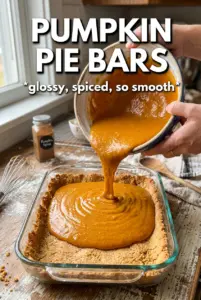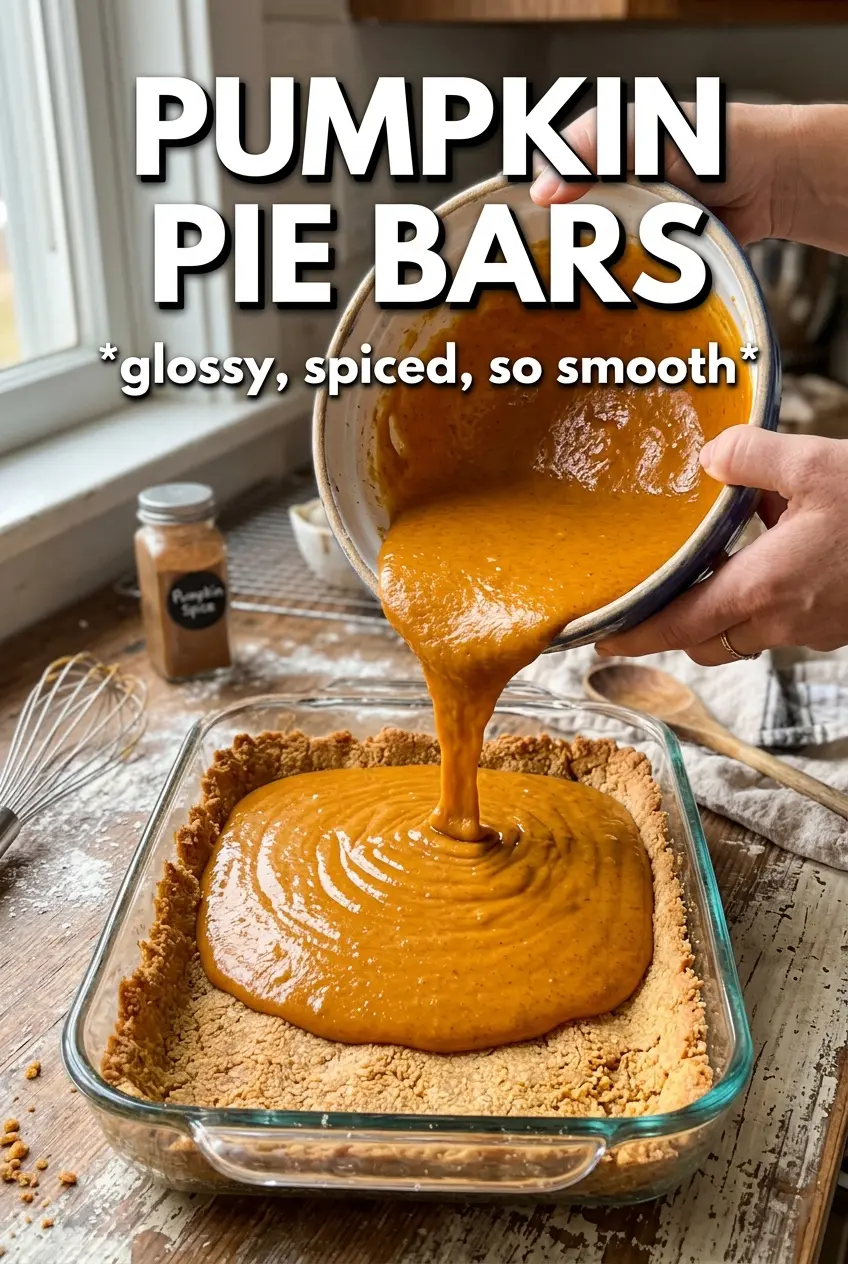
Pumpkin pie bars give you everything worth chasing in a slice of pie without the stress of rolling dough or worrying about a crimped edge collapsing in the oven. The crust stays tender and buttery, the filling sets into that smooth, spiced custard texture, and every square cuts cleanly once it’s fully cooled. They’re the kind of dessert that disappears fast because people can grab a bar, add a little whipped cream, and keep moving.
The shortbread base matters here. It bakes first so it can stay sturdy under the custard, and the cold butter keeps it from turning dense or greasy. The filling is built with evaporated milk for a richer, silkier texture than regular milk would give you, and the two-stage bake helps it set without curdling or cracking. If you’ve ever had pumpkin pie that came out loose in the middle or weepy at the edges, this version fixes that problem with a simple, reliable method.
Below, I’ve included the little details that make these bars cut neatly and taste balanced, plus a few ways to adapt them if you need a different pan size or want to make them ahead.
The crust baked up sturdy and buttery, and the filling set perfectly after chilling. I topped each bar with whipped cream and cinnamon, and my husband asked me to pack the leftovers in his lunch.
Love that smooth pumpkin custard over the buttery shortbread crust? Save these pumpkin pie bars for the next time you want a make-ahead dessert that slices cleanly and serves a crowd.
The Secret to Bars That Slice Clean, Not Like Pudding
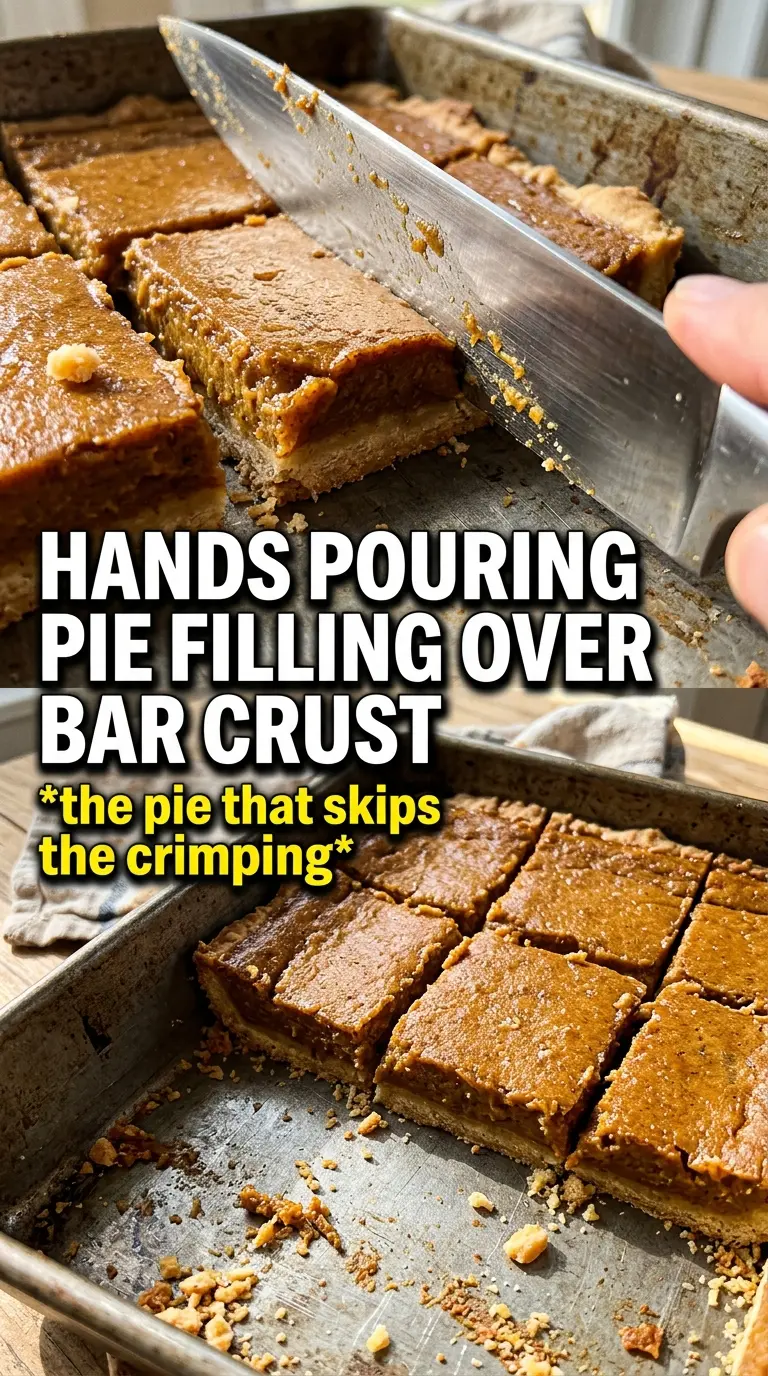
The biggest mistake with pumpkin pie bars is rushing the cool-down. The filling keeps setting as it cools, and if you cut too soon, the edges slump and the middle smears across the crust. Give it the full chill time, then use a sharp knife wiped clean between cuts for those neat bakery-style squares.
Another place people go wrong is overbaking the custard until it looks completely firm in the oven. Pull it when the center still has the tiniest wobble. Carryover heat finishes the job, and that’s what keeps the texture silky instead of dry and grainy.
What Each Ingredient Is Actually Doing in the Pan
- Cold unsalted butter — Cold butter is what gives the crust that tender, short texture. If it softens before it goes into the flour, the crust turns pasty instead of crumbly and buttery. Salted butter will work in a pinch, but reduce the added salt a little.
- Powdered sugar — This keeps the crust fine and delicate instead of crunchy. Granulated sugar would make it more brittle, which is not what you want under a custard filling.
- Pumpkin puree — Use plain pumpkin puree, not pumpkin pie filling. The canned pie filling already contains sugar and spices, and it throws off both the flavor and the texture here.
- Evaporated milk — This is the ingredient that makes the filling rich and smooth without needing cream. Whole milk won’t give you quite the same body, and half-and-half can make the custard heavier than it needs to be.
- Eggs — The eggs set the custard. Whisk them until the mixture looks completely smooth so you don’t get streaks of egg white or little cooked bits in the finished bars.
- Pumpkin pie spice, cinnamon, ginger, and cloves — The blend matters more than any single spice. Cinnamon rounds everything out, ginger adds lift, and cloves bring that classic pie warmth. If your pumpkin pie spice is old, it loses a lot of its punch, so check the aroma before using it.
Building the Crust and Custard So They Bake Together
Pressing and Prebaking the Base
Mix the crust just until it holds when squeezed. Overworking it makes it tough, and tough shortbread under soft custard is a bad trade. Press it firmly and evenly into the lined pan so it bakes into one solid layer, then prebake until it’s pale gold around the edges. If it looks wet or glossy when it comes out, it needs a few more minutes.
Whisking the Filling Until It’s Fully Smooth
Whisk the pumpkin, eggs, sugar, evaporated milk, spices, vanilla, and salt until no streaks remain. Any unblended egg or clump of spice will show up after baking, so take the extra minute here. Pour the filling over the hot crust while it’s still warm; that helps the layers bond instead of separating when you cut the bars.
The Two-Stage Bake That Sets the Center
The first blast of high heat helps the filling start setting quickly, which gives the bars structure. After that, lower the temperature so the custard can finish gently without puffing and cracking. You’re looking for edges that are set and a center that still gives a slight wobble when you nudge the pan. If the middle ripples like liquid, it needs more time.
Cooling Before the First Slice
Let the bars cool completely at room temperature, then chill them for the full two hours. This is the part that turns a soft pumpkin slab into real bars. If you want especially clean squares, chill them longer than two hours and use a long knife dipped in hot water, then wiped dry between cuts.
Dairy-Free Version
Use a plant-based butter that’s meant for baking in the crust and a full-fat canned coconut milk in place of the evaporated milk. The bars will still set, but the filling will taste a little coconut-forward and slightly less classic. Keep the spice blend balanced so the coconut doesn’t take over.
Gluten-Free Crust Swap
Replace the flour with a good 1:1 gluten-free baking blend that already includes xanthan gum. The crust may be a little more delicate, so press it evenly and chill the pan for 10 minutes before baking if your kitchen is warm. The filling needs no change.
For a Sharper Spice Profile
Add an extra 1/4 teaspoon of ginger or a pinch more cloves if you want the bars to taste more like old-school pumpkin pie. Don’t overdo the cloves; they take over fast and make the filling taste medicinal instead of warm.
Storage and Reheating
- Refrigerator: Store covered for up to 4 days. The crust stays best in the first two days, but the bars still hold their texture well after that.
- Freezer: These freeze well. Wrap the cut bars individually and freeze in a single layer before transferring to a container. Thaw overnight in the refrigerator so the filling doesn’t weep.
- Reheating: Serve them chilled or let them sit at room temperature for 15 to 20 minutes. Don’t microwave them if you want the custard to stay smooth; too much heat softens the filling and can make the crust soggy.