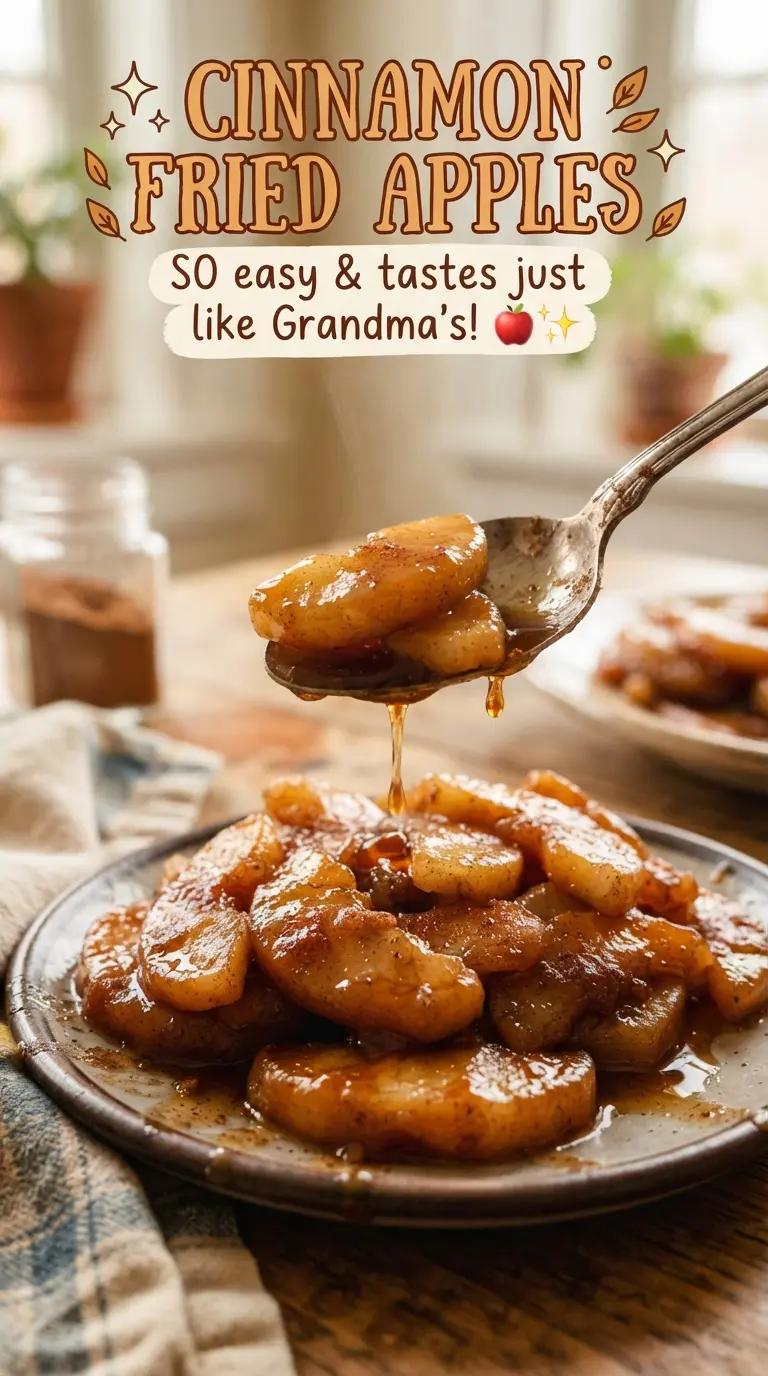
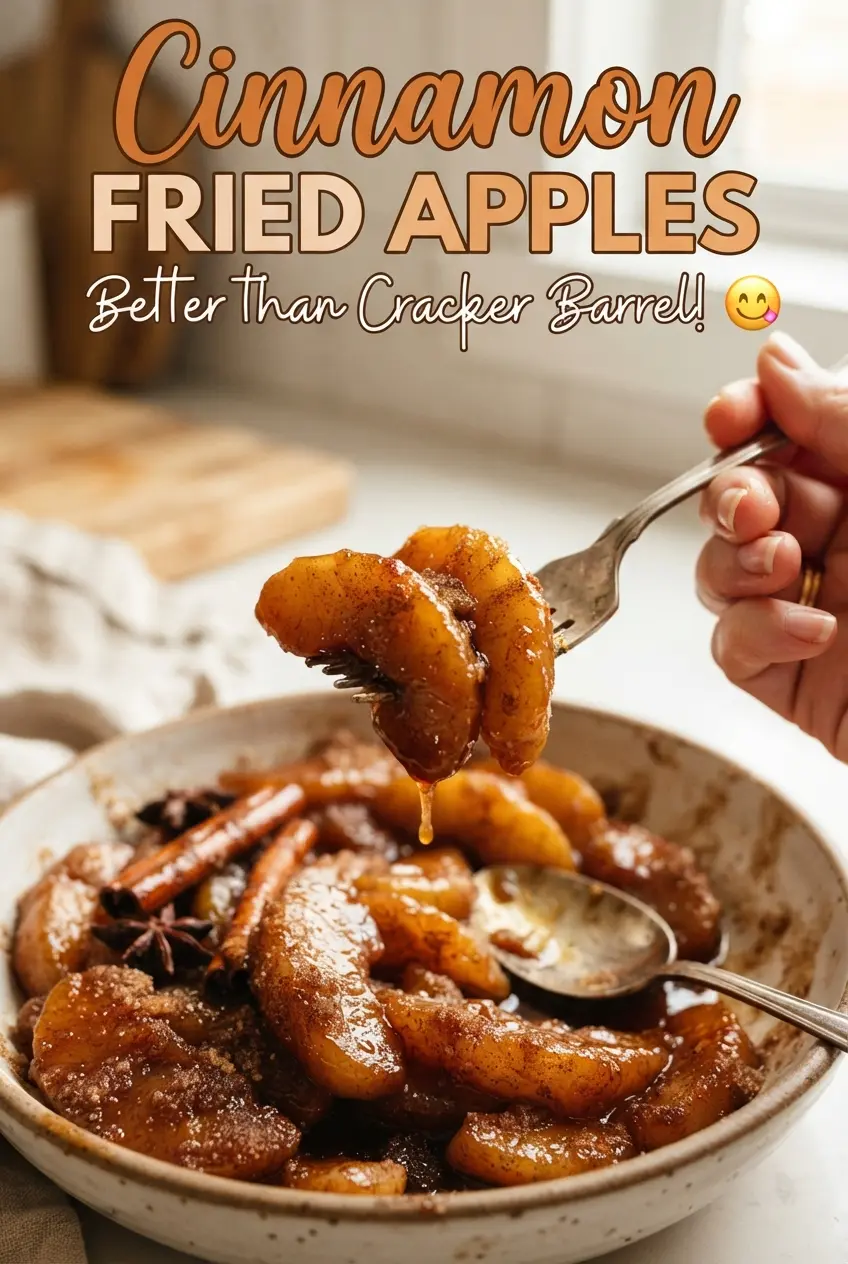
Cinnamon fried apples land in that sweet spot between old-fashioned comfort and practical weeknight side dish. The apples stay tender but still hold their shape, and the sauce turns glossy enough to cling to every slice without sliding off into a pool at the bottom of the skillet. It tastes like something that took longer than it did, which is always a good sign in my kitchen.
What makes this version work is the balance: firm apples for structure, brown sugar for depth, and just enough cornstarch to turn the buttery juices into a proper syrup instead of a loose pan sauce. The lid does important work early on by trapping steam so the apples soften evenly before the sauce tightens up. Once the vanilla goes in at the end, the whole pan smells warm and rounded, not flat or one-note.
Below, I’ll walk through the one step that keeps the apples from turning mushy, plus a few easy swaps if you only have one kind of apple on hand.
The sauce thickened up beautifully and the apples stayed tender instead of falling apart. I used Granny Smiths, and the cinnamon-brown sugar coating was perfect over vanilla ice cream.
Save these cinnamon fried apples for the next time you need a glossy, tender skillet side with just the right cinnamon-brown sugar sauce.
The Part That Keeps the Apples Tender Instead of Mushy
The biggest mistake with fried apples is cooking them uncovered the whole time and expecting the sauce to save them. It won’t. The apples need a short covered cook so the steam softens the slices from the inside while the butter and sugar start building flavor around them. That’s what gives you tender fruit with some bite left in the center instead of apples that collapse into applesauce.
Keep the heat at medium, not high. If the skillet starts boiling hard, the syrup will reduce too fast before the apples finish softening. You want a gentle simmer and occasional stirring, just enough to keep the sugar from settling and scorching on the bottom of the pan.
Why These Ingredients Work Best Together
- Firm apples — Honeycrisp holds its shape and gives you a sweeter finish, while Granny Smith brings a sharper edge that keeps the dish from tasting too heavy. Softer apples break down faster and won’t give you the same clean slices in the finished pan.
- Butter — This is the base of the sauce and carries the cinnamon into every bite. Salted or unsalted both work; if you use salted butter, keep the pinch of salt light.
- Brown sugar — Packed brown sugar melts into a deeper, more caramel-like syrup than white sugar would. You can use light or dark brown sugar, but dark brown will taste richer and a little more molasses-forward.
- Cornstarch — This is what turns the cooking liquid into a glossy sauce that clings to the apples. Flour won’t give the same clear finish, so stick with cornstarch if you want that classic sheen.
- Vanilla — Add it at the end so it stays warm and fragrant instead of cooking off. It smooths out the cinnamon and makes the whole dish taste rounder.
How to Build the Syrup Without Breaking the Apples
Starting the Apples in Butter
Melt the butter over medium heat in a large skillet, then add the sliced apples with the brown sugar, cinnamon, nutmeg, and salt. Stir until every slice looks coated and glossy. The pan will look crowded at first, but the apples shrink as they cook. If the butter browns too quickly or smells nutty before the apples soften, the heat is too high.
Softening Under a Lid
Cover the skillet and cook for 8 to 10 minutes, stirring occasionally. You’re looking for apples that bend slightly when stirred but still hold their shape when lifted. The lid traps enough steam to cook the fruit through without drying out the sugar. If you skip this covered stage, the outside of the apples can overcook before the centers go tender.
Turning the Pan Juices Into a Glossy Sauce
Whisk the cornstarch with the water until smooth, then pour it into the skillet and stir right away. Let the mixture simmer for 2 to 3 minutes until the liquid turns thicker and shiny. It should coat the back of a spoon instead of running off like water. If you dump in dry cornstarch, you’ll get little starchy lumps that never fully disappear.
Finishing With Vanilla
Stir in the vanilla after the sauce has thickened and pull the skillet off the heat soon after. Vanilla fades fast when it’s boiled hard, and adding it at the end keeps the aroma bright. Serve the apples warm while the sauce is still loose enough to spoon over biscuits, pork, pancakes, or ice cream.
How to Adapt These Apples for Different Needs
Use All Granny Smith for a Tarter Side
If you want a sharper, less sweet result, use all Granny Smith apples. They keep their shape well and stand up nicely to the brown sugar, which makes this a better match for savory mains like pork.
Make It Dairy-Free
Swap the butter for a good dairy-free butter substitute or refined coconut oil. You’ll lose a little of the classic buttery richness, but the cinnamon syrup still thickens and coats the apples well. Coconut oil will add a faint coconut note, while a butter-style substitute keeps the flavor closer to the original.
Skip the Cornstarch if You Want a Looser Sauce
Leave out the cornstarch if you want a more syrupy pan sauce that pools more at the bottom of the skillet. The apples will still taste good, but the sauce won’t cling the same way, so this version works best if you’re spooning it over pancakes or waffles.
Storage and Reheating
- Refrigerator: Store in an airtight container for up to 4 days. The sauce will thicken more as it chills.
- Freezer: This isn’t my first choice for freezing because the apples soften quite a bit after thawing. If you do freeze it, use it within 2 months and expect a softer texture.
- Reheating: Warm gently in a skillet over low heat with a splash of water if needed. High heat can make the sauce seize or turn sticky before the apples are heated through.
Answers to the Questions Worth Asking
Cinnamon Fried Apples
Ingredients
Equipment
Method
- Melt the butter in a large cast iron skillet over medium heat. Watch for the butter to fully melt and start to shimmer.
- Add the apples, brown sugar, cinnamon, nutmeg, and salt, then stir to coat. Keep stirring until the apple slices look evenly coated in the brown spice mixture.
- Cover and cook for 8-10 minutes, stirring occasionally, until the apples are just tender. Look for softened edges while the slices still hold their shape.
- Whisk the cornstarch with the water, then pour it into the skillet. Stir right after adding so no lumps form.
- Simmer for 2-3 minutes until the sauce thickens and turns glossy. You should see a smooth, glossy coating cling to the apples.
- Stir in the vanilla extract and serve warm. The aroma should be noticeable and the syrup should stay spoonable.