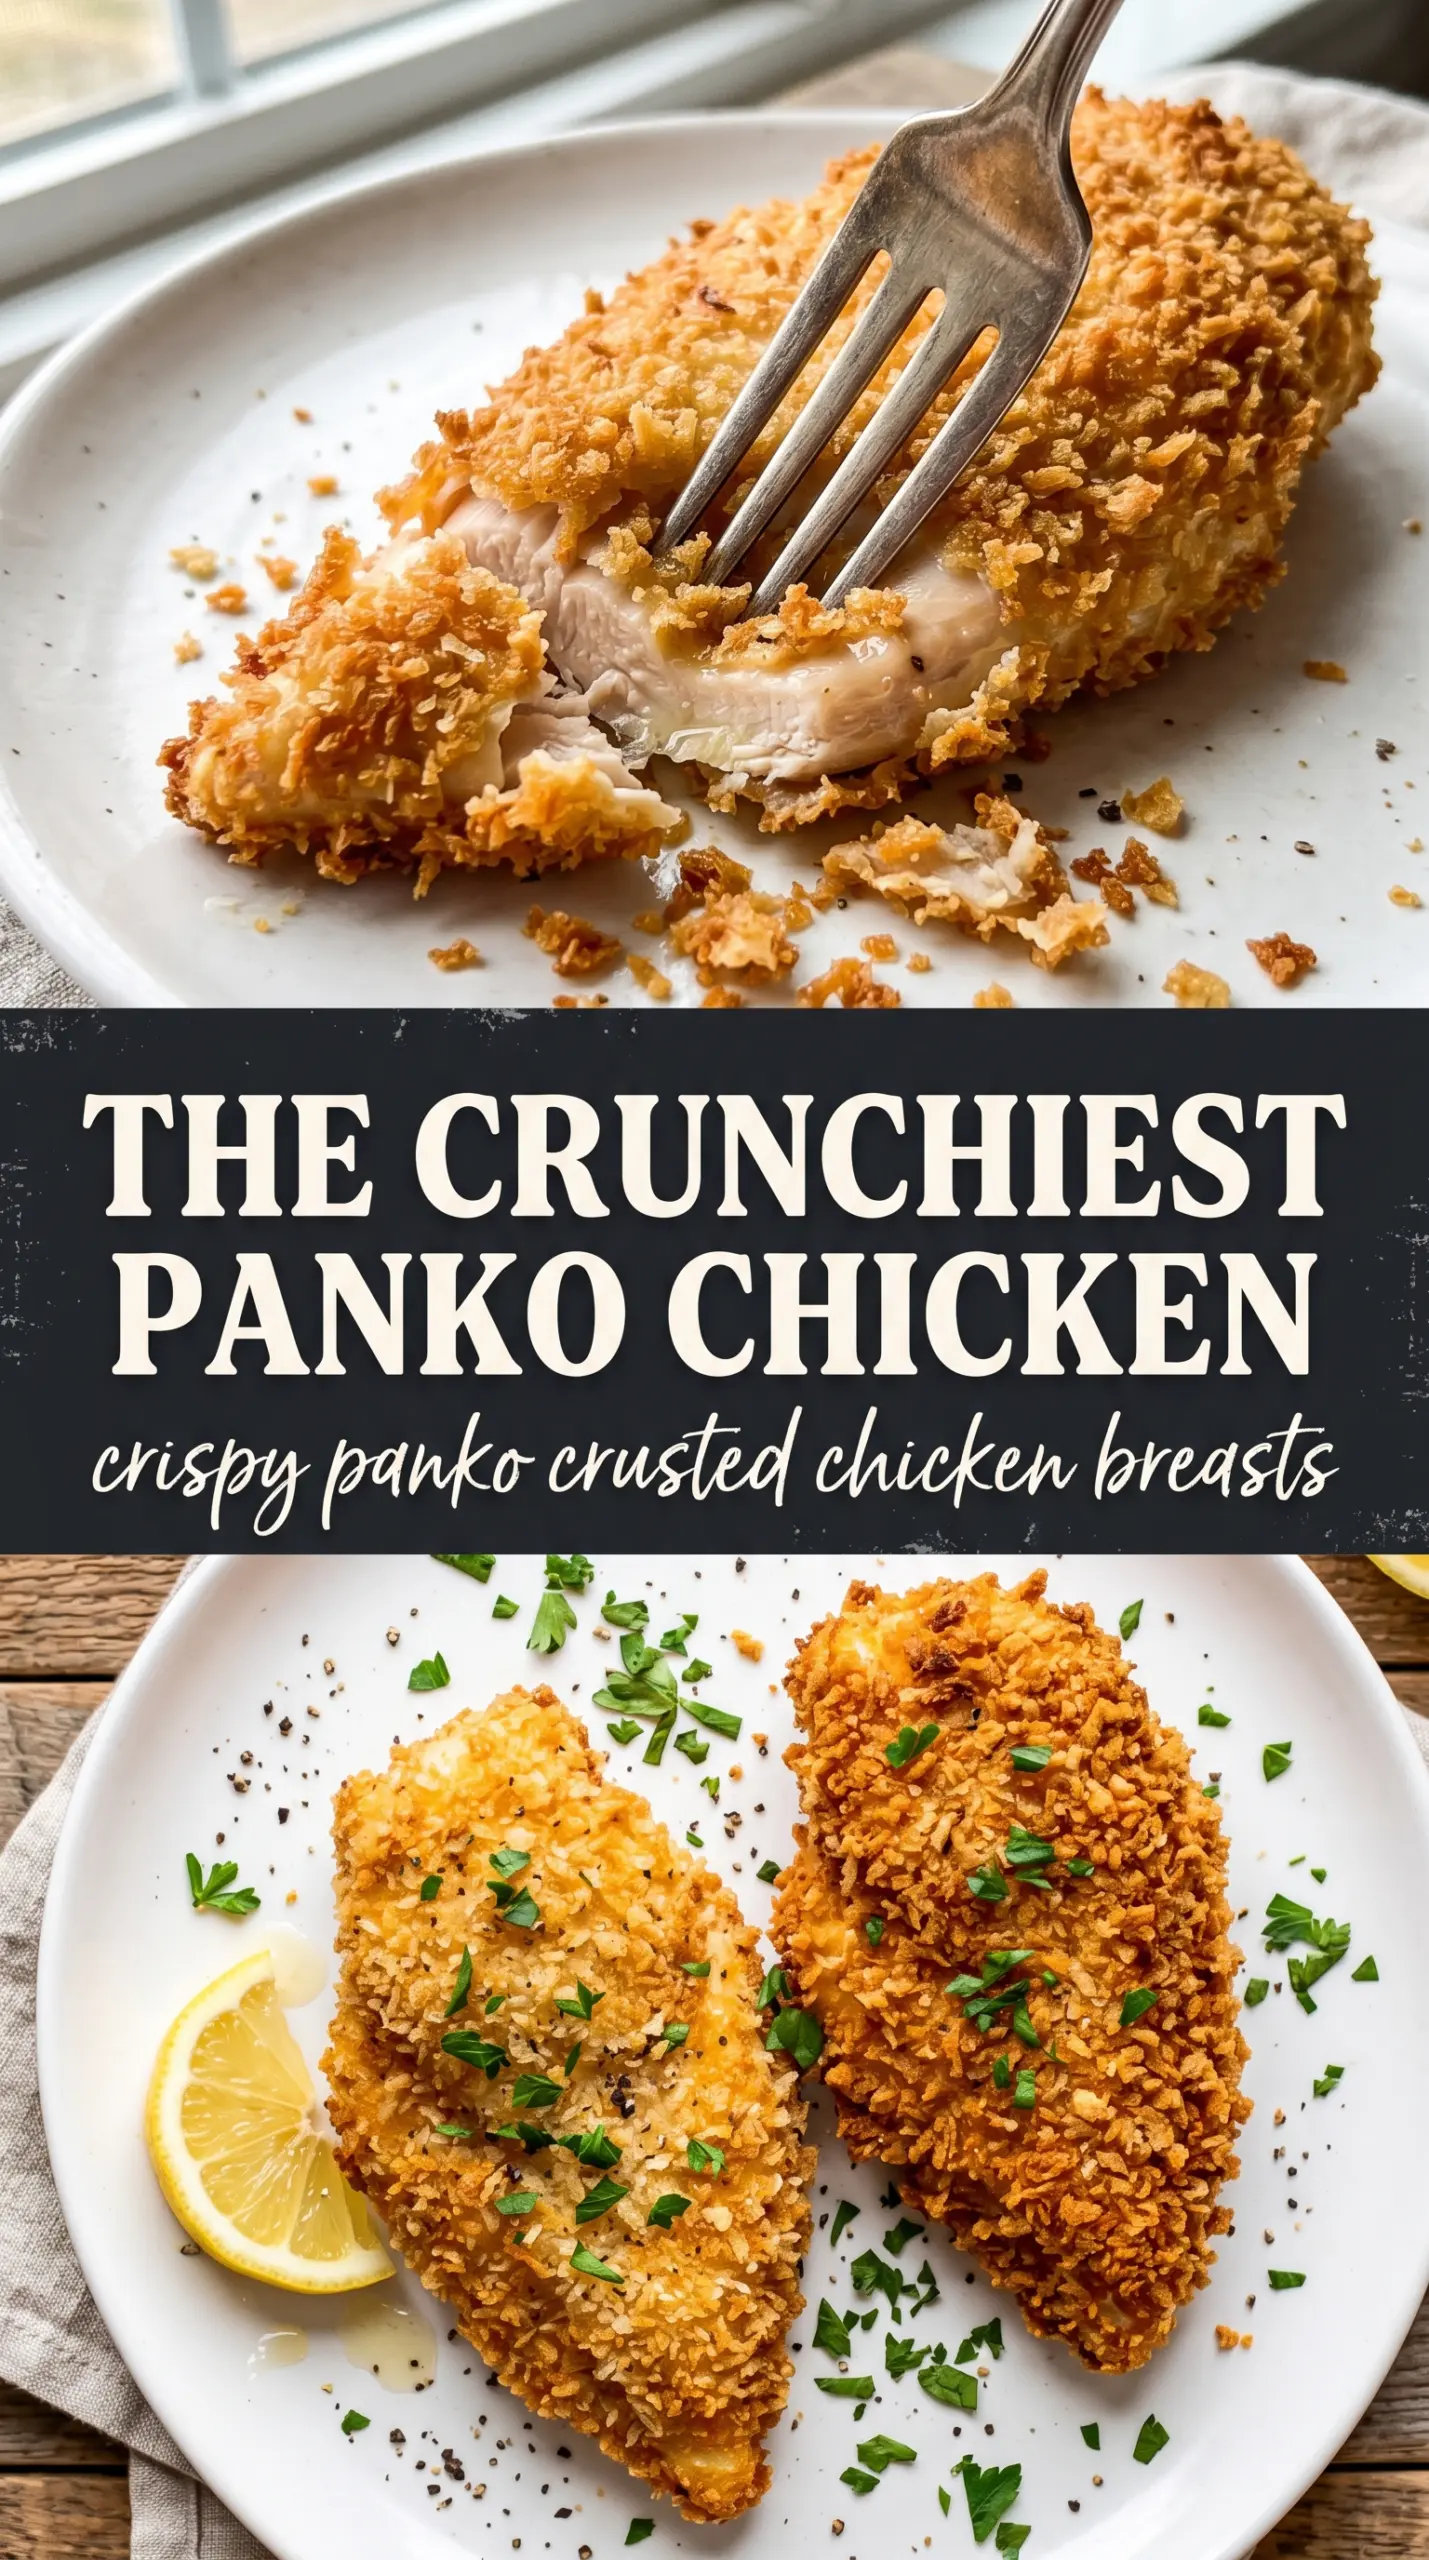
Crispy panko crusted chicken breasts are the kind of dinner that sounds simple until you bite into one and hear that loud, crackly crunch. The coating bakes into a deep golden bronze instead of turning pale or soft, and the chicken underneath stays juicy because the breading is thin, well-seasoned, and locked onto evenly pounded breasts. It’s the kind of meal that feels like you worked harder than you did.
The trick is in the order and the pressure. Flour gives the egg something to grab, the egg gives the panko a sticky base, and pressing the crumbs on firmly helps the crust stay intact in the oven. Parmesan adds salty depth, while a little smoked paprika and Italian seasoning keep the coating tasting like more than just breadcrumbs. A quick spray or drizzle of oil is what turns the top into that shattering crust people always hope for but don’t always get.
Below, I’ll show you how to keep the crust crisp instead of patchy, which ingredient matters most, and the easiest way to adapt this for different diets or sides without losing that crunchy finish.
The crust turned out unbelievably crunchy, and the chicken stayed juicy all the way through. I liked that the panko browned evenly on the rack instead of getting soggy on the bottom.
Like this crispy panko crusted chicken? Save it for the nights when you want shatteringly crunchy baked chicken without frying.
The Mistake That Makes Panko Chicken Go Soft in the Oven
Panko chicken usually loses its edge when the breading sits directly on a flat pan. Steam collects underneath, and that bottom crust goes limp before the top has a chance to fully brown. A wire rack changes the whole result because hot air can move around the chicken instead of trapping moisture where you don’t want it.
The other place this goes wrong is the coating itself. If the crumbs are applied loosely, they fall off before the chicken is done. Pressing the panko mixture on with real pressure, then adding oil on top, gives you a crust that sticks, colors evenly, and stays crunchy long enough to matter at the table.
- Wire rack — This is what keeps the underside from steaming. If you don’t have one, use a foil-lined sheet pan and flip the chicken carefully halfway through, but the crust won’t stay as crisp.
- Panko breadcrumbs — Regular breadcrumbs make a denser coating. Panko is lighter and airier, which is why it bakes up with that jagged, crunchy texture.
- Parmesan — Finely grated Parmesan melts into the crumbs and helps them brown. The shelf-stable stuff works in a pinch, but fresh grated gives a cleaner, better flavor.
- Olive oil or cooking spray — Dry breadcrumbs bake up pale. A light coating of oil is what helps the crust turn bronze instead of sandy.
What Each Ingredient Is Actually Doing in This Recipe
- Primary ingredient (the star) — Quality matters most. Choose the best you can find.
- Cooking medium (oil, butter, or broth) — This carries flavors and prevents dryness.
- Seasonings (salt, pepper, spices, herbs) — Layer flavors so nothing overpowers. Build depth gradually.
- Aromatics (garlic, onion, herbs) — Cook with fat to bloom flavors. Become the foundation.
- Supporting ingredients — Complement the main ingredient without overpowering it.
- Sauce or liquid (if applicable) — Brings flavors together. Balance richness with acid.
- Acid (lemon, vinegar, wine, or other) — Brightens and prevents flat-tasting results.
- Final finish (garnish, glaze, or sauce) — Prevents one-dimensional taste and adds visual appeal.
Building the Crunch So It Stays Put
Season the chicken before breading it. Once the coating goes on, seasoning the meat itself gets harder, and bland chicken under a flavorful crust is a missed opportunity. Pounding the breasts to even thickness matters too, because thick ends take longer to cook and thin ends dry out before the crust is ready.
The breading order is doing real work here: flour dries the surface, egg creates the glue, and the panko mixture forms the shell. If your coating looks patchy, it usually means the chicken was too wet when it hit the flour or the crumbs were pressed on too lightly. Keep one hand for the dry ingredients and one for the egg so you don’t end up with clumpy fingertips and uneven breading.
Seasoning and Flattening the Chicken
Pat the chicken dry first, then season it with salt, pepper, and garlic powder. Even thickness is the difference between juicy and dry here, so pound the breasts until the thickest part matches the rest. If one side is still much thicker, the crust will be done before the center catches up.
The Three-Part Breading Station
Set up flour, beaten egg, and the panko-Parmesan mixture in separate shallow dishes. Coat the chicken in flour first, then egg, then press it into the crumbs on both sides and along the edges. Don’t just dust the panko on top; press firmly so the coating actually adheres and doesn’t slide off in the oven.
Baking to a Deep Golden Finish
Place the breaded chicken on the rack and give the tops a good drizzle or spray of oil. Bake at 425°F until the crust is deep golden brown and the internal temperature reaches 165°F. If the crust looks pale at the end, it usually needed more oil, not more time.
Gluten-Free Panko Crusted Chicken
Use a gluten-free flour blend for the dredge and gluten-free panko for the coating. The crust still gets crisp, but gluten-free crumbs can brown a little faster, so start checking a few minutes early. Press them on firmly or they can shed more easily after baking.
Dairy-Free Version
Skip the Parmesan and add a little extra salt plus a pinch more garlic powder to the crumb mixture. You’ll lose some of the savory depth and browning power from the cheese, but the chicken still comes out crisp if you keep the oil on the coating.
Extra-Herby Italian Breaded Chicken
Add a teaspoon of dried basil or oregano to the crumb mixture and finish with more parsley and lemon. This pushes the flavor in a stronger Italian direction without changing the texture, and it’s a good way to make the dish feel a little more dressed up.
Storage and Reheating
- Refrigerator: Store leftovers in an airtight container for up to 3 days. The crust softens a bit, but it still reheats well.
- Freezer: Freeze the baked chicken on a tray until solid, then wrap and store for up to 2 months. Reheat from frozen or thawed, but expect a little less crunch than fresh.
- Reheating: Use a 375°F oven or air fryer until hot and crisp again. The common mistake is microwaving it, which turns the coating rubbery and steamy instead of crunchy.
Answers to the Questions Worth Asking
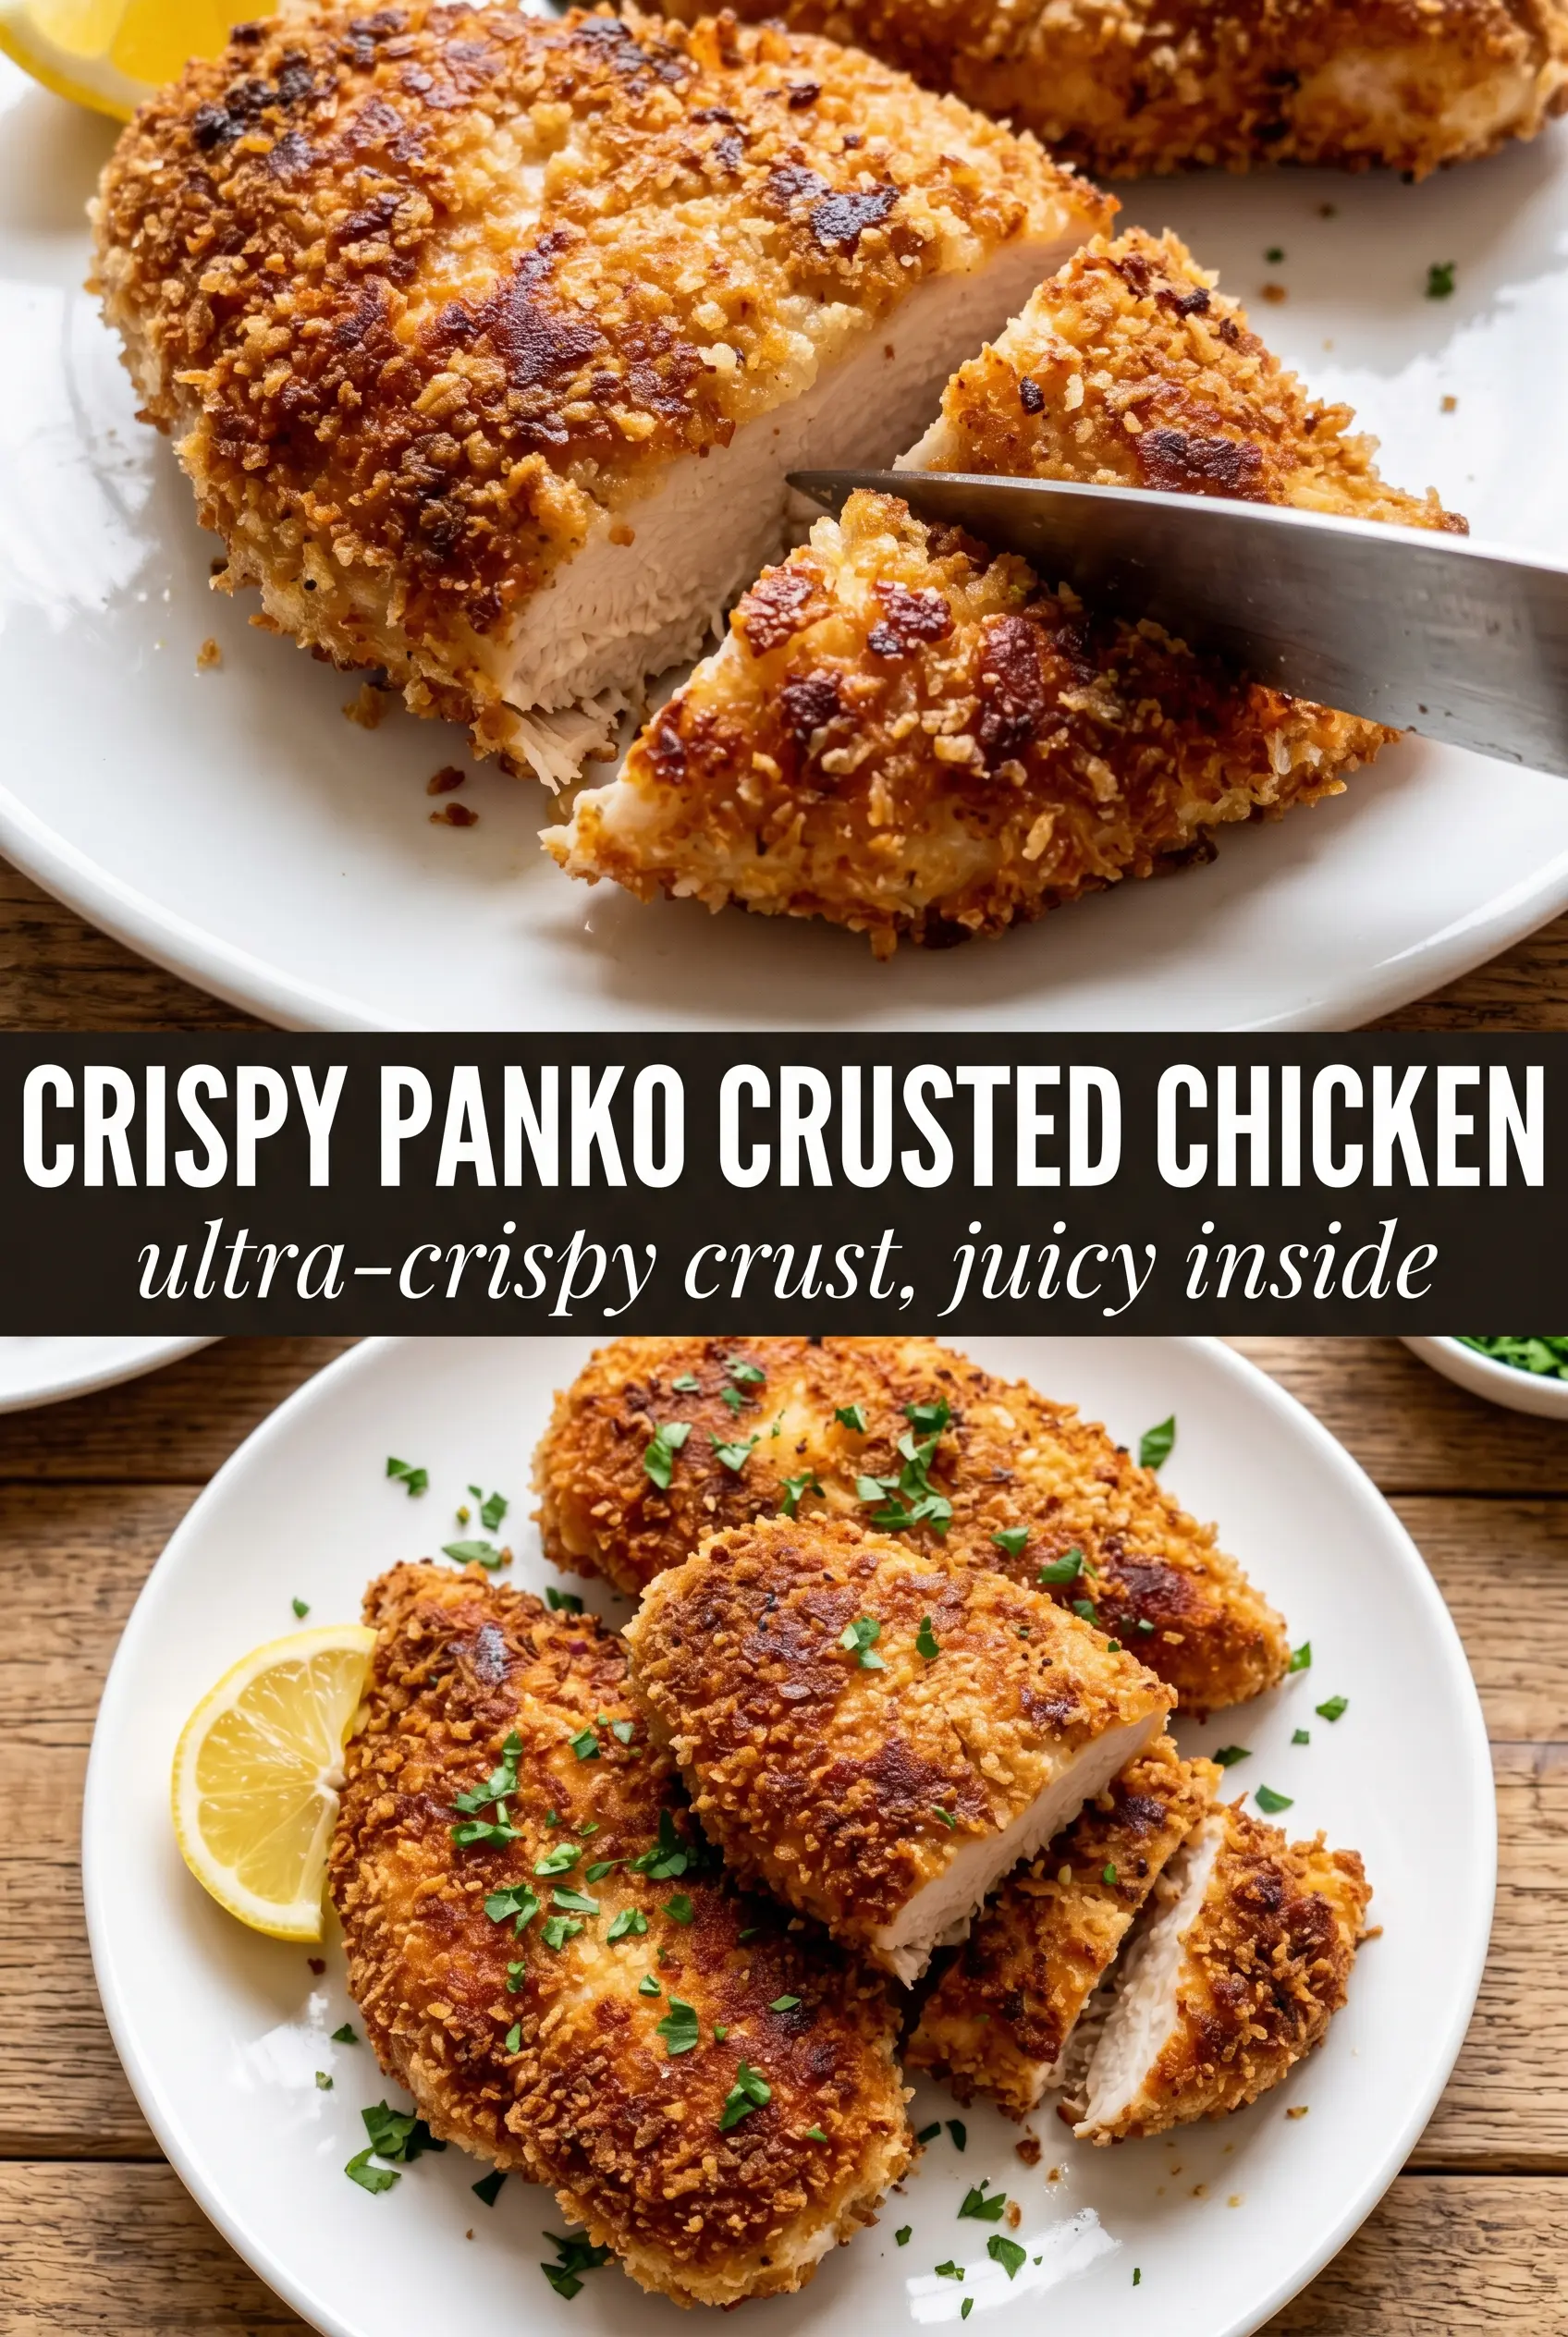
Crispy Panko Crusted Chicken Breasts
Ingredients
Equipment
Method
- Preheat the oven to 425°F. Line a baking sheet with a wire rack and spray the rack with cooking spray.
- Season the chicken breasts with salt, pepper, and garlic powder. Set up three breading stations with flour, beaten egg, and a panko mixture of panko, Parmesan, Italian seasoning, garlic powder, and smoked paprika.
- Dredge each chicken breast in the flour. Dip it in the beaten egg, letting excess drip off.
- Press the chicken firmly into the panko coating on all sides. Keep pressing so the crumbs adhere evenly for maximum crunch.
- Drizzle or spray the breaded chicken with olive oil and place it on the prepared rack. Bake for 20-22 minutes until the crust is deep golden brown and the internal temperature reaches 165°F.
- Rest the chicken for 3 minutes after baking. Garnish with fresh parsley and serve with lemon wedges.