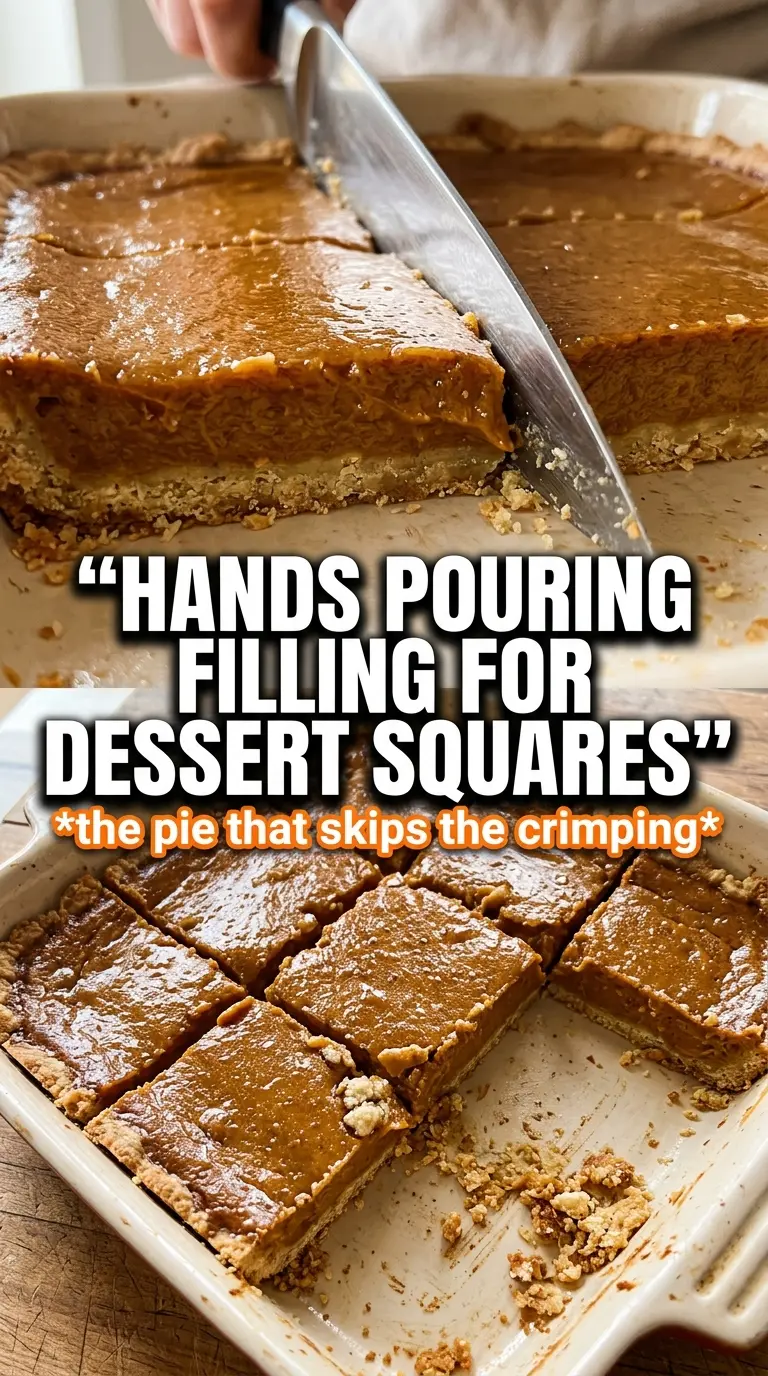
Pumpkin pie dessert squares give you the best part of pumpkin pie without the fussy crust work. The bottom bakes into a soft, buttery cake layer, the middle turns into a smooth pumpkin custard, and the cinnamon crumble on top adds just enough texture to keep every bite interesting. They slice cleanly once cooled, which makes them one of those desserts people keep reaching for with one hand while asking for the recipe with the other.
The trick is using a yellow cake mix in two different ways: first as a pressed crust, then again as the base for the crumb topping. That does two jobs at once. The crust bakes briefly before the filling goes on, so it stays sturdy instead of disappearing into the custard, and the reserved mix on top gives you a quick crumble without extra ingredients or extra bowls. I also like warming the crust before adding the filling; it helps the layers settle together instead of separating in the oven.
Below, I’ve included the small details that keep the filling set, the topping crumbly, and the squares easy to cut. If you’ve ever had a pumpkin bar turn soggy or slice messily, the timing here matters.
The pumpkin layer set up beautifully and the crumble stayed crisp even after chilling overnight. I cut neat squares for a church dessert table and they disappeared fast.
Like these pumpkin pie dessert squares? Save them to Pinterest for the smooth custard filling and buttery crumble top.
The Reason the Crust Has to Bake First
A lot of pumpkin bars go wrong because the filling soaks straight into an unbaked base. Here, that first 10-minute bake sets the cake mix crust just enough to keep the layers distinct. You still get a soft bottom, but it holds together when you cut the squares instead of collapsing into the custard.
The other thing that matters is cooling completely before slicing. The filling keeps setting as it cools, and if you cut in while it’s still warm, the squares will look loose and messy. Let the pan come all the way to room temperature, then chill it if you want the cleanest edges.
- Warm crust layer — That short bake gives the pumpkin filling a base to sit on. Skip it and the bottom layer turns gummy.
- Evaporated milk — It gives the filling that classic pumpkin pie richness without adding extra heaviness. Regular milk won’t set as smoothly.
- Reserved cake mix — This is what keeps the topping quick and crumbly. Don’t use all of the mix in the crust or you’ll lose the contrast on top.
- Cold butter for the crumble — Cold butter creates little buttery bits that bake into a real crumble instead of a paste.
What Each Layer Is Doing in These Pumpkin Pie Dessert Squares
- Yellow cake mix — This gives you the fast, tender base and the crumble topping in one box. A spice cake mix works too, but it makes the dessert sweeter and more heavily spiced.
- Pumpkin puree — Use pure pumpkin, not pumpkin pie filling. Pie filling already has sugar and spice mixed in, which throws off the balance here.
- Eggs — They set the pumpkin layer into a custard that slices cleanly. If the filling seems loose in the oven, it usually just needs more time to finish setting at the center.
- Pumpkin pie spice plus cinnamon and ginger — The spice blend gives the familiar pumpkin pie warmth, while the extra cinnamon and ginger keep it from tasting flat. If you only have pumpkin pie spice, use that and skip the extra spices.
- Whipped cream — It’s not just garnish; it softens the edges of the spice and makes the bars feel finished. A plain dusting of powdered sugar won’t give the same contrast.
Building the Layers So They Bake Cleanly Together
Pressing the Cake Mix Base
Mix the cake mix, melted butter, and egg until it forms a thick, soft dough, then press it evenly into the greased 9×13 pan. It should look smooth and compact, not patchy. Bake it for 10 minutes only; you’re setting the base, not trying to color it deeply. If the crust bakes too long here, it dries out and the filling doesn’t settle into it as nicely.
Whisking the Pumpkin Filling
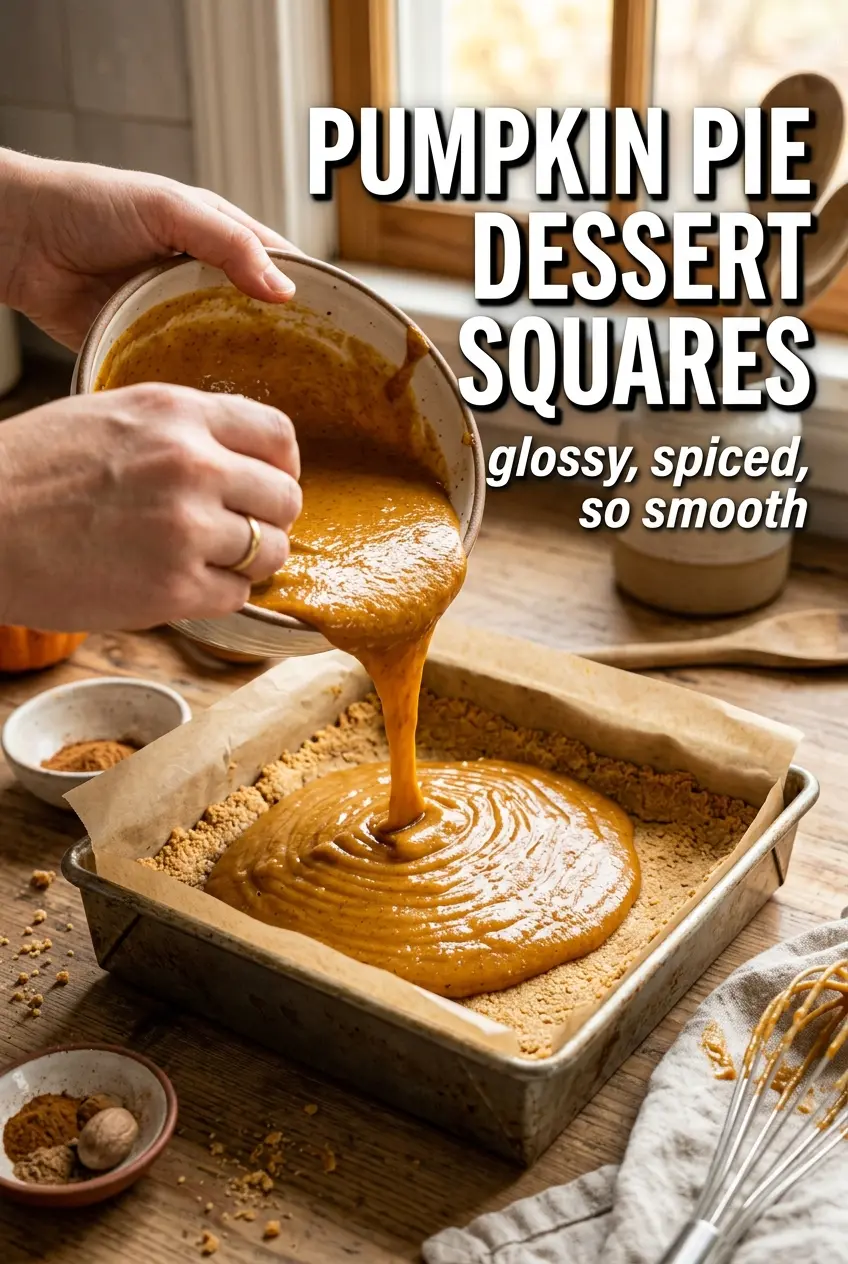
Whisk the pumpkin puree, eggs, sugar, evaporated milk, pumpkin pie spice, cinnamon, ginger, and salt until the mixture looks completely smooth. Any streaks of egg white will show up in the finished bars, so keep whisking until the color is even. Pour it over the warm crust as soon as the crust comes out of the oven. That warm surface helps the layers bond.
Making the Crumble Topping
Cut the reserved cake mix, sugar, cold butter, and cinnamon together until the mixture looks like damp pebbles. You want distinct crumbs, not a smooth paste. If the butter starts to melt into the mix, stop and chill the bowl for a few minutes before continuing. Scatter the crumble evenly over the pumpkin layer so the top bakes in patches of gold and cinnamon.
Knowing When the Pan Is Done
Bake until the topping is golden and the center is set with only the slightest jiggle. The middle should no longer look wet, but it won’t feel firm like a cake while it’s hot. Pull it before the very center gets stiff and overbakes, because the filling continues to firm up as the pan cools. That resting time is what gives you neat squares instead of dry, cracked ones.
How to Make It Without Dairy
Use plant-based butter for both the crust and the crumble, and swap in an unsweetened non-dairy milk that can stand in for evaporated milk, such as canned coconut milk thinned slightly with water. The texture will still set, but it may taste a little less classic and a little more coconut-forward if you use full coconut milk.
Using Spice Cake Mix Instead of Yellow
Spice cake mix gives the bars a deeper fall spice note and a darker color, but the finished dessert will taste sweeter and more pronounced. If you use it, cut back slightly on the pumpkin pie spice so the filling doesn’t turn muddy with cinnamon.
Making the Squares Gluten-Free
Use a gluten-free yellow cake mix that bakes well in bar recipes. The structure comes from the egg and butter, so the swap is straightforward, but some gluten-free mixes brown faster, so start checking the top a few minutes early.
Storage and Reheating
- Refrigerator: Store covered for up to 4 days. The filling firms up in the fridge, which makes the squares even easier to slice.
- Freezer: These freeze well. Cut into squares, wrap individually, and freeze in an airtight container for up to 2 months.
- Reheating: Serve chilled or let thaw in the fridge. If you warm them, use short bursts in the microwave; long heating can soften the crust and make the topping lose its crumble.
Answers to the Questions Worth Asking
Pumpkin Pie Dessert Squares
Ingredients
Equipment
Method
- Preheat oven to 350F and grease a 9x13 pan, so the crust releases cleanly.
- Combine the (remaining) yellow cake mix, melted unsalted butter, and egg, then press the mixture into the pan evenly.
- Bake for 10 minutes, until the base looks set and lightly golden at the edges.
- Whisk pumpkin puree, eggs, granulated sugar, evaporated milk, pumpkin pie spice, cinnamon, ginger, and salt until smooth.
- Pour the pumpkin filling over the warm crust, creating an even layer.
- Combine the reserved yellow cake mix, sugar, cold butter, and cinnamon until crumbly, then scatter the crumble over the filling.
- Bake for 40-45 minutes at 350F, until the topping is golden and the filling is set with only a slight jiggle.
- Cool completely before cutting into squares so the custard firms up and clean edges form.
- Serve each square with whipped cream for a creamy topping.